
SQL Segment
The SQL Segment Editor is where you create and manage SQL-based segments in D·engage. It gives you full control over your audience definition with a built-in SQL editor, and supports you along the way with AI-powered query optimization, validation with instant result preview, and audience insights. From the same page you can also sync your segment to ad networks, enable real-time website personalization, and track how your audience changes over time.
How to Access
- Navigate to Audience → Segments from the left menu.
- Click on an existing SQL segment to open it in the editor,
- Create a new segment with the SQL Editor option.
Overview
Overview
At the top of the page you will find:
- Segment name with a pencil icon to rename the segment.
- Info icon (ⓘ) which expands a panel showing the segment's Description (editable), Created By Created On, Updated By Folder label showing where the segment is stored (e.g. Segments).
- Action buttons: Delete, Cancel, More, and Save.
SQL Editor
SQL Editor
The central area of the Details tab is a syntax-highlighted SQL editor where you write the query that defines your segment. You can reference any table available in your account (e.g. master_device, event tables) and use SQL comments (--) to keep alternative conditions at hand.
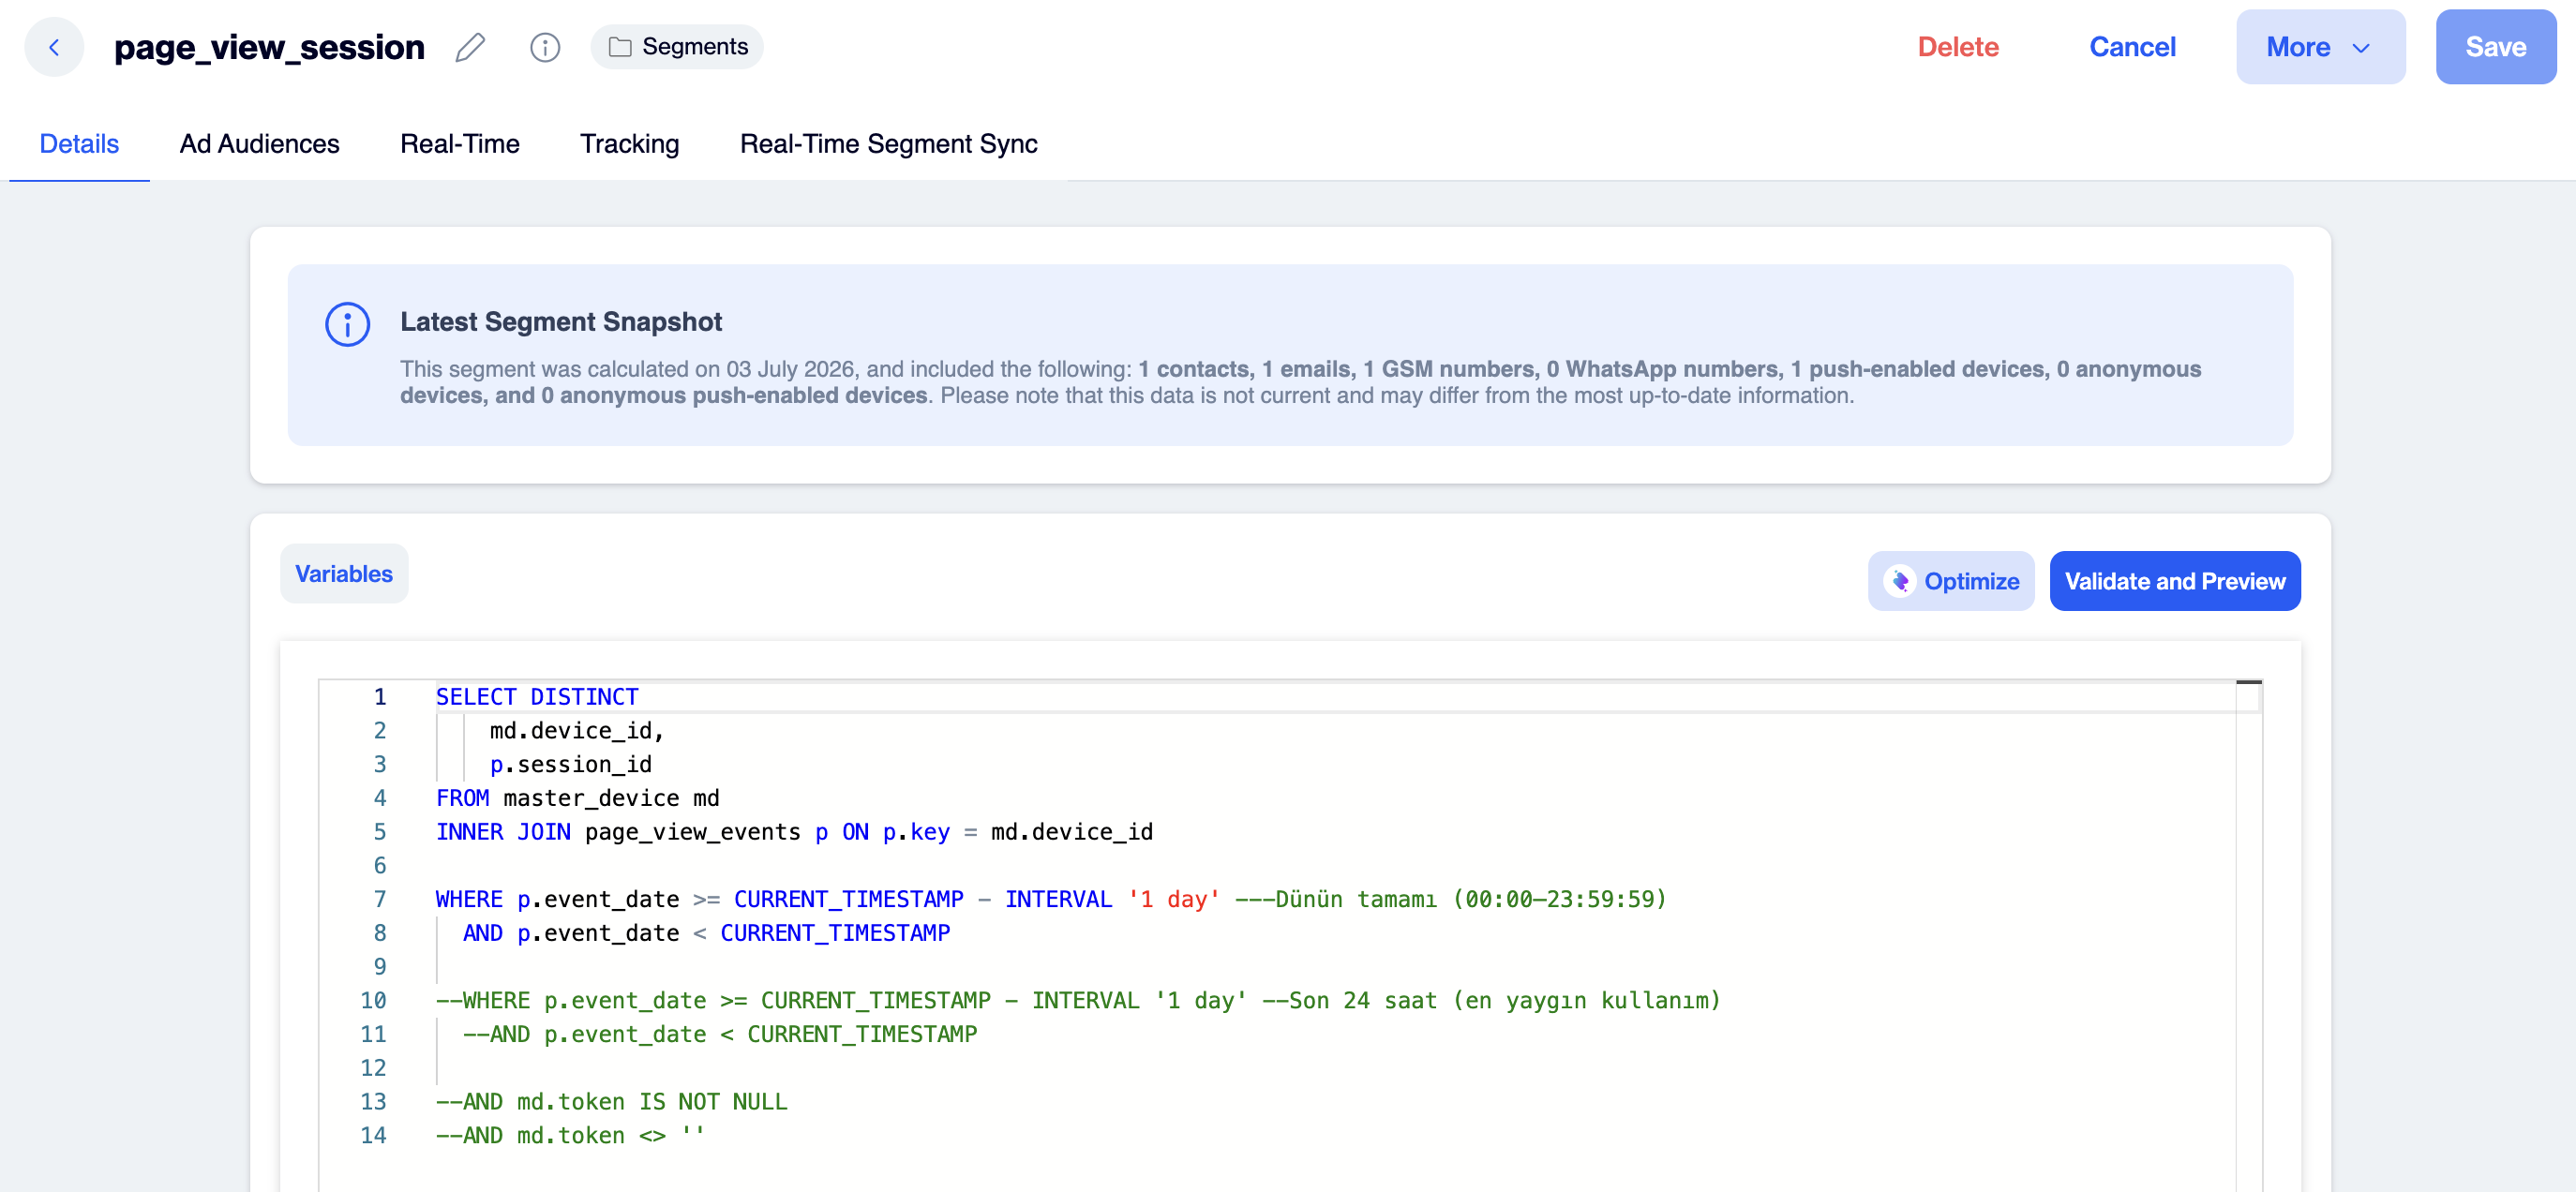
Variables
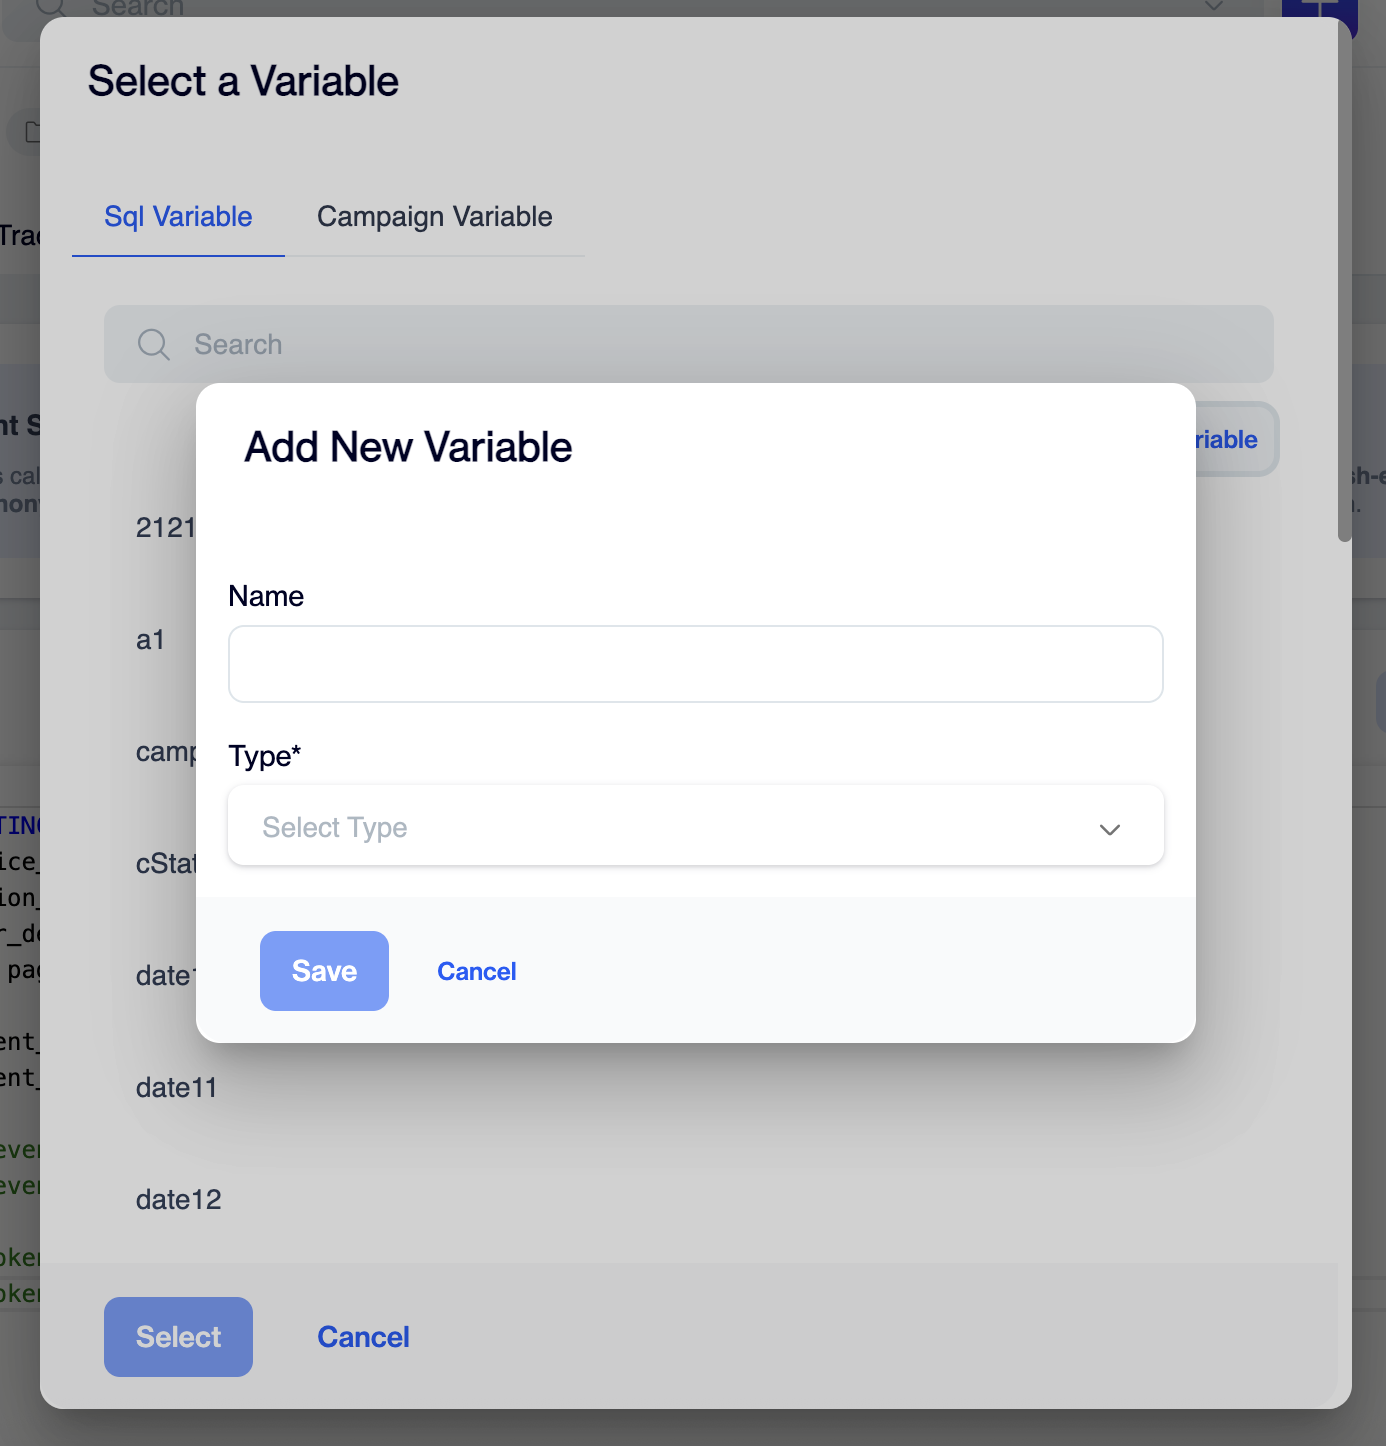
Click the Variables button to insert a variable into your query. The Select a Variable dialog has two tabs:
Sql Variable: Account-level variables you have defined. You can search the list or create a new one with + New Variable.
Campaign Variable : Built-in variables such as Campaign Name, Campaign Id, Campaign Start Time, and Campaign Instance Start Time, useful when the segment is used together with campaigns.
Select a variable and click Select to add it to your query.
The Sql Variable tab lists your saved variables and lets you create new ones.
Latest Segment Snapshot
At the top of the Details tab, an information card summarizes the most recent calculation of the segment: the calculation date and the number of contacts, emails, GSM numbers, WhatsApp numbers, push-enabled devices, anonymous devices, and anonymous push-enabled devices included. Note that this data reflects the last calculation and may differ from the most up-to-date information.
Insights show total and reachable audience counts per channel.

Ad Audiences
Ad Audiences
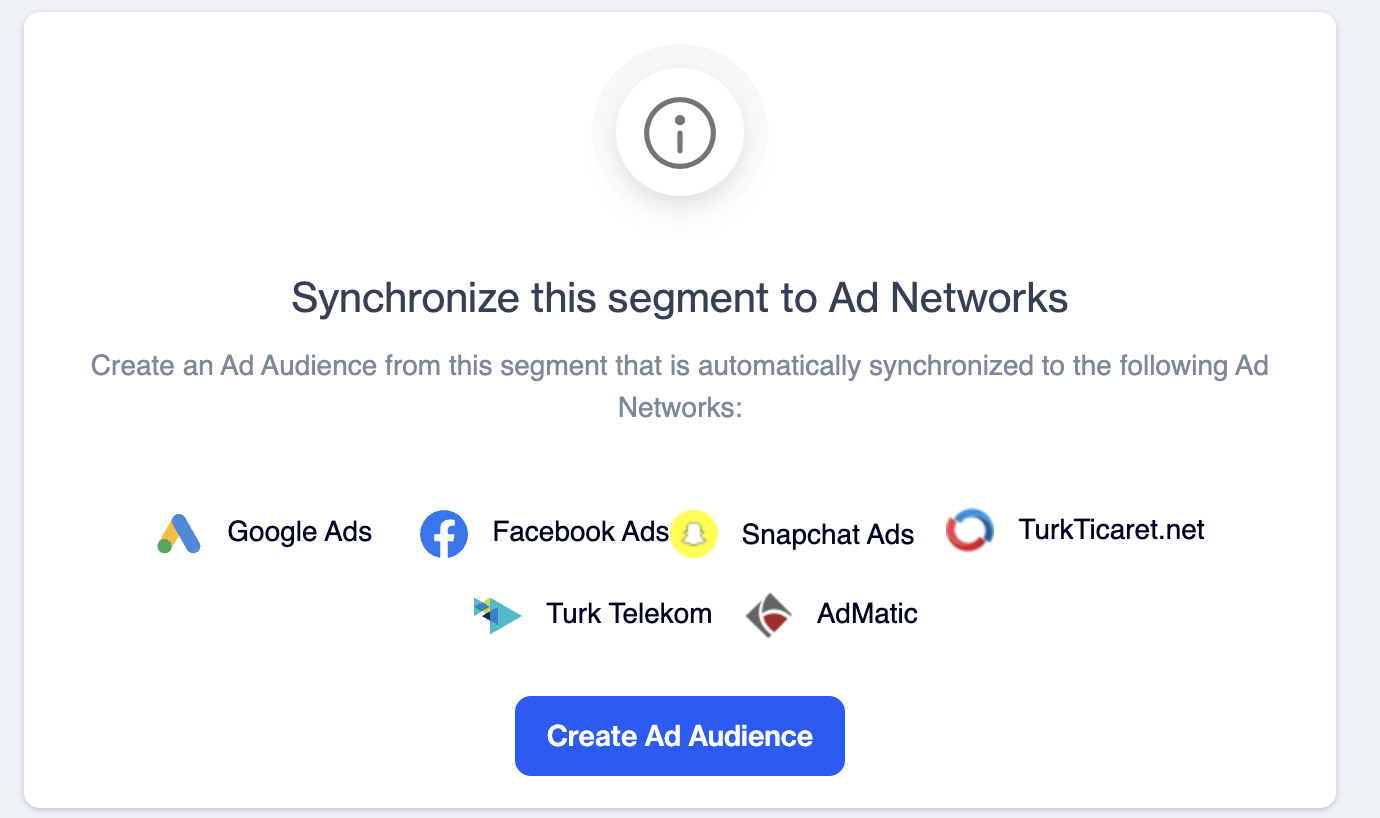
The Ad Audiences tab lets you synchronize the segment to advertising platforms. Click Create Ad Audience to create an Ad Audience from this segment that is automatically synchronized to the supported ad networks: Google Ads, Facebook Ads, Snapchat Ads, TurkTicaret.net, Turk Telekom, and AdMatic.
Create an Ad Audience to keep the segment in sync with your ad networks.
Real-Time
Real-Time
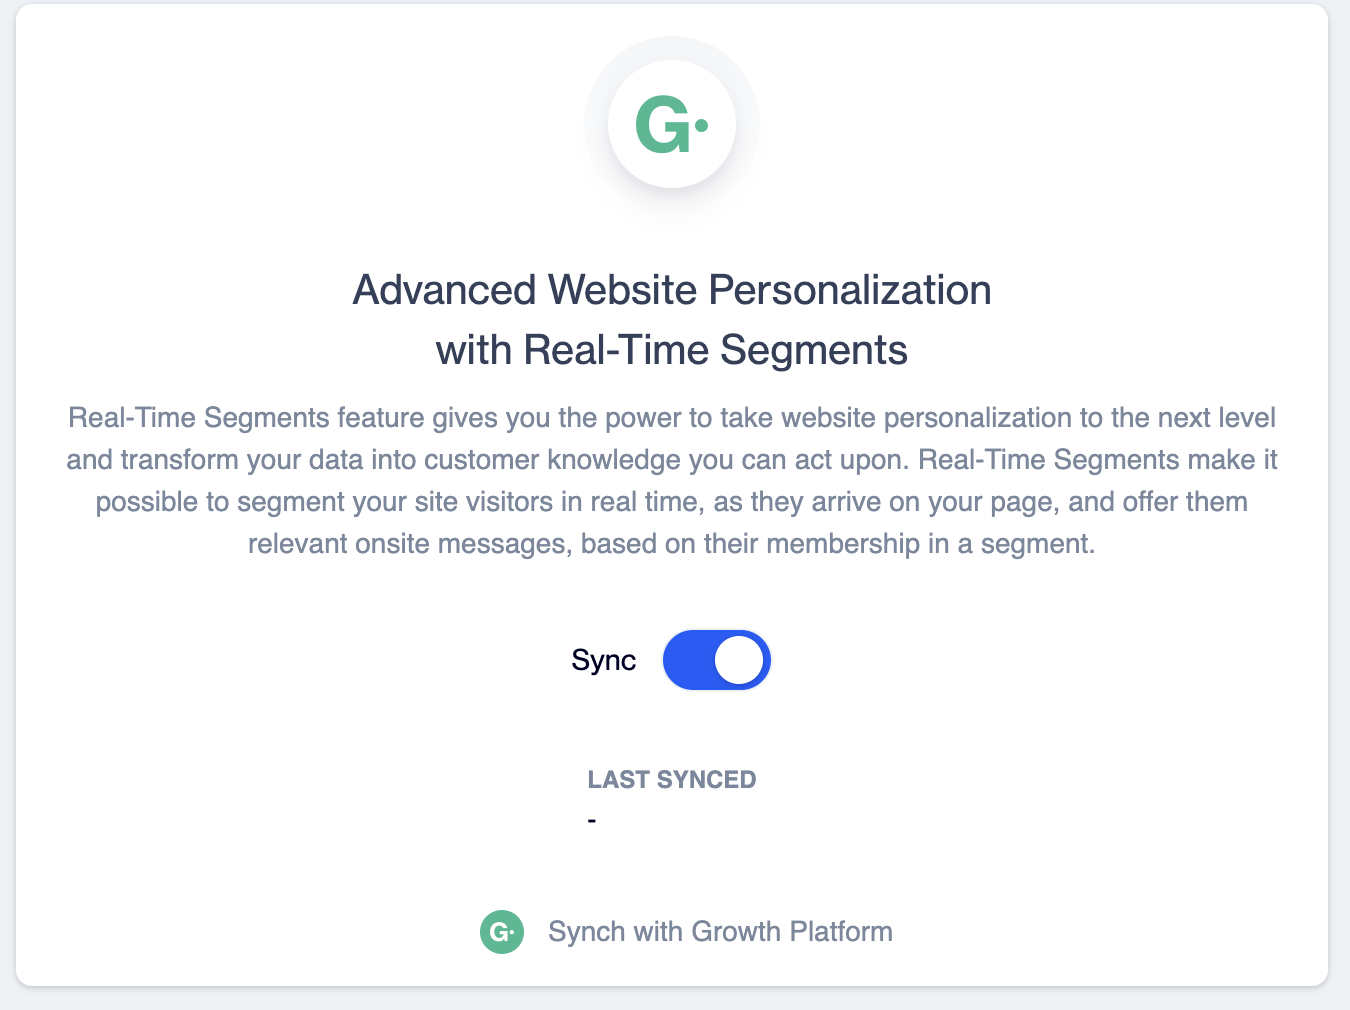
The Real-Time tab enables Advanced Website Personalization with Real-Time Segments. Real-Time Segments make it possible to segment your site visitors in real time, as they arrive on your page, and show them relevant onsite messages based on their segment membership. Turn on the Sync toggle to synchronize the segment with the Growth Platform.
Enable Sync to use the segment for real-time website personalization.
Tracking
Tracking
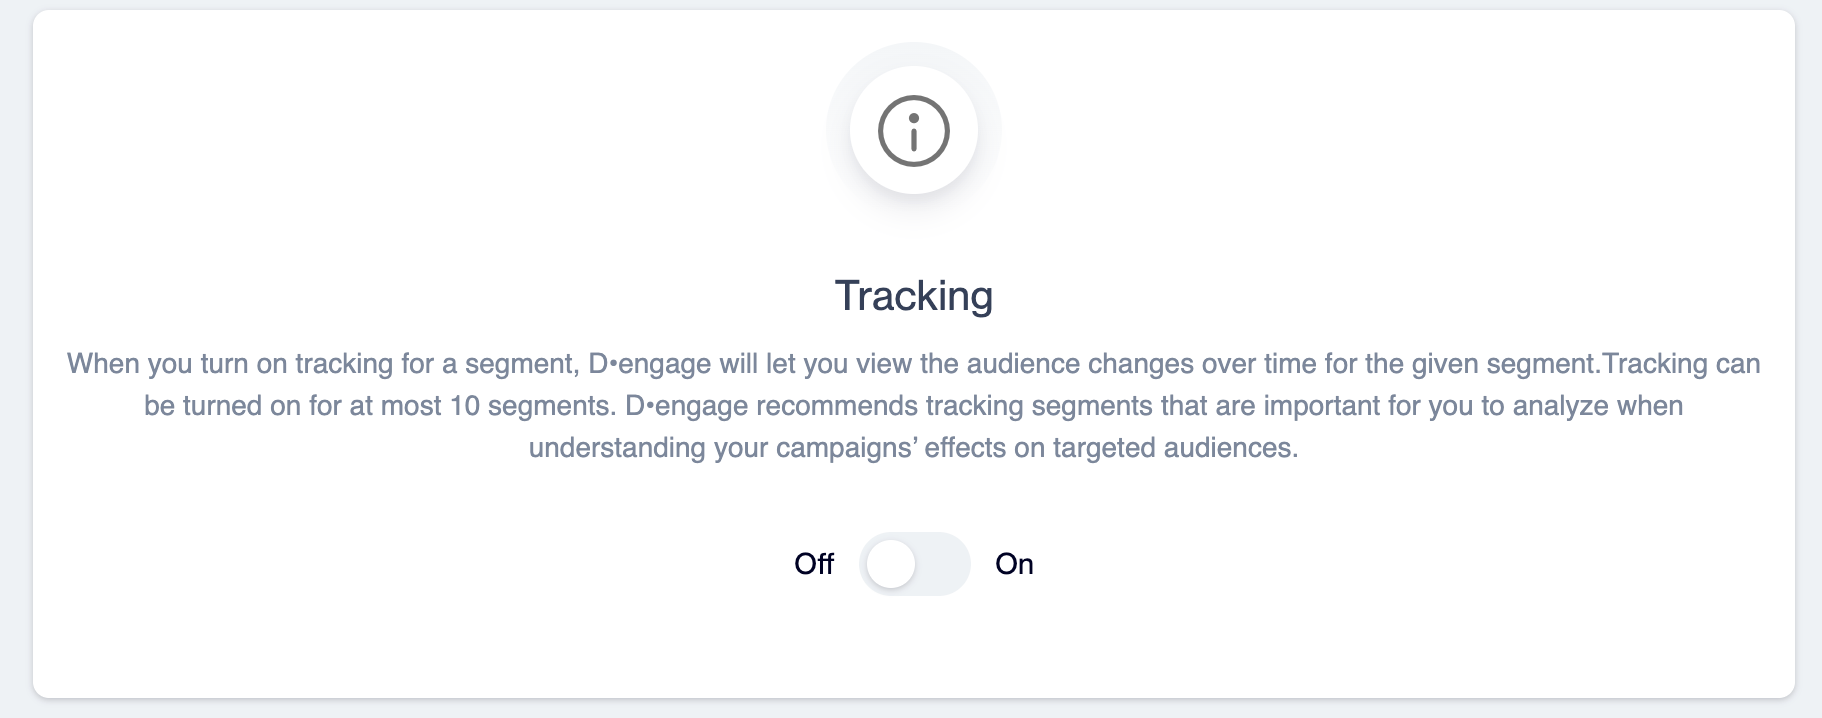
When you turn on tracking for a segment, D·engage lets you view the audience changes over time for the given segment. Tracking can be turned on for at most 10 segments, so it is recommended to track the segments that are most important for analyzing your campaigns' effects on targeted audiences. Use the Off/On toggle to enable tracking.
Turn tracking on to monitor how the segment's audience changes over time.
Real-Time Segment Sync
Real-Time Segment Sync
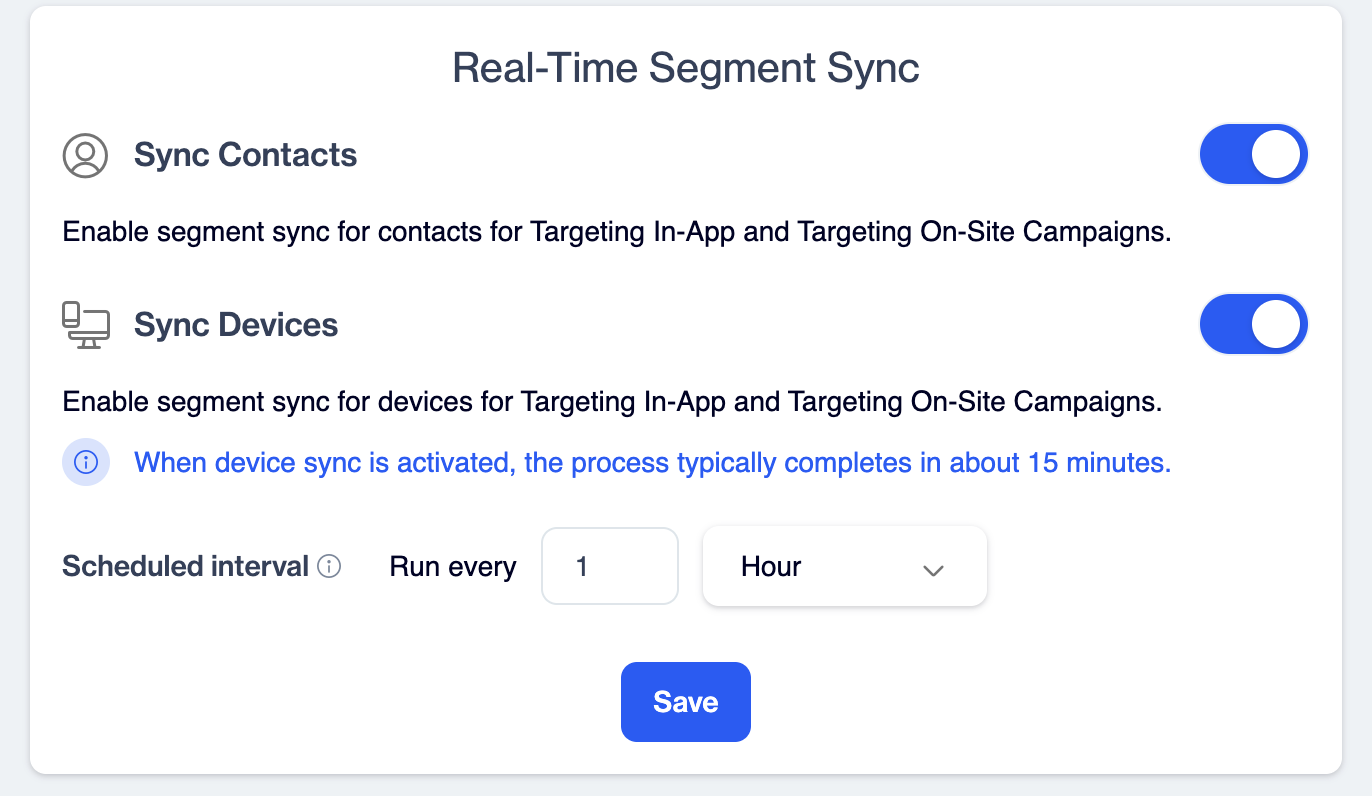
This tab contains the Sync Contacts toggle, which enables segment sync for contacts for Targeting In-App and Targeting On-Site campaigns. Turn the toggle on and click Save to activate it.
Enable Sync Contacts to use the segment in In-App and On-Site targeting.
More Menu
More Menu
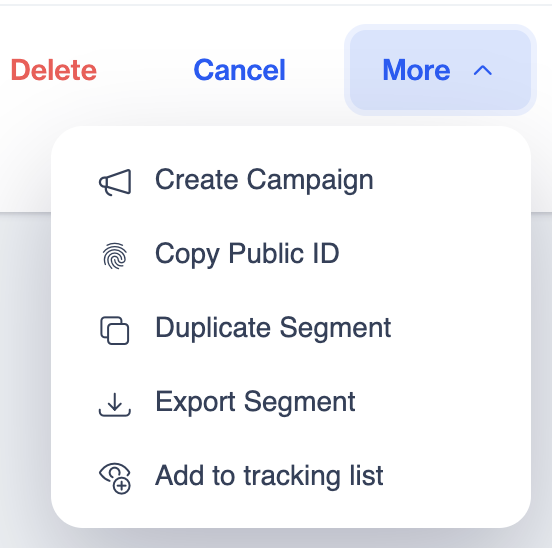
The More button at the top right offers additional shortcuts:
Create Campaign: Start a campaign that targets this segment.
Copy Public ID: Copy the segment's public identifier for API usage.
Duplicate Segment: Create a copy of the segment.
Export Segment: Export the segment's audience.
Add to tracking list: Add the segment to the tracking list directly.
The More menu provides quick actions for the segment.
Additional Info
Additional Info
- Changes made in the editor are not applied until you click Save; use Cancel to discard them.
- The Latest Segment Snapshot reflects the last calculation date and may differ from live data - use Validate and Preview or Insights → Calculate for fresh numbers.
- The Optimize feature is powered by D·engage AI; review the optimized query before applying it.
Tracking is limited to 10 segments per account.
Updated 3 months ago