
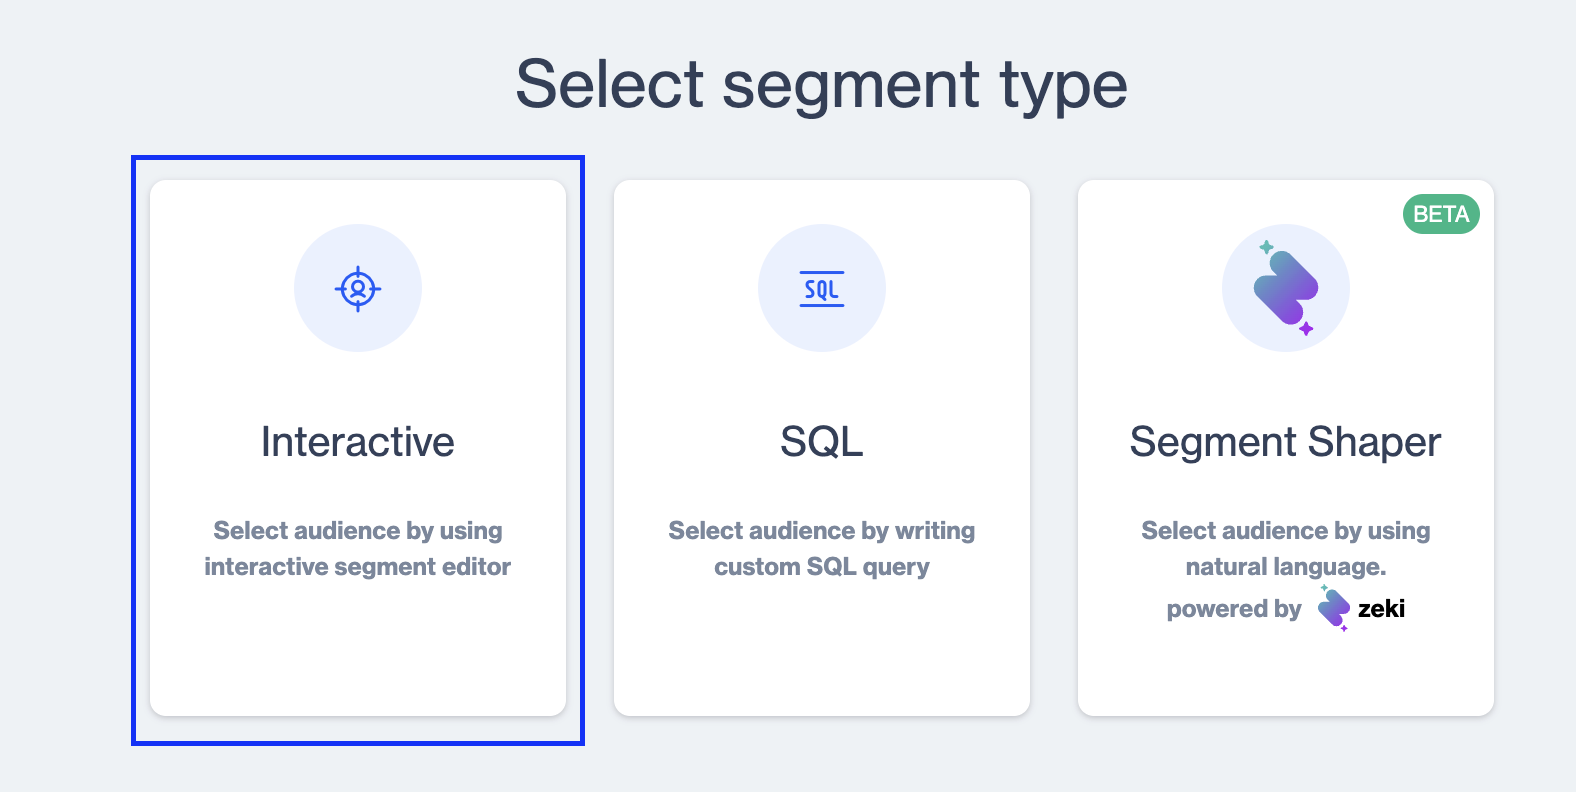
Interactive Segment
When the user clicks on the Interactive type, the system displays a screen to input information for creating an interactive segment. The segment creation process consists of two sections:
- General: Contains basic details about the segment. It includes:
- Name: Enables the user to assign a name to the segment.
- Folder: Displays the folder where the segment is stored, with an option to change its location if needed.
- Description: Allows the user to describe the segment to specify its purpose or additional details.
2.Filters: Allows users to define specific criteria for the segment. This section contains the following fields and actions:
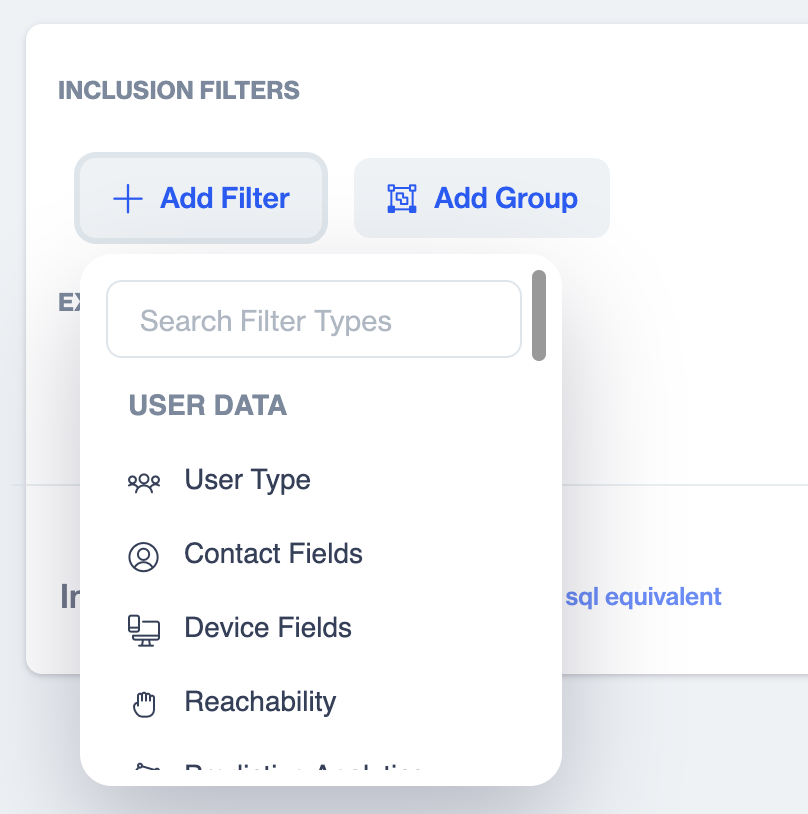
- Add Filter: When a user clicks on the “Add Filter” button, the system will open a searchable list of filters.
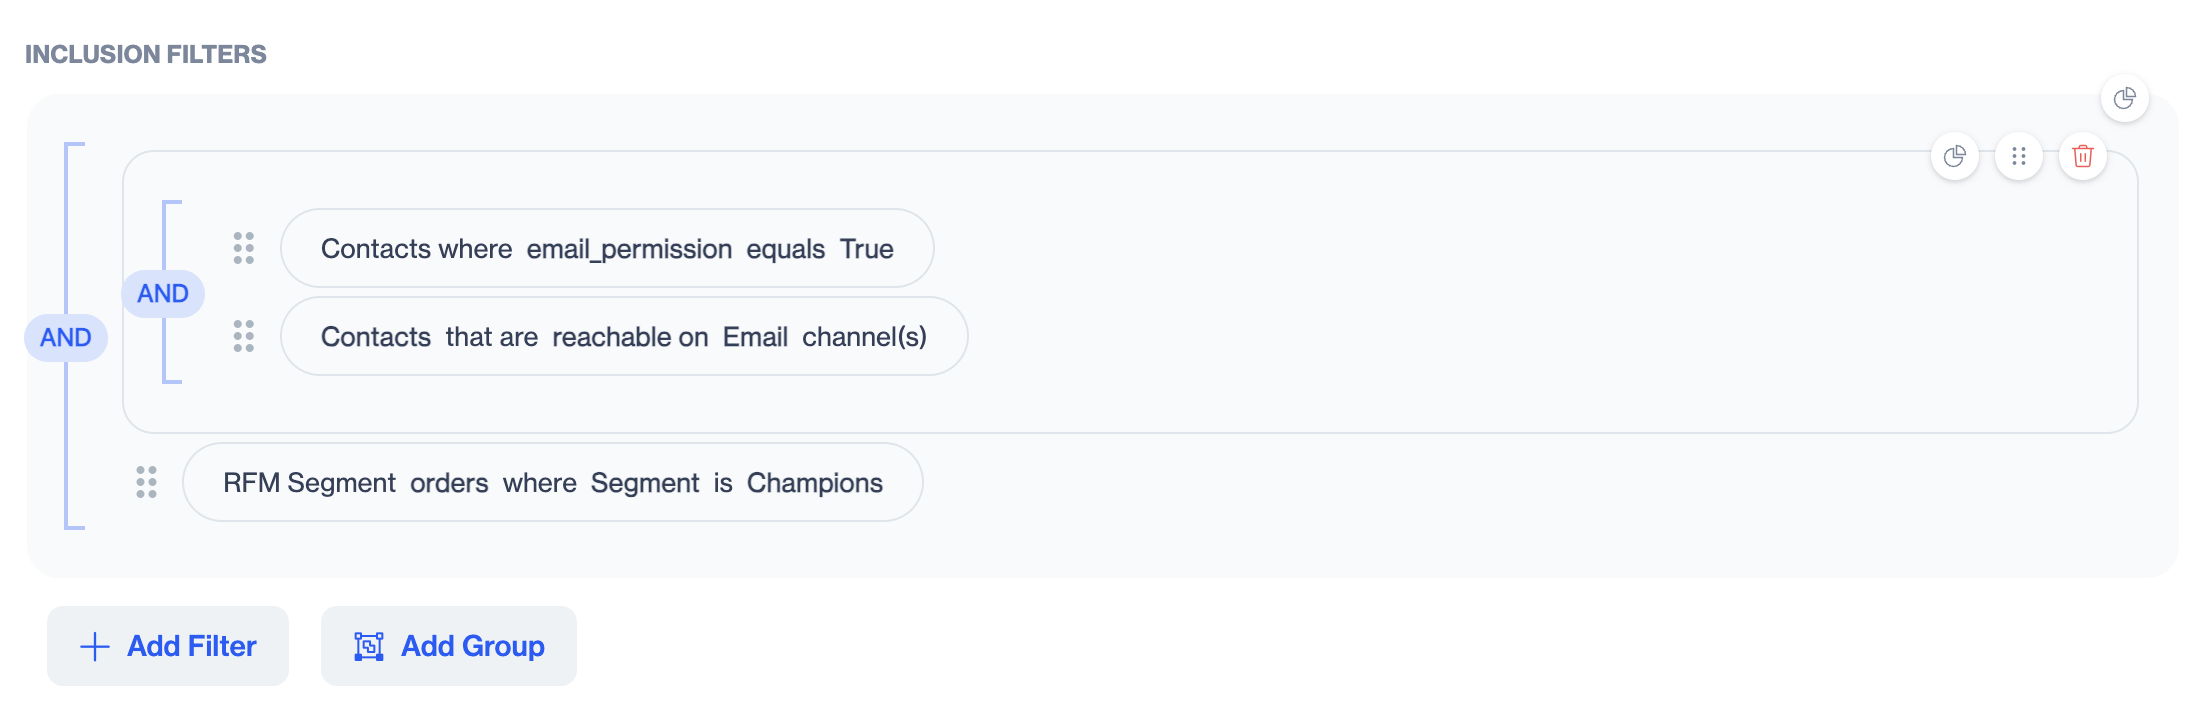
- Add Group: This option allows you to create a new group and add sub-groups. Once a group is created, you also have the option to delete it if needed.
- Add Exclusion Filter: When the user clicks on the Add Exclusion Filter button, the system displays a searchable list of filters. Users can delete an exclusion filter if needed or add an exclusion group within the exclusion filter for more granular filtering.
Filters
In this section, you'll find detailed descriptions for each filter type, organized by specific topics to enhance your understanding and usage. Whether you're looking to refine search results, segment data, or apply complex criteria, these descriptions will provide the insights and instructions you need to effectively utilize each filter for your specific needs.
- Click on Add Filter button to start adding filters to define your segment.
Add Group
Use Add Group button to effectively organize your filters into cohesive units. This feature is essential when you need to group multiple filters together, creating a structured hierarchy in your segmentation. Grouping filters is not just about organization; it's a strategic approach to data analysis that allows for complex comparisons and nuanced insights. By combining these groups with other individual filters or additional filter groups, you can create layered, multi-dimensional data views. This method is particularly useful in scenarios where data needs to be micro segmented or categorized for more detailed examination and decision-making.
User Data
| Name | Description |
|---|---|
| User Type | Allows you to filter database based on Anonymous or Contact |
| Contact Fields | Allows you to add filter for columns that exists in master_contact and any related table. |
| Device Fields | Allows you to add filter any device column that exists in your database . Also you can narrow down your filter items Anonymous or Contact devices. |
| Reachability | Allows you to add filter based on channel reachability both for Anoynmous devices and contacts. |
| Predictive Analytics | Allows you to add filter users by Likelihood to buy/uninstall/churn and Customer Lifetime Value ratings (High/Medium/Low) . Also you can narrow down the filtering by Categories and Brands |
| List Tag | Allows you to add filter by selected Tags that previously created by as List type tags. You can involve any or all given tags as filter criteria |
| Key-Value Tag | Allows you to add filter by selected Key-Value pairs. You need to give value by the arithmetic/text operands per added keys. |
Behaviour
| Name | Description |
|---|---|
| User Event | Allows you to add filter that a specific user event has been accomplished or not accomplished by given occurrence and time period. This feature has add attribute filter option. |
| User Events Aggregated | Allows you to add User Event filter by aggregated arithmetic operands ( sum/avg/min/max) by given time period . This feature has add attribute filter option. |
| Allows you to add filter for any behavioral event taken or not taken on Email channel by given occurrence amount. Also you can narrow down your audience by selected one-time/recurring campaigns. | |
| SMS | Allows you to add filter for any behavioral event taken or not taken on SMS channel by given occurrence and time period. Also you can narrow down your audience by selected one-time/recurring campaigns. |
| Web/Mobile Push | Allows you to add filter for any behavioral event taken or not taken on Web/Mobile Push channel by given occurrence and time period. Also you can narrow down your audience by selected one-time/recurring campaigns. |
| In-App | Allows you to add filter for any behavioral event taken or not taken on In-App channel by given occurrence and time period. Also you can narrow down your audience by selected one-time/recurring campaigns. |
| On-Site | Allows you to add filter for any behavioral event taken or not taken on On-Site channel by given occurrence and time period. Also you can narrow down your audience by selected one-time/recurring campaigns. |
| Realtime In-App | Allows you to add filter for any behavioral event taken or not taken on Realtime In-App channel by given occurrence and time period. Also you can narrow down your audience by selected one-time/recurring campaigns. |
| Realtime On-Site | Allows you to add filter for any behavioral event taken or not taken on Realtime On-Site channel by given occurrence and time period. Also you can narrow down your audience by selected one-time/recurring campaigns. |
| Campaign Audience | Allows you to add filter for the previously created Audiences or Control Groups that belongs to given campaigns and time period |
| Survey | Allows you to add filter users who submitted the previously created Typeform Surveys by given occurrence and time period. You can narrow the audience by selected surveys or for a specific survey. When you select a specific survey , you can also add filter by included questions on the selected survey. |
Existing Segments
| Name | Description |
|---|---|
| Segment | Allows you to add users from a previously created specific segment as filter. |
| Pre-defined Segments | Allows you to add users from a specific Pre-defined segment as filter. Some Pre-defined segments needed to limit by time period , after you've decided to add those pre-defined segments you need to declare the time period . |
| Remote Segment | Allows you to add users from a previously created specific Remote Segment as filter. |
| Microsoft Dynamics CRM | Allows you to add users from MS Dynamics Static and Dynamic lists . Integration with MS Dynamics should be established. |
| Shopify Segment | Allows you to add users from Shopify Segments . Integration with Shopify should be established. |
Relational DB
| Name | Description |
|---|---|
| Table Filter | Allows you to add filter based on Relational DB Tables. Table filters starts with master_contact table and it allows you add relational tables in order to that. You need to understand how to add other relational tables based on which foreign key links tables each other. |
| Send List Table | Allows you to add selected Send Lists as filter . |
Exclusion Filters
Exclusion Filters allow you to refine your queries and segmentation by excluding specific criteria or subsets of data. Whether you want to narrow down your audience, refine your reports, or enhance your targeting precision, Exclusion Filters provide you with the means to do so.
- To start building exclusion filters Click on Exclusion Filters button .
Note on Exclusion Filters FunctionalityExclusion Filters share the same features and instructions with regular filters. The key distinction is that Exclusion Filters are used to exclude specific criteria from your queries or segmentation. So, when working with Exclusion Filters, you can follow the same guidelines and steps as you would with standard filters.
Using the Search Functionality
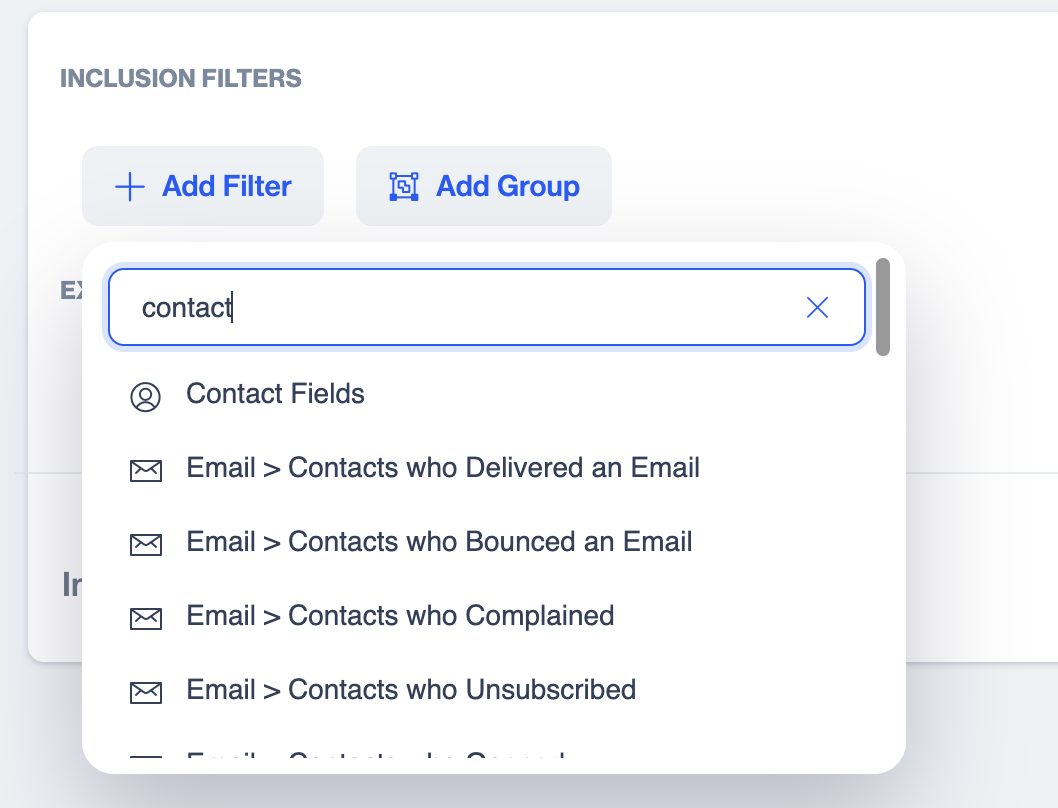
Start Typing to Search:
Begin typing keywords related to the filter you want to add (e.g., "user type," "contact fields").
As you type, relevant results will appear in real-time.
View and Select Results:
The search results will display matching fields under their respective categories.
For example, typing "contact_key" will show:
Contact Fields > contact_key
Device Fields > All Users > contact_key
Device Fields > Contacts > contact_key
Device Fields > Anonymous Devices > contact_key
When a user searches for a specific term (a secondary value/filter) like "contact_key," the search results should display all instances where this term is used.
*Limitations: In the first dropdown menu, users can search for filters related to:
- User Data
- Behavior
- Existing Segments
- Relational DB
However, if a user tries to apply a secondary filter related to Existing Segments or Relational DB, they will not be able to search within those secondary filters. The search functionality is limited to the primary level, meaning it only works within the first dropdown menu.
For example:
If you type "contact_key" in the search bar, the tool should show all filters where "contact_key" is relevant, even if it's under different main categories, such as:
Contact Fields > contact_key
Device Fields > All Users > contact_key
Device Fields > Contacts > contact_key
Device Fields > Anonymous Devices > contact_key
This ensures that users can see every possible filter option related to their search term, regardless of which main filter it belongs to.
Latest Segment Snapshot
At the top of the Details tab, an information card summarizes the most recent calculation of the segment: the calculation date and the number of contacts, emails, GSM numbers, WhatsApp numbers, push-enabled devices, anonymous devices, and anonymous push-enabled devices included. Note that this data reflects the last calculation and may differ from the most up-to-date information.
Insights show total and reachable audience counts per channel.

Ad Audiences
Ad Audiences
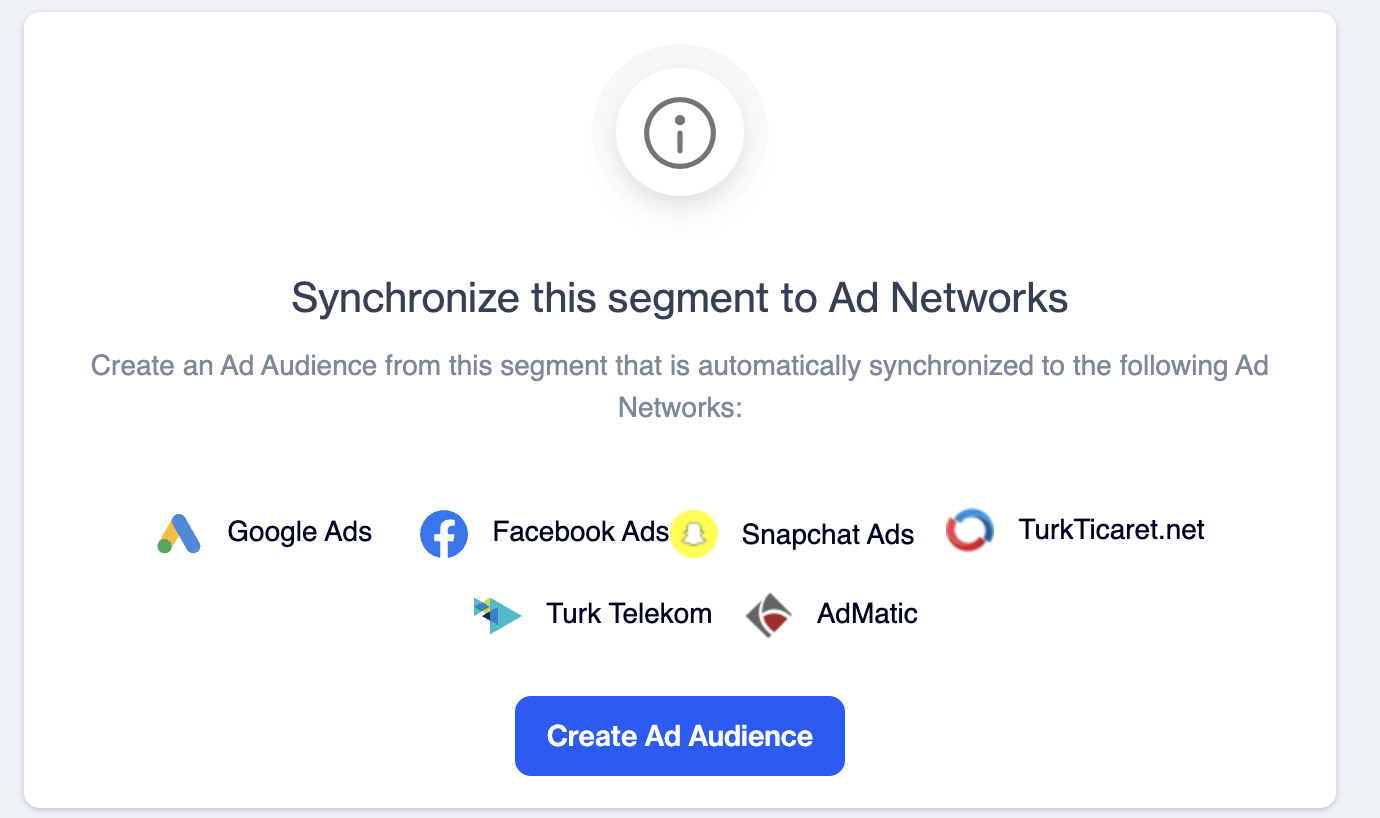
The Ad Audiences tab lets you synchronize the segment to advertising platforms. Click Create Ad Audience to create an Ad Audience from this segment that is automatically synchronized to the supported ad networks: Google Ads, Facebook Ads, Snapchat Ads, TurkTicaret.net, Turk Telekom, and AdMatic.
Create an Ad Audience to keep the segment in sync with your ad networks.
Real-Time
Real-Time
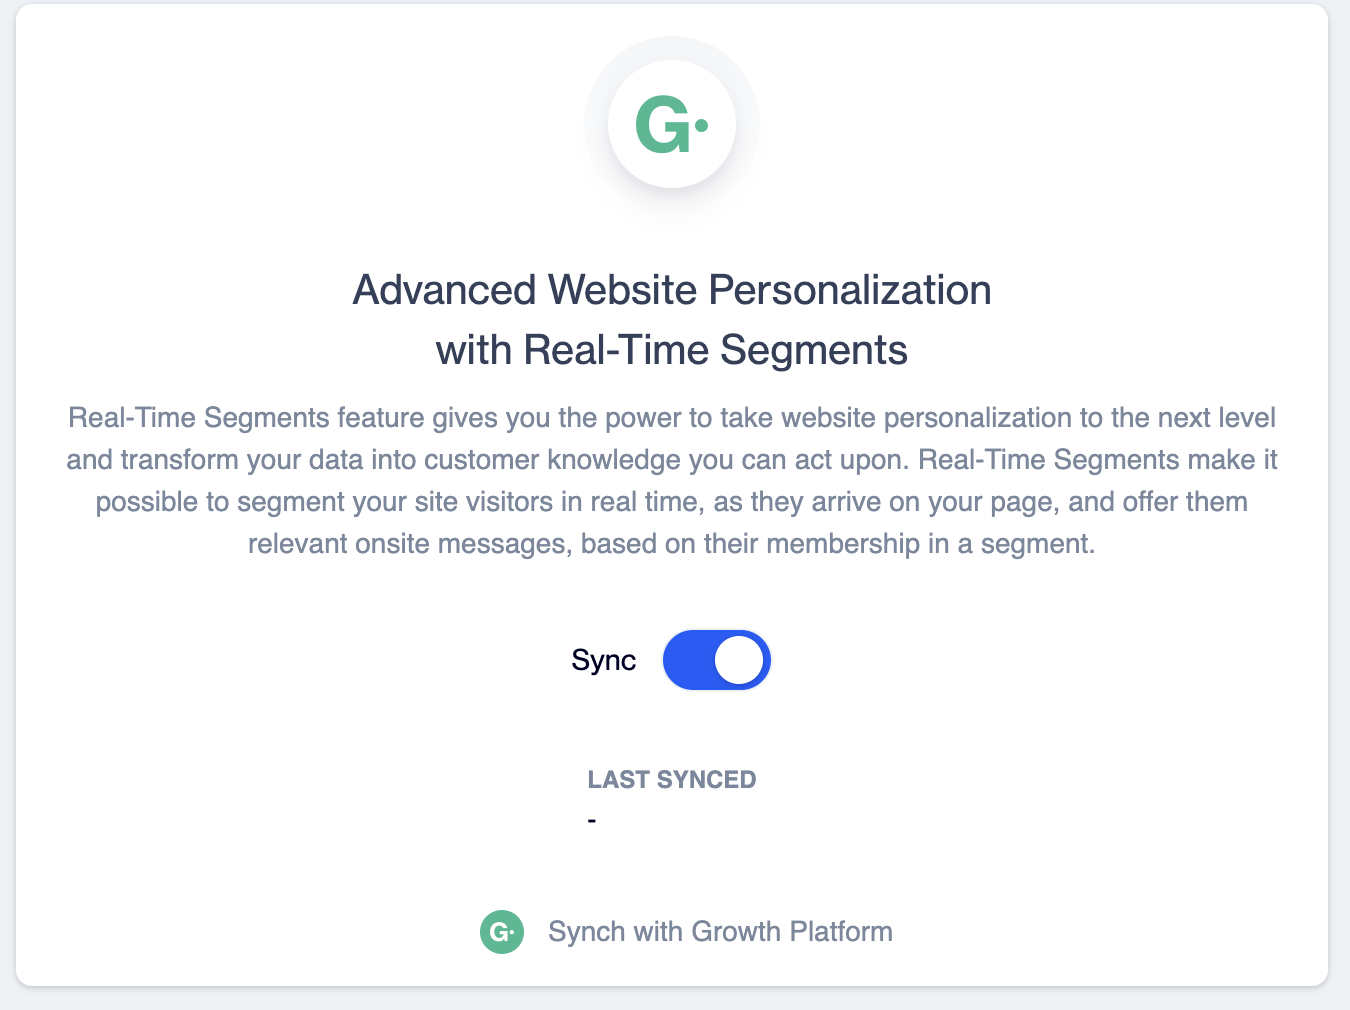
The Real-Time tab enables Advanced Website Personalization with Real-Time Segments. Real-Time Segments make it possible to segment your site visitors in real time, as they arrive on your page, and show them relevant onsite messages based on their segment membership. Turn on the Sync toggle to synchronize the segment with the Growth Platform.
Enable Sync to use the segment for real-time website personalization.
Tracking
Tracking
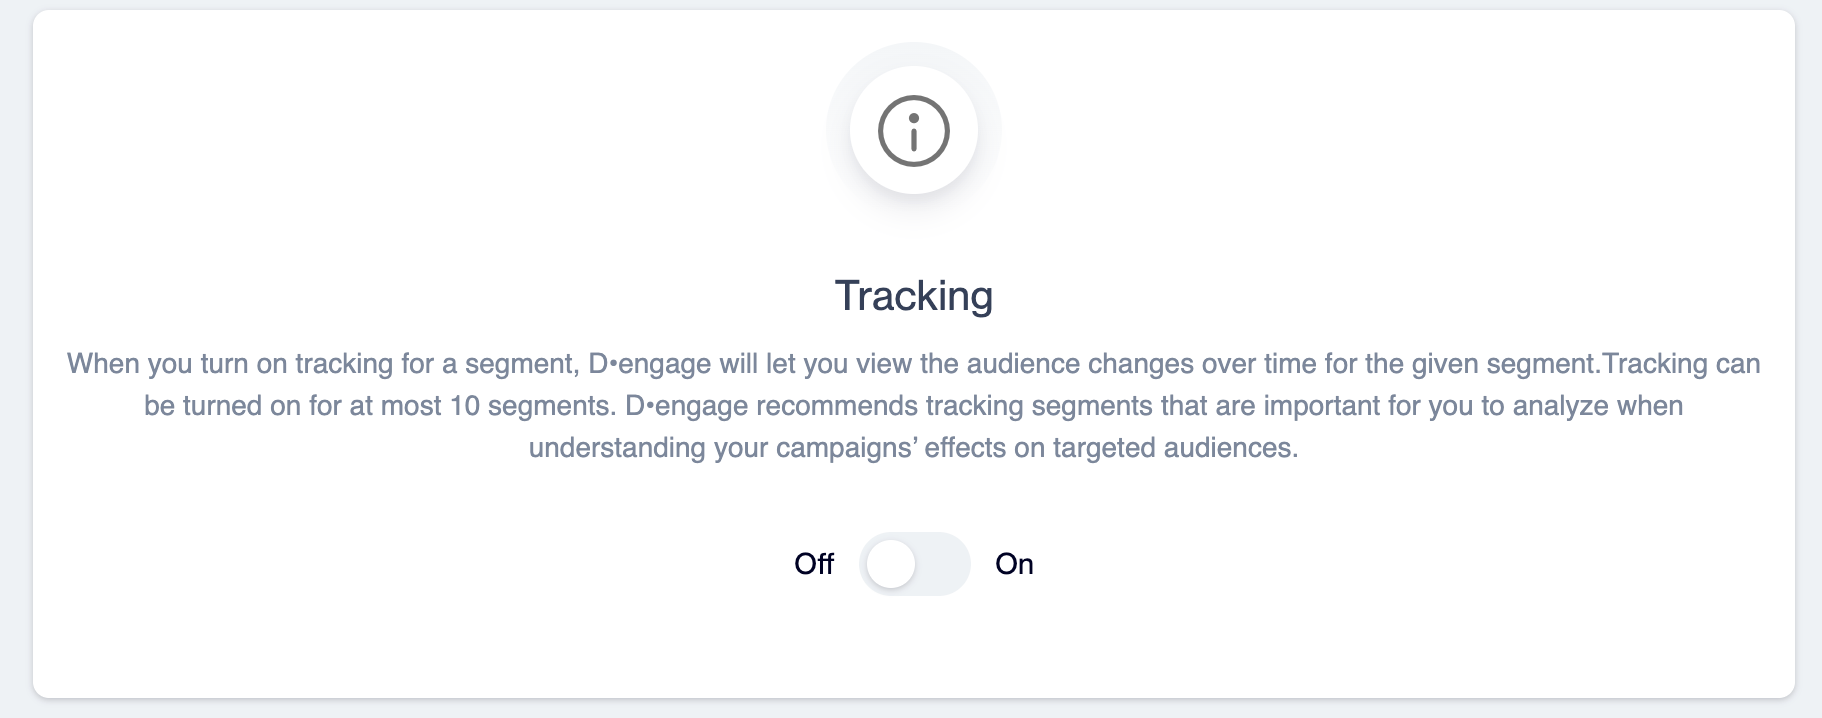
When you turn on tracking for a segment, D·engage lets you view the audience changes over time for the given segment. Tracking can be turned on for at most 10 segments, so it is recommended to track the segments that are most important for analyzing your campaigns' effects on targeted audiences. Use the Off/On toggle to enable tracking.
Turn tracking on to monitor how the segment's audience changes over time.
Real-Time Segment Sync
Real-Time Segment Sync
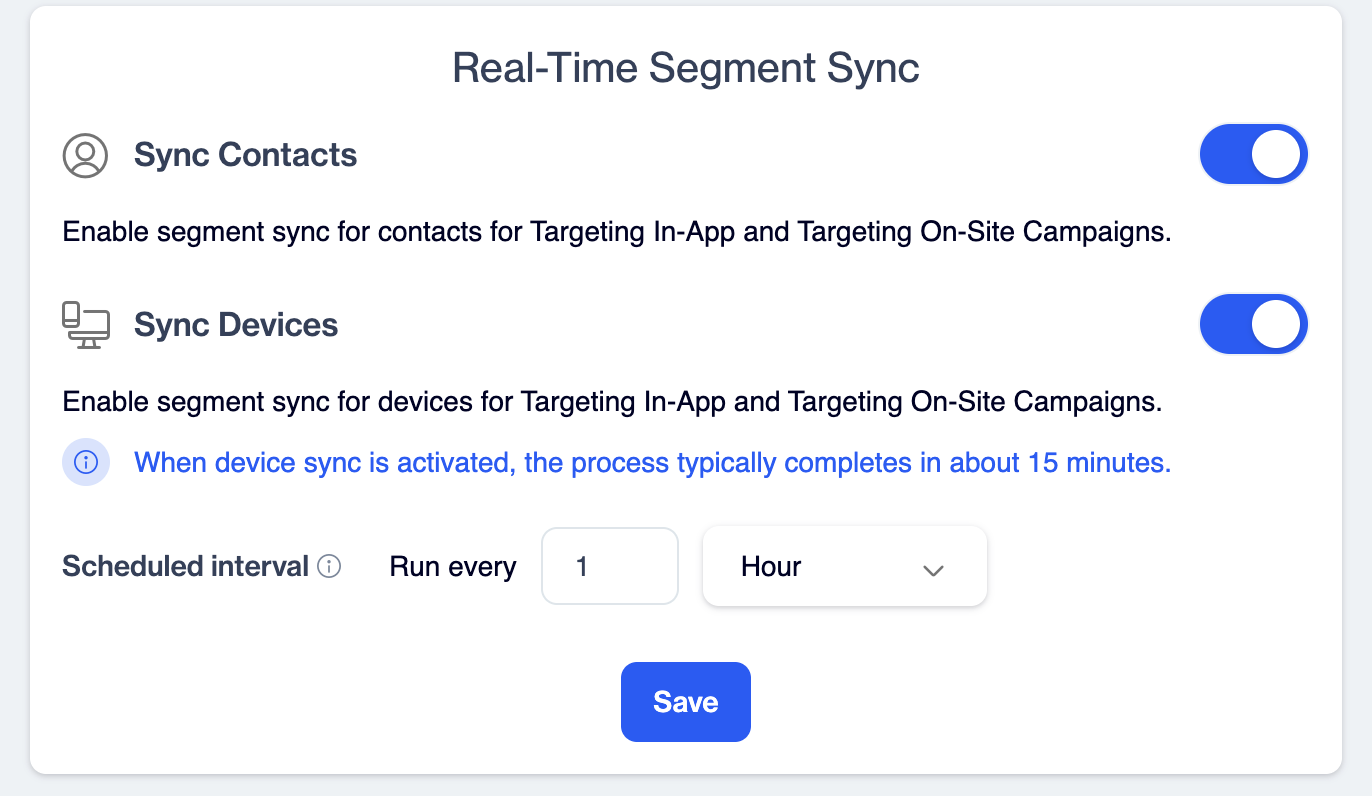
This tab contains the Sync Contacts toggle, which enables segment sync for contacts for Targeting In-App and Targeting On-Site campaigns. Turn the toggle on and click Save to activate it.
Enable Sync Contacts to use the segment in In-App and On-Site targeting.
More Menu
More Menu
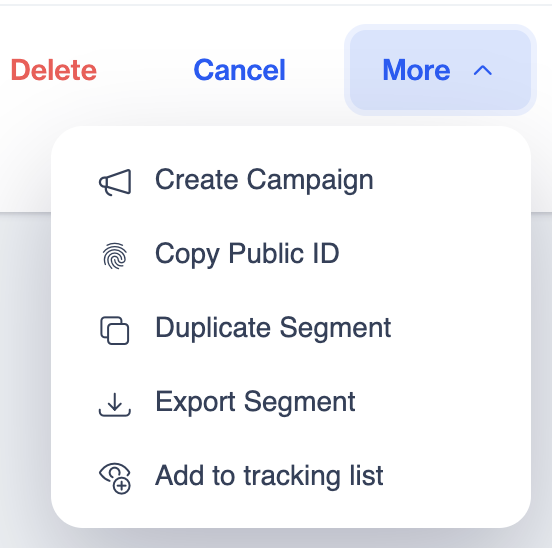
The More button at the top right offers additional shortcuts:
Create Campaign: Start a campaign that targets this segment.
Copy Public ID: Copy the segment's public identifier for API usage.
Duplicate Segment: Create a copy of the segment.
Export Segment: Export the segment's audience.
Add to tracking list: Add the segment to the tracking list directly.
The More menu provides quick actions for the segment.
Updated 3 months ago