
Code Editor
The Code Editor provides a powerful interface for configuring your email content and folders, allowing for comprehensive personalization. It enables users to easily customize sender information, subject lines, and pre-headers to enhance engagement. Additionally, the editor allows for the creation of advanced server-side JavaScript code, enabling the development of more personalized experiences on your site; however, this feature requires technical expertise.
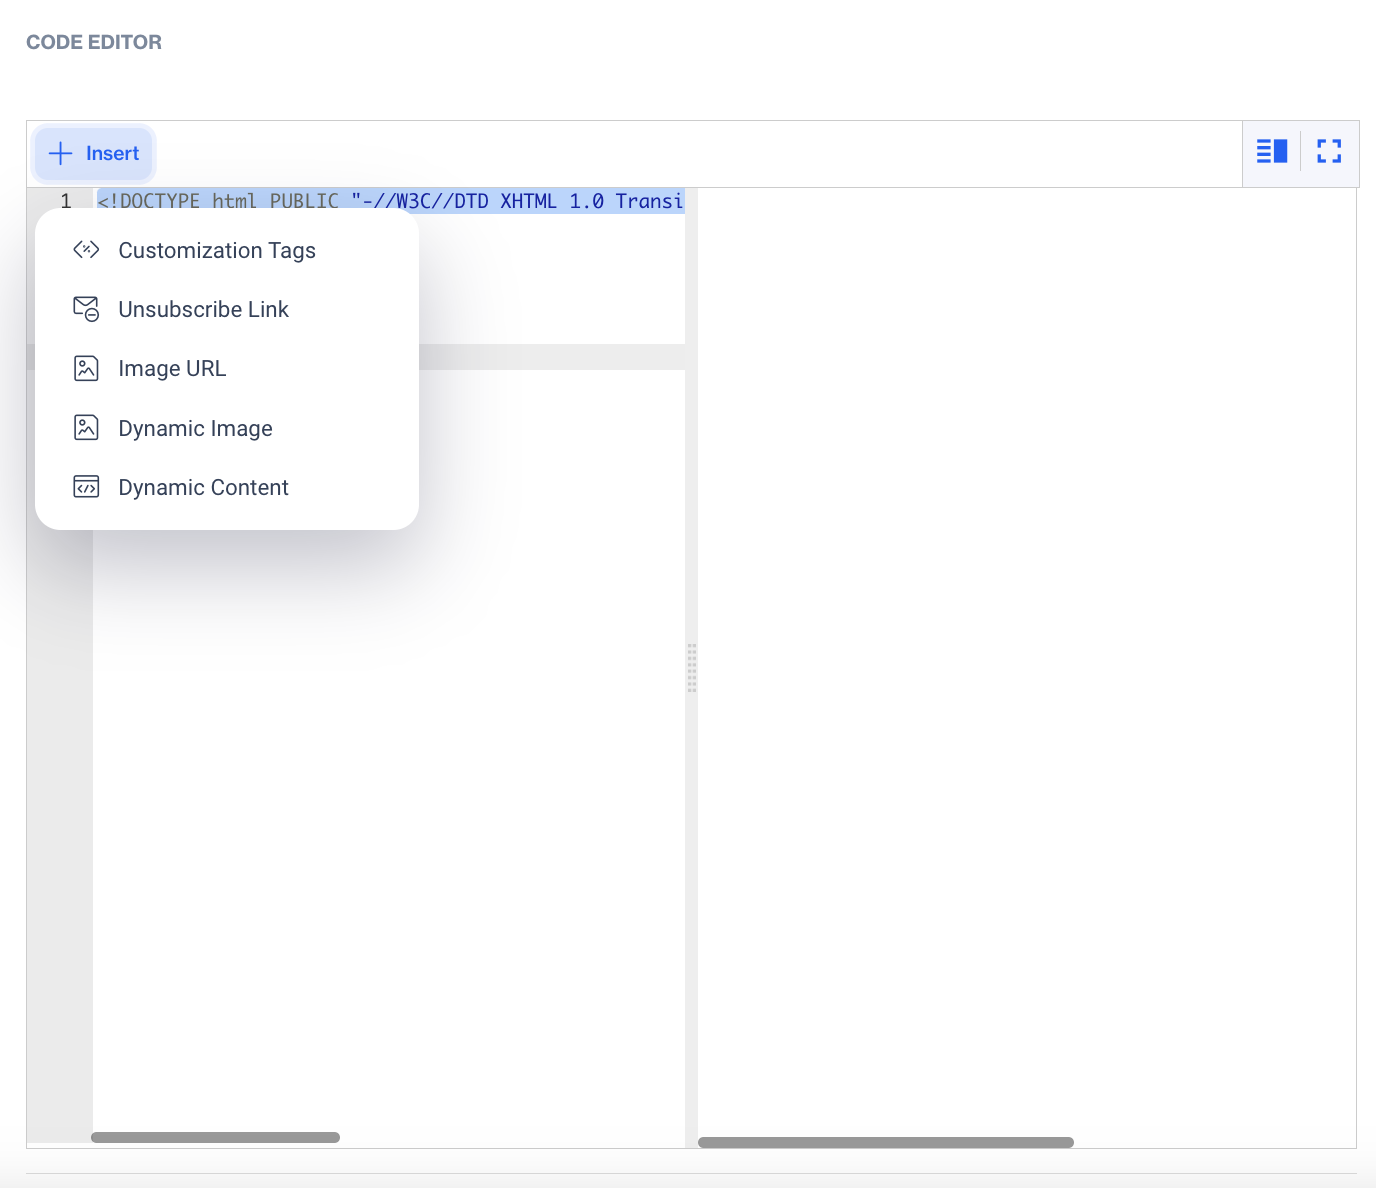
The code text editor simplifies HTML coding, empowering you to craft detailed email designs. You can also insert customization tags, unsubscribe link, image URL, dynamic image, and dynamic content directly into your code.
Code Editor
- Customization Tags
When adding Customization Tags to your email content, you'll see the Customization Selector pop-up. This tool allows you to personalize your emails using various data fields. Keep in mind that if the content already contains Flow Customizations, you can only add more Flow Customizations unless you remove the existing ones to switch to Targeting Customizations.
Customization options include:
- Contact Columns: Insert data specific to your contacts, such as contact_key, name, email.
- Device Columns: Personalize content based on the recipient’s device data (e.g., device type or device_id).
- Dynamic Content (Plain Text): Add dynamic text that adjusts based on recipient data or context.
- Column from Segments: Use data from predefined segments to tailor content for targeted groups.
- Column from Table: Incorporate data from your custom tables to further customize your email.
- Unsubscribe: Insert an unsubscribe link to comply with legal requirements and allow recipients to opt out. (e.g.,{{unsubscribe-link}}, {{brand-unsubscribe-link}} )
- Unsubscribe Link
- Add an unsubscribe link for recipients to opt-out of future emails, ensuring compliance with email regulations.
- Image URL
Using the Image URL option in the Code Editor, users can easily insert images into their email content. When you click on the Image URL, a popup will open, allowing you to choose an image from your existing folders or upload a new image.
To select an image from your folders, navigate through the available options until you find the desired image. If you wish to upload a new image, simply click on the upload option and select the image file from your device. Once the image is selected or uploaded, the URL will be automatically inserted into your code, ensuring seamless integration of visuals in your email content.
- Dynamic Image
- Embed images that change dynamically based on customizations.
- Dynamic Content
- In the Dynamic Content section, you can enhance your email by selecting from three options:
- Product Box: Use this option to display product information dynamically, including images, descriptions, and prices, tailored to the recipient's preferences or behaviors.
- HTML: Insert custom HTML to create visually appealing and interactive elements in your email.
- Plain Text: Add dynamic text that adjusts based on recipient data or context.
AMP Email Editor
AMP Email Content Management allows you to create interactive email experiences by adding AMP content alongside your standard HTML email. With this feature, you can define a separate AMP version of your email in addition to your existing HTML content.
The main value is flexibility and enhanced engagement. If the recipient’s email client supports AMP, they will see the dynamic AMP version. If not, the system automatically falls back to your standard HTML email.
Prerequisites
Before using this feature, make sure that the AMP Email feature flag is enabled for your account.
How to Access
Go to Content > Marketing Email or Content > Transactional Email.
Click New and select Code Editor as the email type.
Enter the required fields such as name and description, then click Next to proceed to the content step.
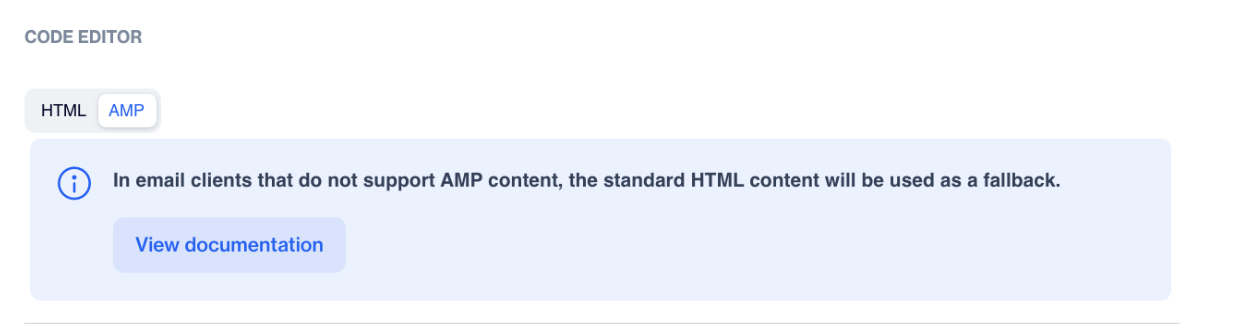
In the editor, you will see two tabs:
HTML and AMP
AMP
How to Use
First, create your email as usual in the HTML tab. This will act as your default and fallback content.
Then switch to the AMP tab. Here, you can add your AMP-compatible email code. This area is fully independent from the HTML editor, so changes here will not affect your HTML content.
After adding your AMP content, click Save Draft. At this step, the system automatically validates your AMP code.
If the validation is successful, your content is saved and can be previewed. If there are errors, validation messages will be displayed and you will need to fix them before the content can be saved.
During the save process, you will be informed that your HTML content will be used as a fallback for email clients that do not support AMP.
When sending the email, the system automatically determines which version to deliver. AMP-supported clients will receive the AMP content, while others will receive the HTML version.
Use Case
An online store sends a promotion email where customers can quickly interact with the content, such as viewing updated product details directly in the email. Users with AMP-supported email clients see the interactive version, while others receive the same content in a standard HTML format.
This feature helps you deliver more engaging email experiences without compromising compatibility, allowing you to reach all recipients effectively.
Updated about 2 months ago