
HTML Editor
The HTML Editor gives you full, code-level control over the in-app messages your users see inside your app. If you are comfortable with HTML and CSS, or your design team hands you ready-made markup, it is the fastest way to build pixel-perfect pop-ups, banners and full-screen messages that match your brand, enriched with personalization tags, images from your asset library, and dynamic content.
An in-app content is a reusable template. You design and publish it once, then select it in one or more In-App campaigns, which decide who sees the message and when it is triggered. Typical uses include a welcome offer pop-up for new users, a slim banner announcing a new feature, or a full-screen campaign takeover.
Prefer drag & drop?You can build the same content without writing code: start from the built-in BEE editor instead (see "Design with the BEE Editor" below), or choose one of the ready-made in-app content types when creating the in-app item.
Before You Start
- Your app must be integrated with the Dengage SDK, with in-app messaging enabled, so that In-App campaigns can display your content to users.
- To send test messages, make sure your test devices are registered in Dengage.
- Images should be uploaded to your Dengage image library so you can insert reliable, hosted image URLs.
- If you plan to insert dynamic content, create the dynamic contents beforehand so they are ready to select in the editor.
Step 1: Create the Content and Fill In the General Section
- In the Dengage panel, go to Content > Marketing > In-App. This page lists all of your in-app contents.
- Create a new in-app item and choose HTML.
- In the General section, enter a Name for your content. The name is how you will recognize the template later when selecting it in a campaign.
- Optionally, click Change Folder to store the content in a specific folder, and add a Description that tells teammates what the template is for.
- Click Next to unlock the Content section.
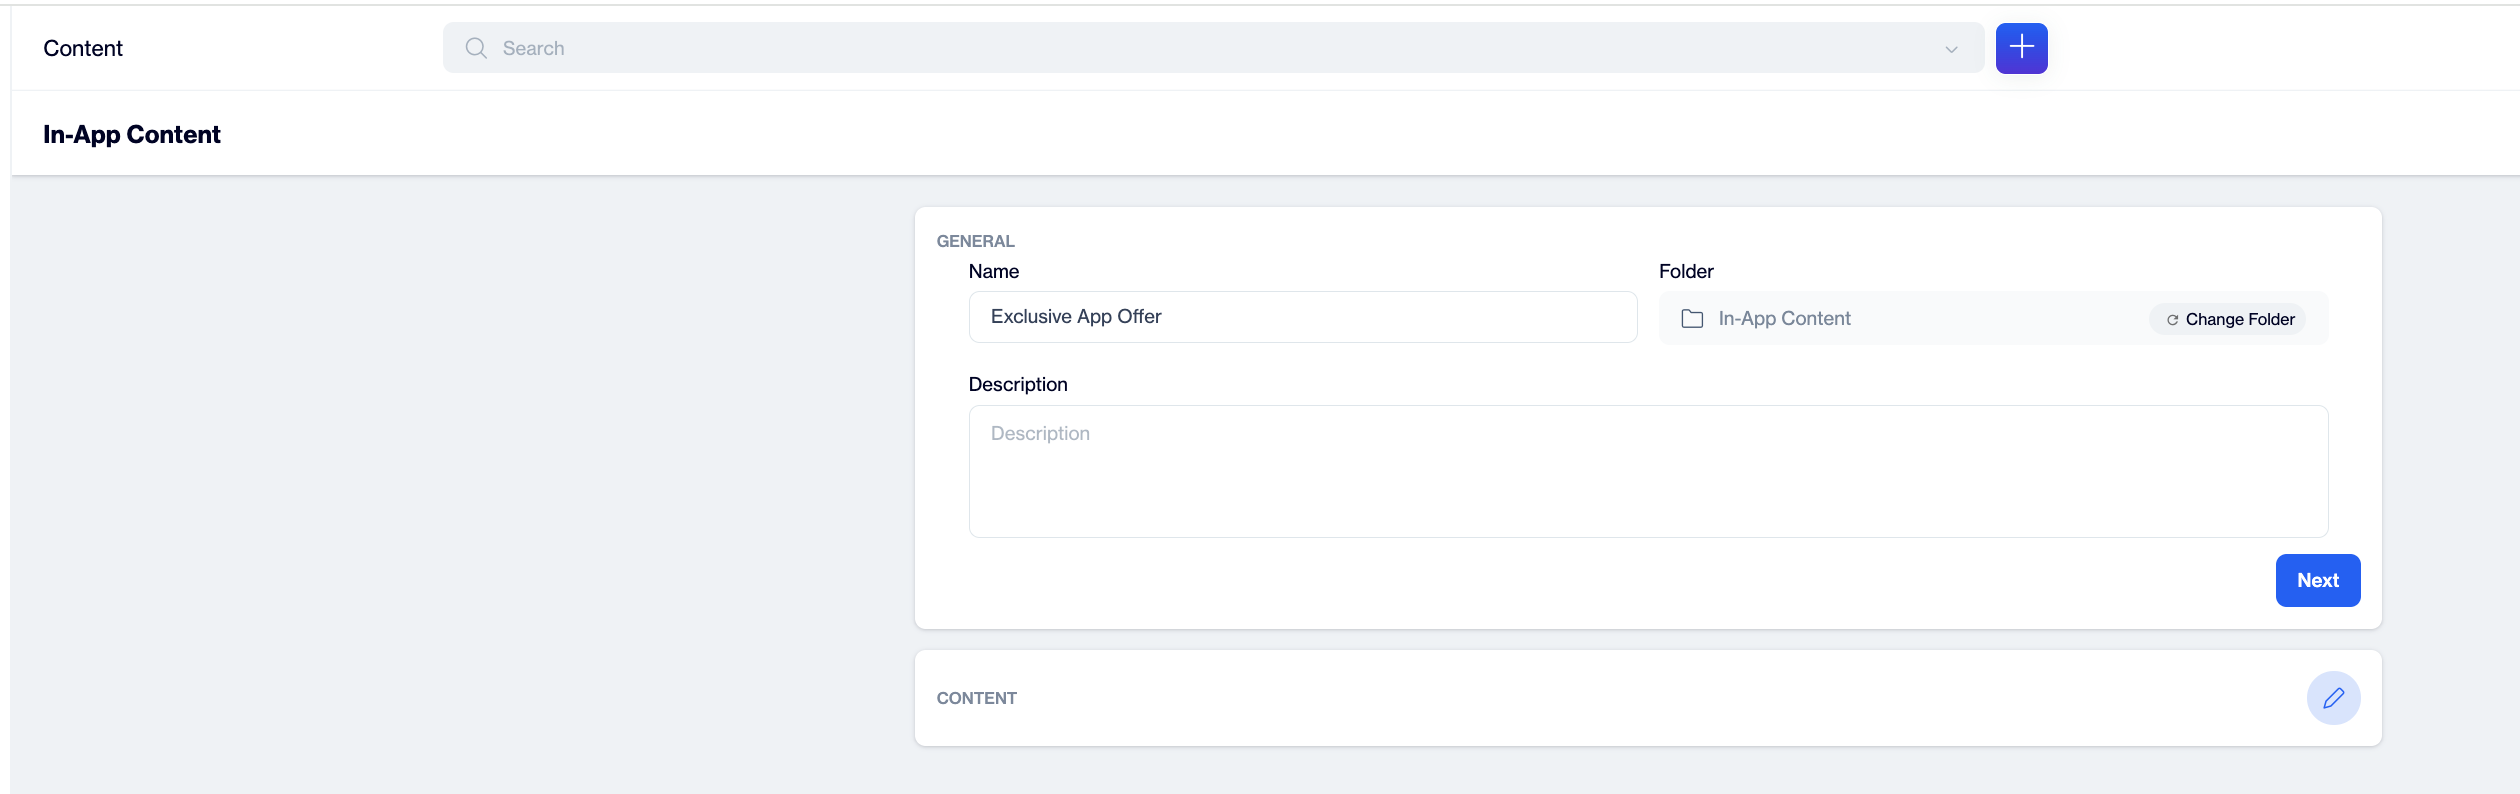
General section: name, folder, description
Step 2: Set Up Languages and Layout
Add languages
Your content starts with one language version. To localize it, open the Add Languages menu and pick one of two options:
- Copy from Content: duplicates an existing language version, so you only translate the texts.
- Create Blank Content: starts the new language from an empty template.
Each language version keeps its own HTML, so you can localize copy, imagery and even layout details independently. Switch between versions using the language tabs.
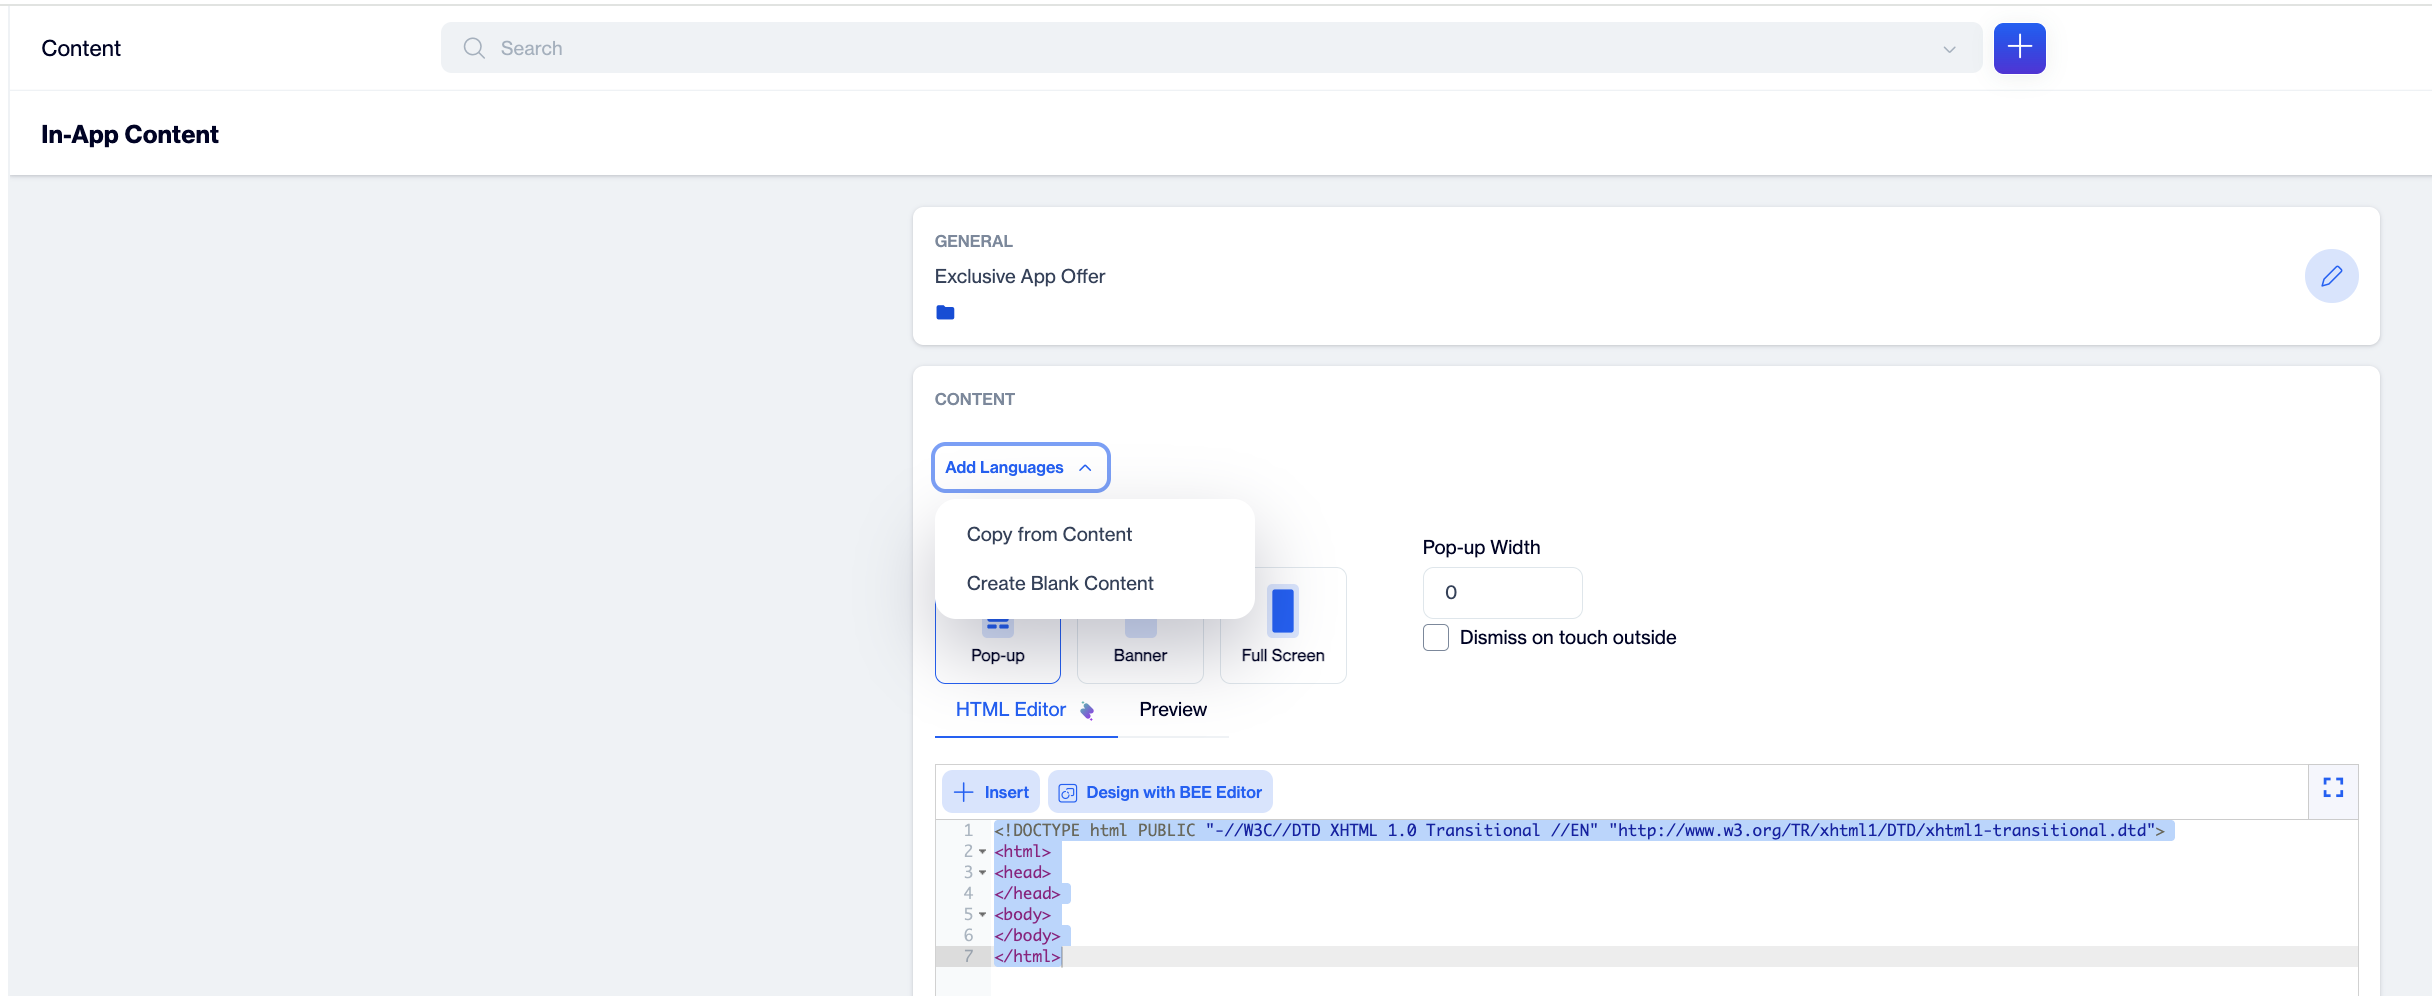
Add Languages - copy an existing version or start blank.
Select a layout
Under Select Layout, choose how the message appears in your app. Each layout has its own display settings; your HTML is independent of this choice, so you can switch layouts without losing your design.
Pop-up
An overlay displayed on top of the current screen: ideal for announcements, offers and rating prompts.
| Setting | What it does |
|---|---|
| Pop-up Width | Sets the width of the pop-up container; your HTML renders inside this frame. |
| Dismiss on Touch Outside | When enabled, the pop-up also closes when the user taps anywhere outside it. |
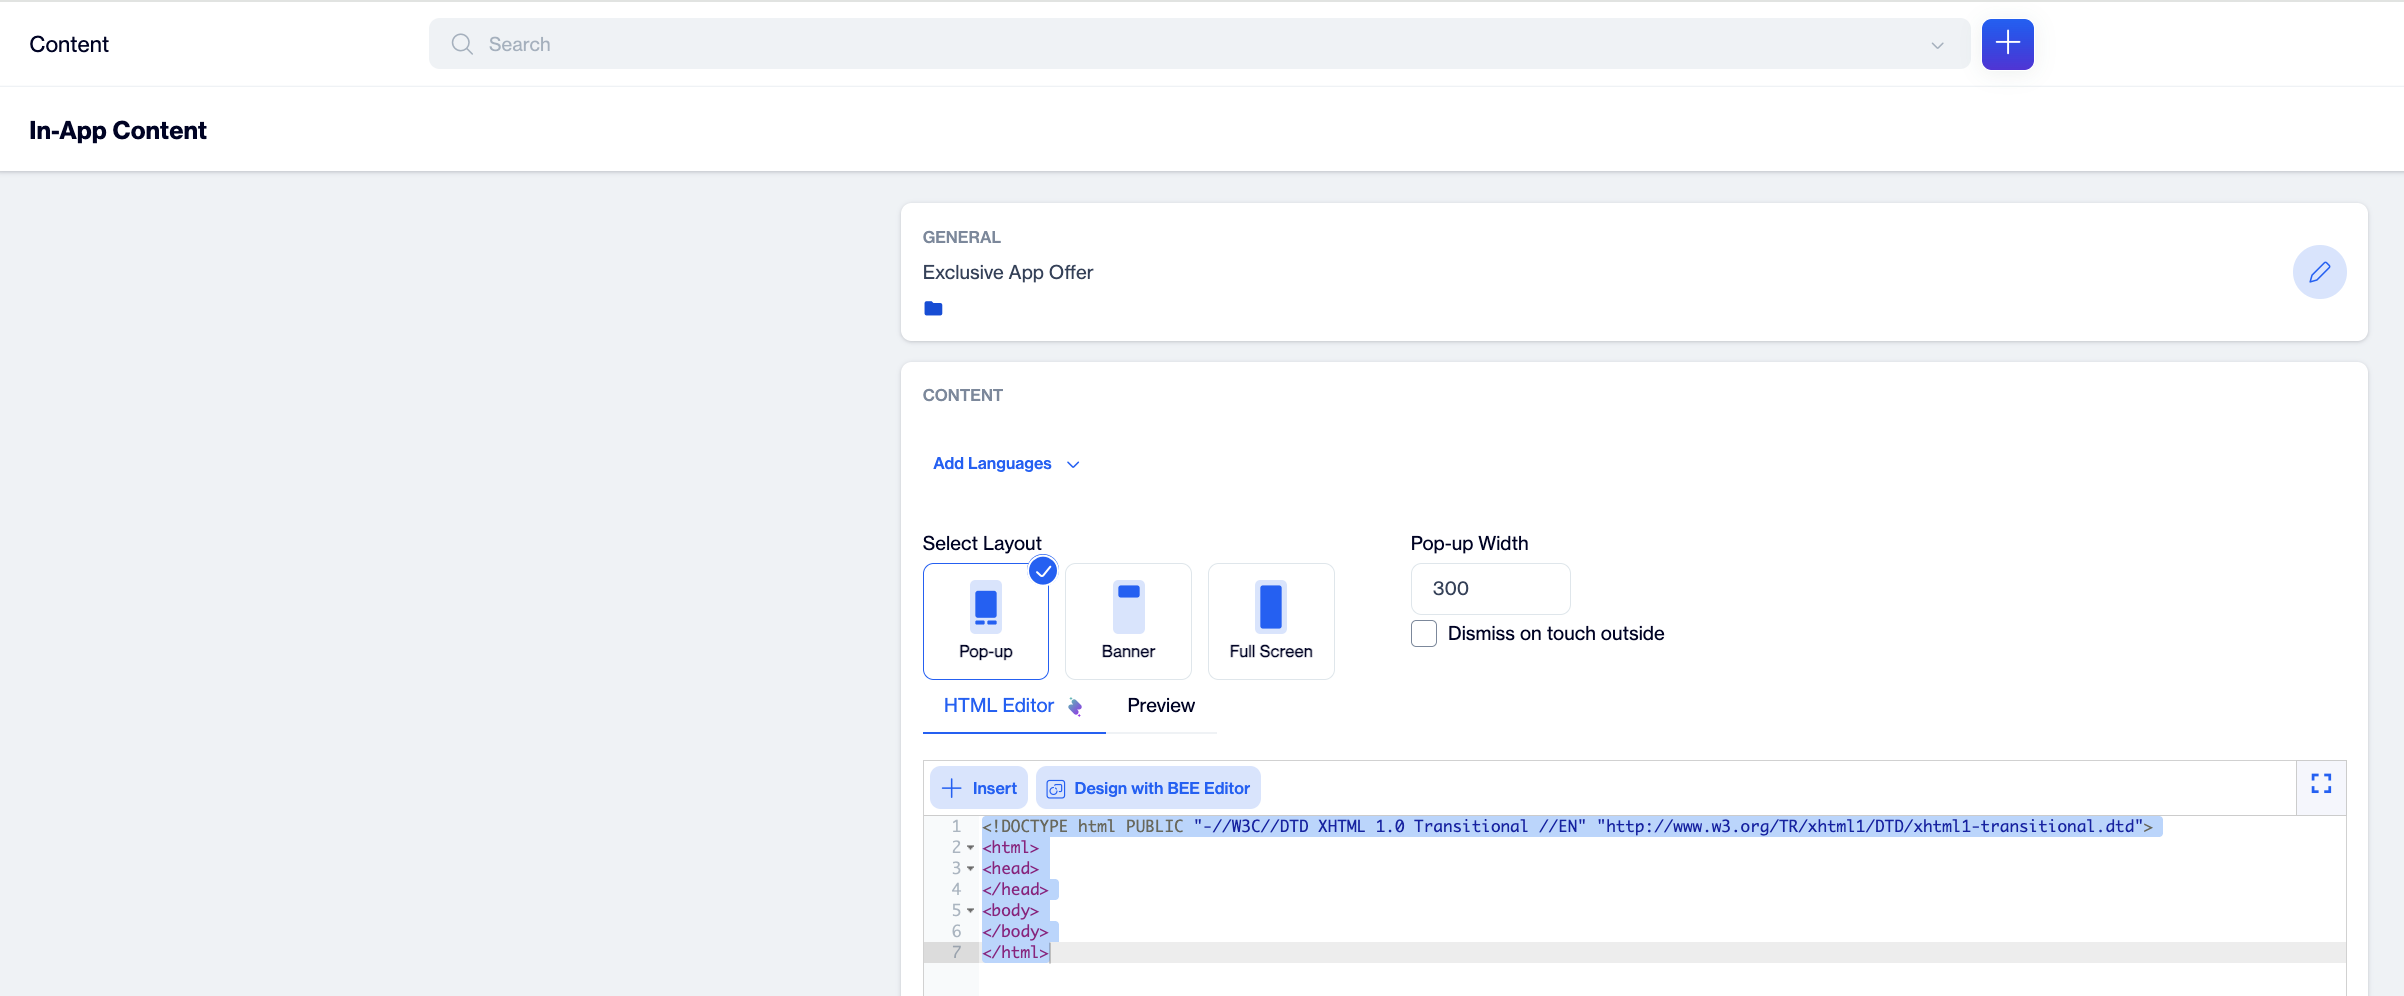
Content section with the Pop-up layout selected.
Banner
A slim strip pinned to the top or bottom of the screen: ideal for feature announcements and promo reminders.
| Setting | What it does |
|---|---|
| Layout Position | Shows the banner at the Top or Bottom of the screen. |
| Dismiss on Touch Outside | When enabled, the banner also closes when the user taps anywhere outside it. |
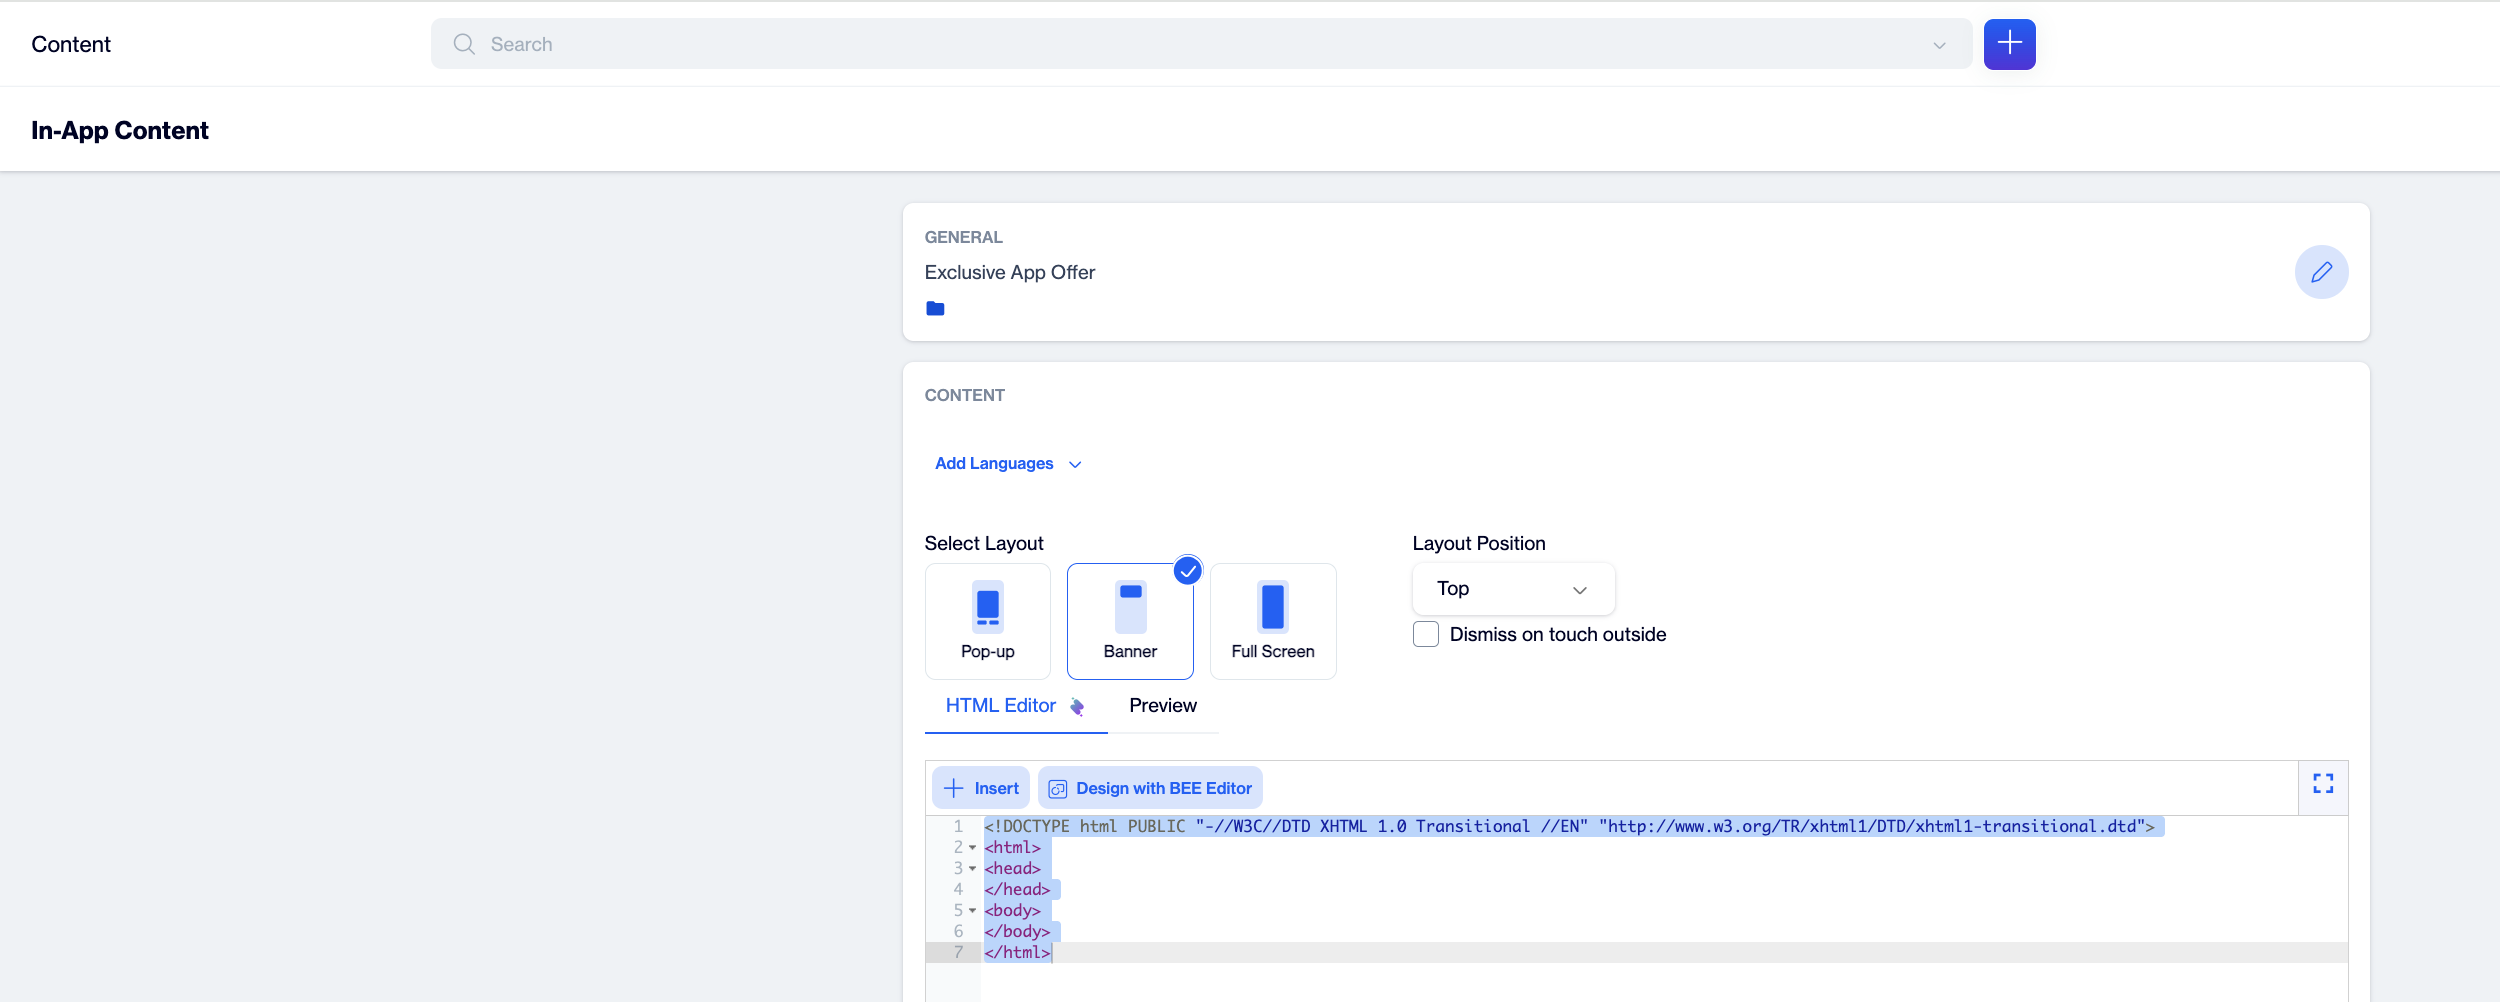
Banner layout settings - position and dismiss behavior.
Full Screen
The message covers the entire screen of the device, so there are no additional layout settings. Make sure your design includes a clear way to close the message.
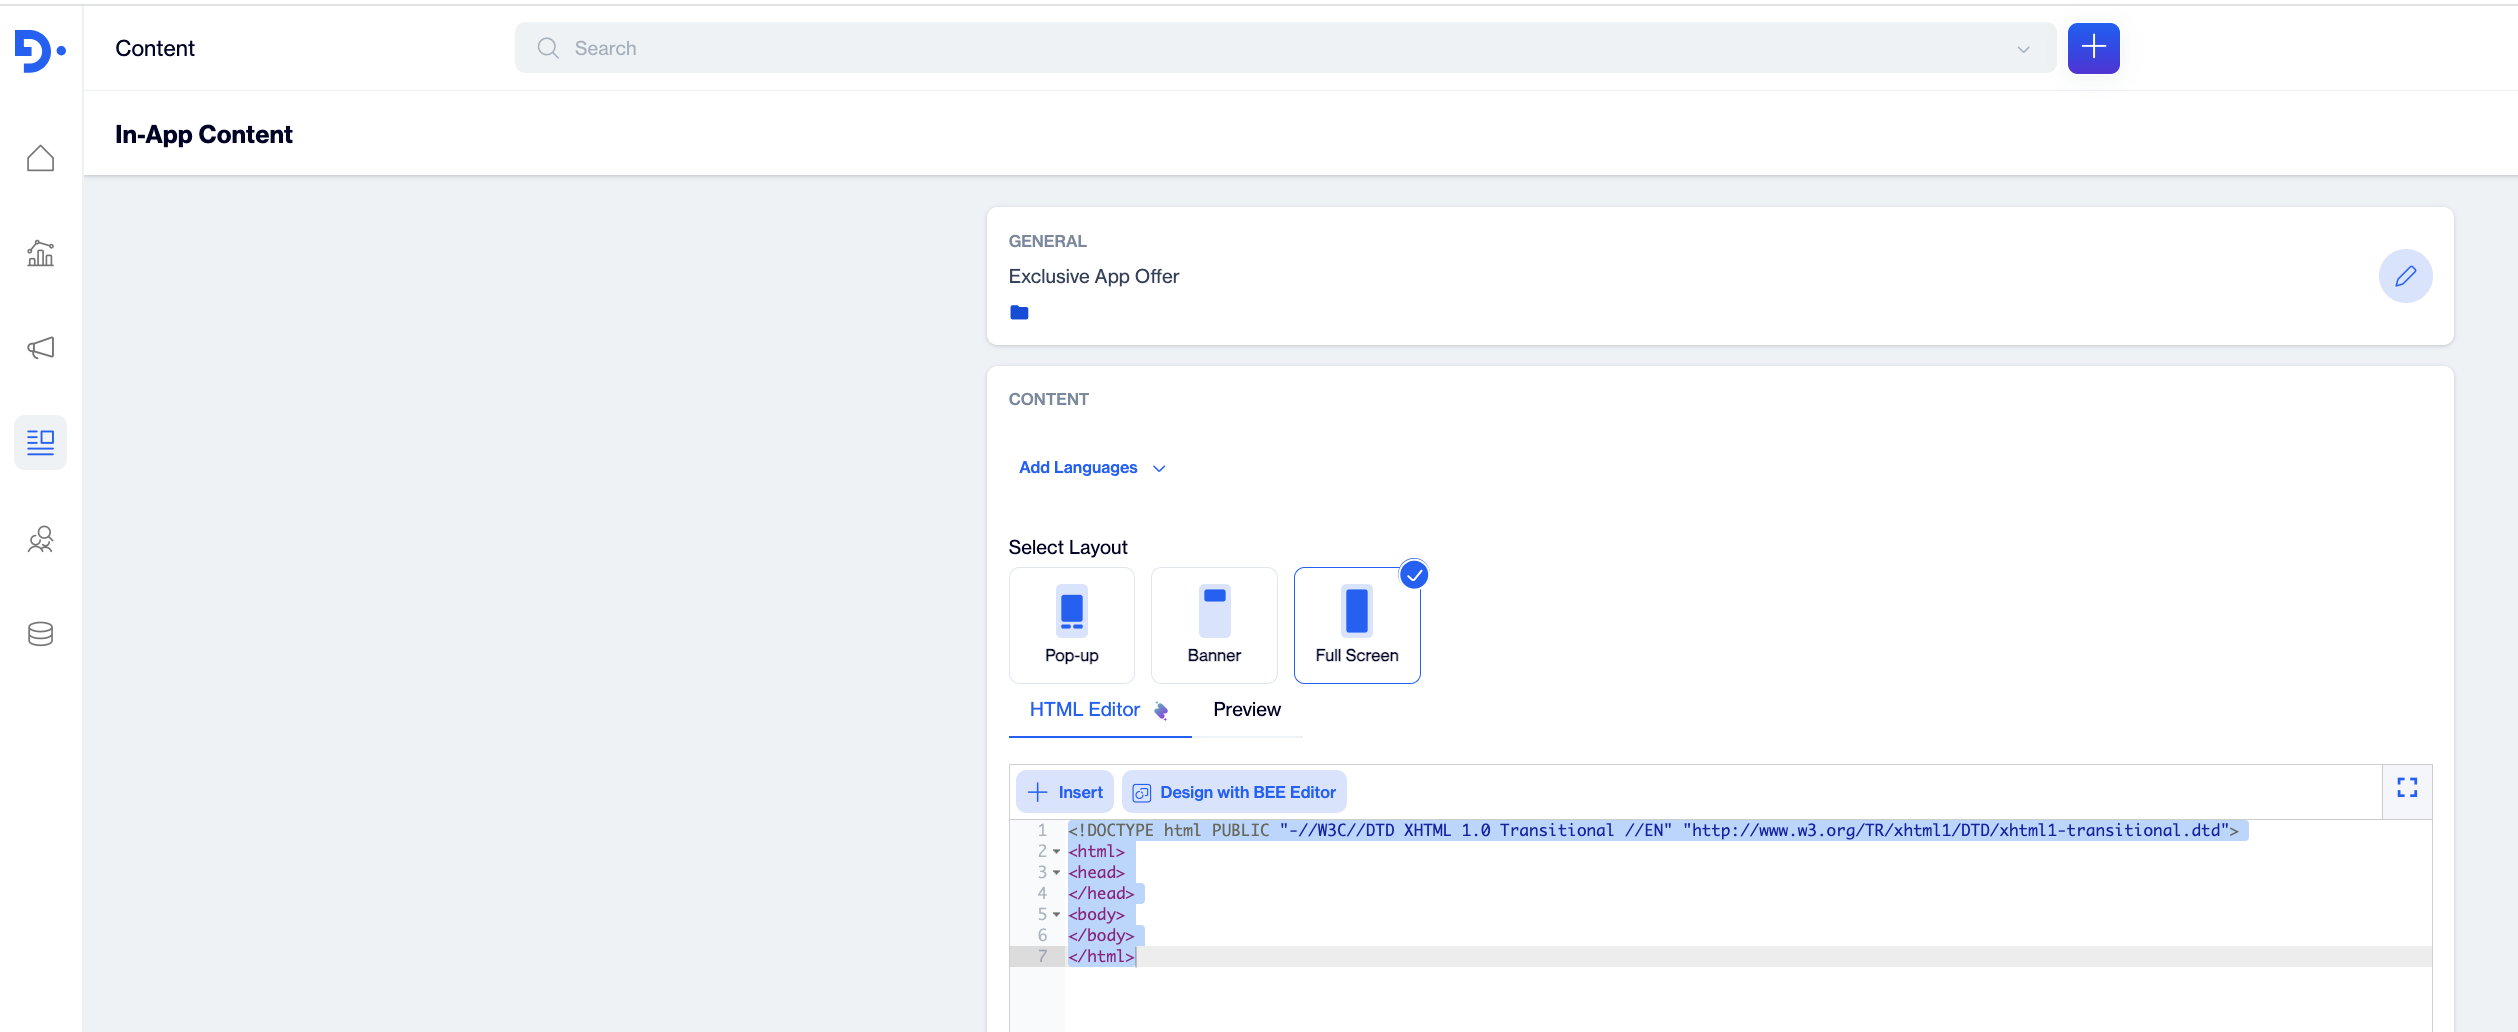
Content section with full screen selected.
Step 3: Build Your Design in the HTML Editor
The HTML Editor tab contains a code editor pre-filled with a blank XHTML skeleton. Write or paste your markup between the <body> tags. The editor provides syntax highlighting and line numbers, and everything you add with the Insert menu is placed at your cursor position.
Insert menu: personalization and assets
Click + Insert in the editor toolbar to add three kinds of building blocks:
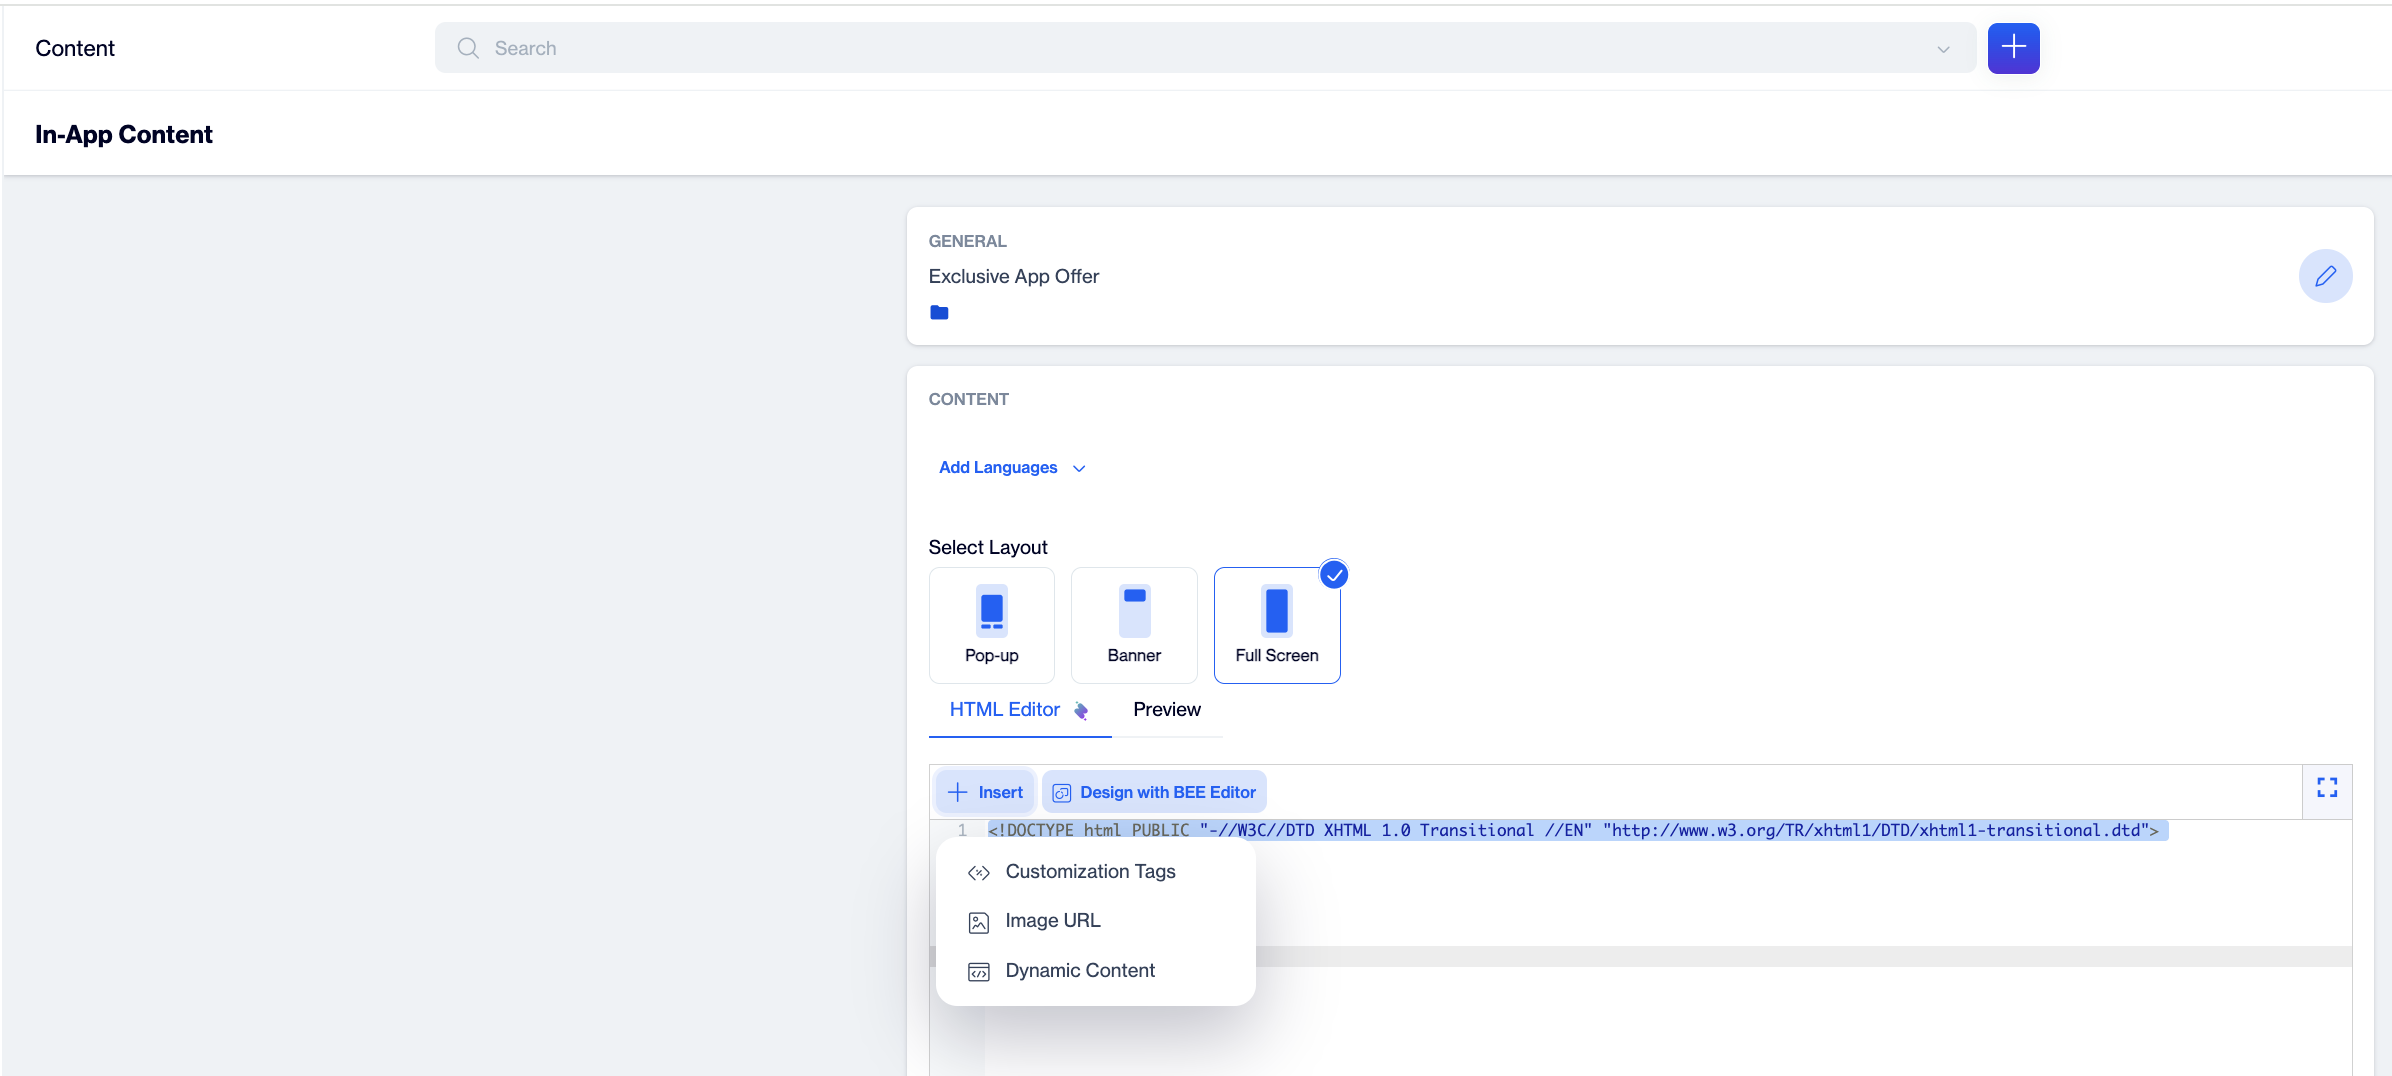
Insert menu - Customization Tags, Image URL, Dynamic Content.
Customization Tags
Customization tags personalize your message per user. Choosing Insert > Customization Tags opens the Customization Selector, where you can search and pick the attribute to insert.
| Tab | What you can insert |
|---|---|
| Contact Columns | Attributes from the user's contact profile, such as name, email, city, segment and your custom columns. |
| Device Columns | Attributes of the user's device, such as os, device_type and app_version. |
| Dynamic Contents (Plain Text) | Plain-text dynamic contents you have created earlier. |
| Columns From Segment | Select one of your segments or lists, then insert its columns. |
| Columns From Remote Segment | The same as above, for remote segments. |
| Columns From Table | Select one of your data tables, then insert its columns. |
| System Parameters | Ready-made system values such as Campaign Name, Campaign Id, Send Id. |
| Coupons | Select a coupon list to insert a unique coupon code per user. |
NoteFlow and Targeting customizations cannot be mixed in the same content. If the content already contains Flow customizations, you can only add Flow customizations; remove them first if you need Targeting customizations instead.
Image URL
Choosing Insert > Image URL opens the Image Selector, which is your image library. Browse the folders, select an image and click Add to insert its hosted URL at the cursor. Because the file is served from your Dengage library, the URL stays valid wherever the message is shown.
Dynamic Content
Choosing Insert > Dynamic Content opens the dynamic content selector. Pick an existing item, and when the message is displayed the tag is replaced with the live content for that user.
Prefer drag & drop? Design with the BEE Editor
Click Design with BEE Editor in the editor toolbar to open a full-screen drag-and-drop designer. Drag content blocks (Title, Paragraph, List, Image, Button, Divider, Spacer, Social, Dynamic Content, HTML, Video, Icons, Menu and Text) onto the canvas, and fine-tune structure and styling from the Rows and Settings tabs. From the toolbar you can preview your design, send a test, show the structure outlines, and export or upload a template (More > Export Template / Upload Template). When you're done, click Save and Back; the HTML generated by the BEE Editor is placed into the HTML Editor.
WarningSaving a BEE design replaces the code in the HTML editor for that language version. If you have hand-written HTML you want to keep, copy it or export it before switching to BEE.
Step 4: Preview Your Design
Switch to the Preview tab to see the message rendered inside a mobile device frame. The preview reflects your layout settings (pop-up width, banner position), so check it whenever you change the layout, and always verify on a real device with a test send before publishing.
Step 5: Test Before You Publish
Click Test in the top bar to open the Test In-App Template window:
- The preview shows your message on a device frame.
- Show Another: refresh the preview with another sample — useful when the design contains personalized or dynamic parts.
- Send Test In-App: deliver the message to your registered test devices so you can verify it live in the app.
Step 6: Save, Publish or Send for Approval
When you are happy with the design, use the buttons in the top bar: Save Draft stores your work so you can continue later, while Publish makes the content available for selection in In-App campaigns. Cancel discards the current editing session.
Once the content is saved, the More menu lets you duplicate or delete the template, and if the approval process is enabled for your account, you can send the content for approval before publishing.
Show It in Your App: Use the Content in an In-App Campaign
Publishing a content does not display it by itself. An In-App campaign controls who sees it, when, and how often. Go to Campaign > In-App and create a campaign: define your audience and trigger conditions, select the in-app content you just published, set display limits, then review and activate.
Best Practices
- Design for small screens first. Keep inner elements fluid, check the device-frame preview, and send a test to a real device before publishing.
- Always leave a way out. Enable Dismiss on Touch Outside for pop-ups and banners, and include a visible close control in your design - especially for Full Screen messages.
- Host images in the image library. Library URLs are stable and served by Dengage; hot-linking files from elsewhere risks broken images.
- Write personalization with fallbacks. Compose sentences that still read naturally when an attribute is empty for a user, and preview with Show Another to check different samples.
Troubleshooting & FAQ
My message does not appear in the app.
Check the full chain: the content is published (not a draft), it is selected in an active In-App campaign whose audience and trigger rules match, and the Dengage SDK is integrated in the app with in-app messaging enabled.
The pop-up looks wrong on some devices.
Adjust the Pop-up Width, make the inner layout fluid (percent-based widths), and verify in the Preview tab and with a test send.
I designed in BEE. Can I go back to my hand-written HTML?
Saving a BEE design overwrites the code in the HTML editor. You can keep editing the generated markup as code, but the previous hand-written version is not kept, so copy it somewhere safe before switching.
Should I use the HTML Editor or a ready-made in-app content type?
Use the HTML Editor when you need exact control or already have coded templates; choose a ready-made type (Modal, Image Modal, Survey, Story and more) when you want to compose quickly without code. The language, preview, test and publish steps are the s
f
Updated about 2 months ago