
Upload File
The Upload File feature allows you to streamline your email content creation by generating HTML email content directly from a ZIP file. This enhancement simplifies the process, eliminating the need for manual coding and promoting efficiency in your email marketing campaigns.
To generate email content from your ZIP file, navigate to Content > Email, click on New, and select the type as Upload File. This process facilitates a seamless transition from your design to the email platform, enhancing your workflow and productivity.
Upload File
When you choose the email type, you will be presented with a page containing two main sections: General and Content.
General
- This section allows you to provide a Content Name and select a Folder for organizing your email.
- Once a name is entered, the Content section will become available for editing.
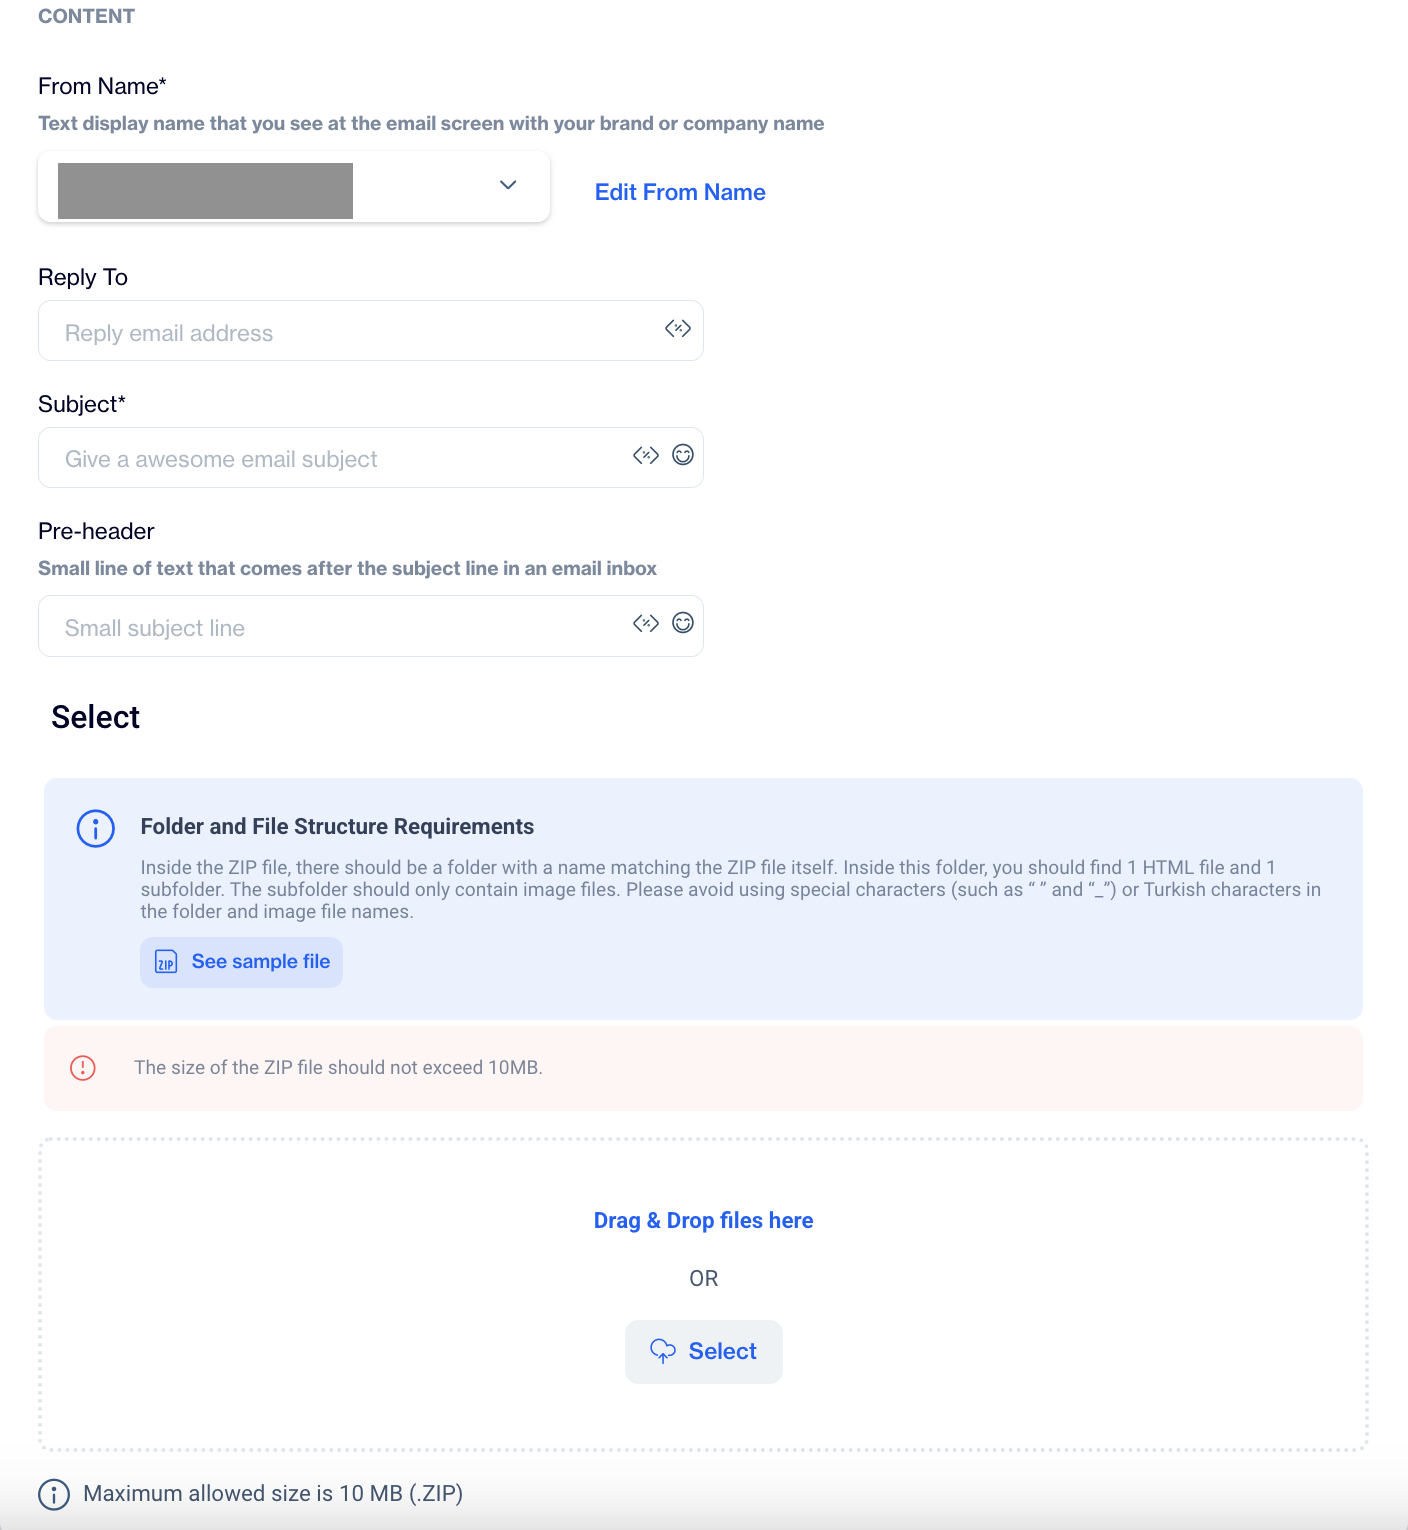
Content
- From Name
- Specify the display name that will appear in the recipient's inbox, typically your brand or company name.
- Reply To
- Define the email address that will receive replies from your recipients.
- You can add customization options here to personalize the "Reply-To" field.
- Subject*
- Enter an engaging subject line to capture your audience’s attention.
- You can enhance your subject line with customization options and emojis.
- Pre-header
- Provide a short line of text that appears after the subject line in the recipient’s inbox.
- You can also add customization and emojis here to make the pre-header more appealing.
Creating a ZIP File: To utilize this feature, create a ZIP file that contains a folder named identically to the ZIP file. Inside this folder, include one HTML file that contains your email content and a subfolder dedicated to image files.
Important Notes
- Avoid using special characters (e.g., “ ” and “_”) or Turkish characters in the folder and image file names.
- Ensure the ZIP file does not exceed 10 MB in size.
Updated 2 days ago