
In-App Preview and Testing
Once you have created your in-app content, it is essential to verify its appearance and functionality before finalizing.
Preview
While creating in-app content, you can view a real-time preview on the screen. This lets you see how the content will look on mobile as you make adjustments.
A test send cannot be delivered to a contact that does not have a registered device. Before sending a test, make sure the subscription process has been completed for that contact, and send the test to the app where the subscription was created.
Sending a Test
To send your in-app content to a real device, follow these steps:
-
Click the Test button. Locate the Test button at the upper right corner of the screen.
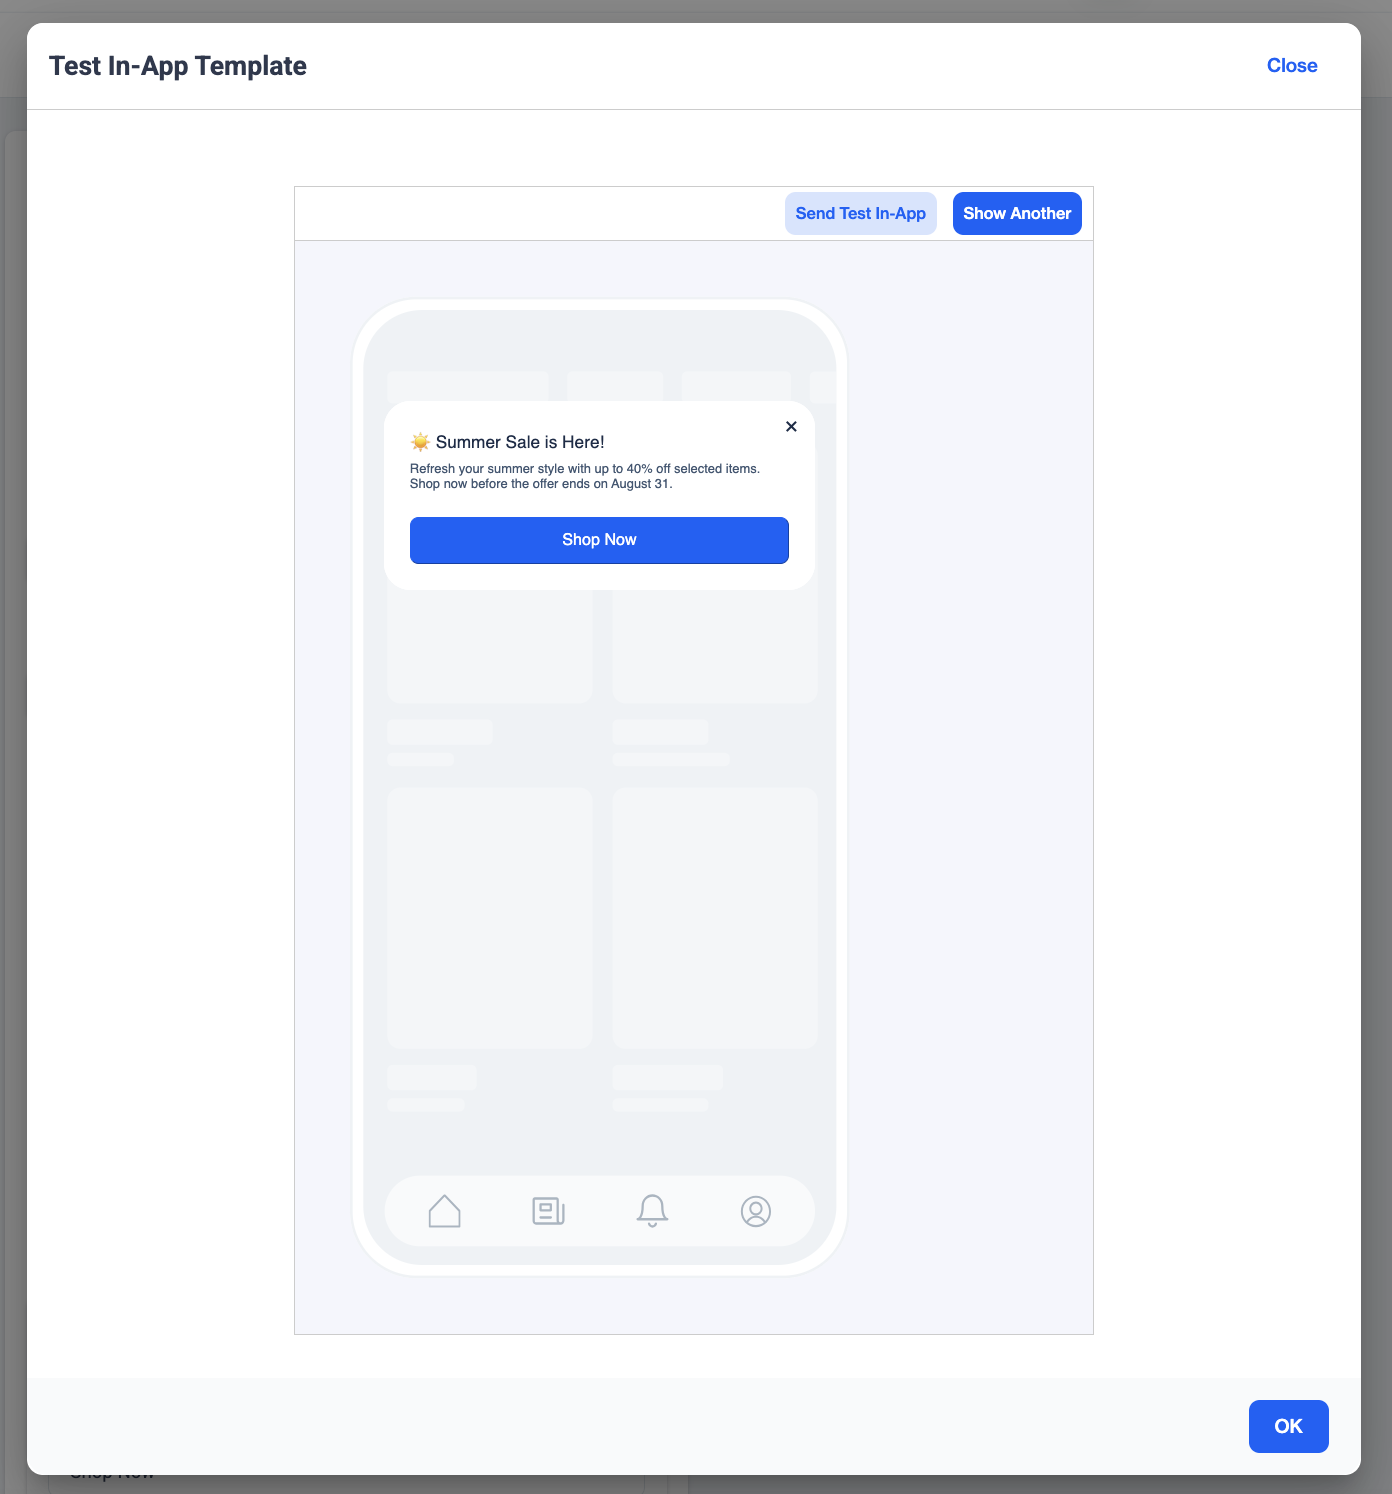
Test In-App Template
-
Select Send Test and choose your test audience. You have two options for specifying who receives the test:
- Predefined Audience: Choose a test audience from the dropdown menu to target a specific group.
- Type-in Contact Key: Manually enter a Contact Key to direct the test content to a specific user.
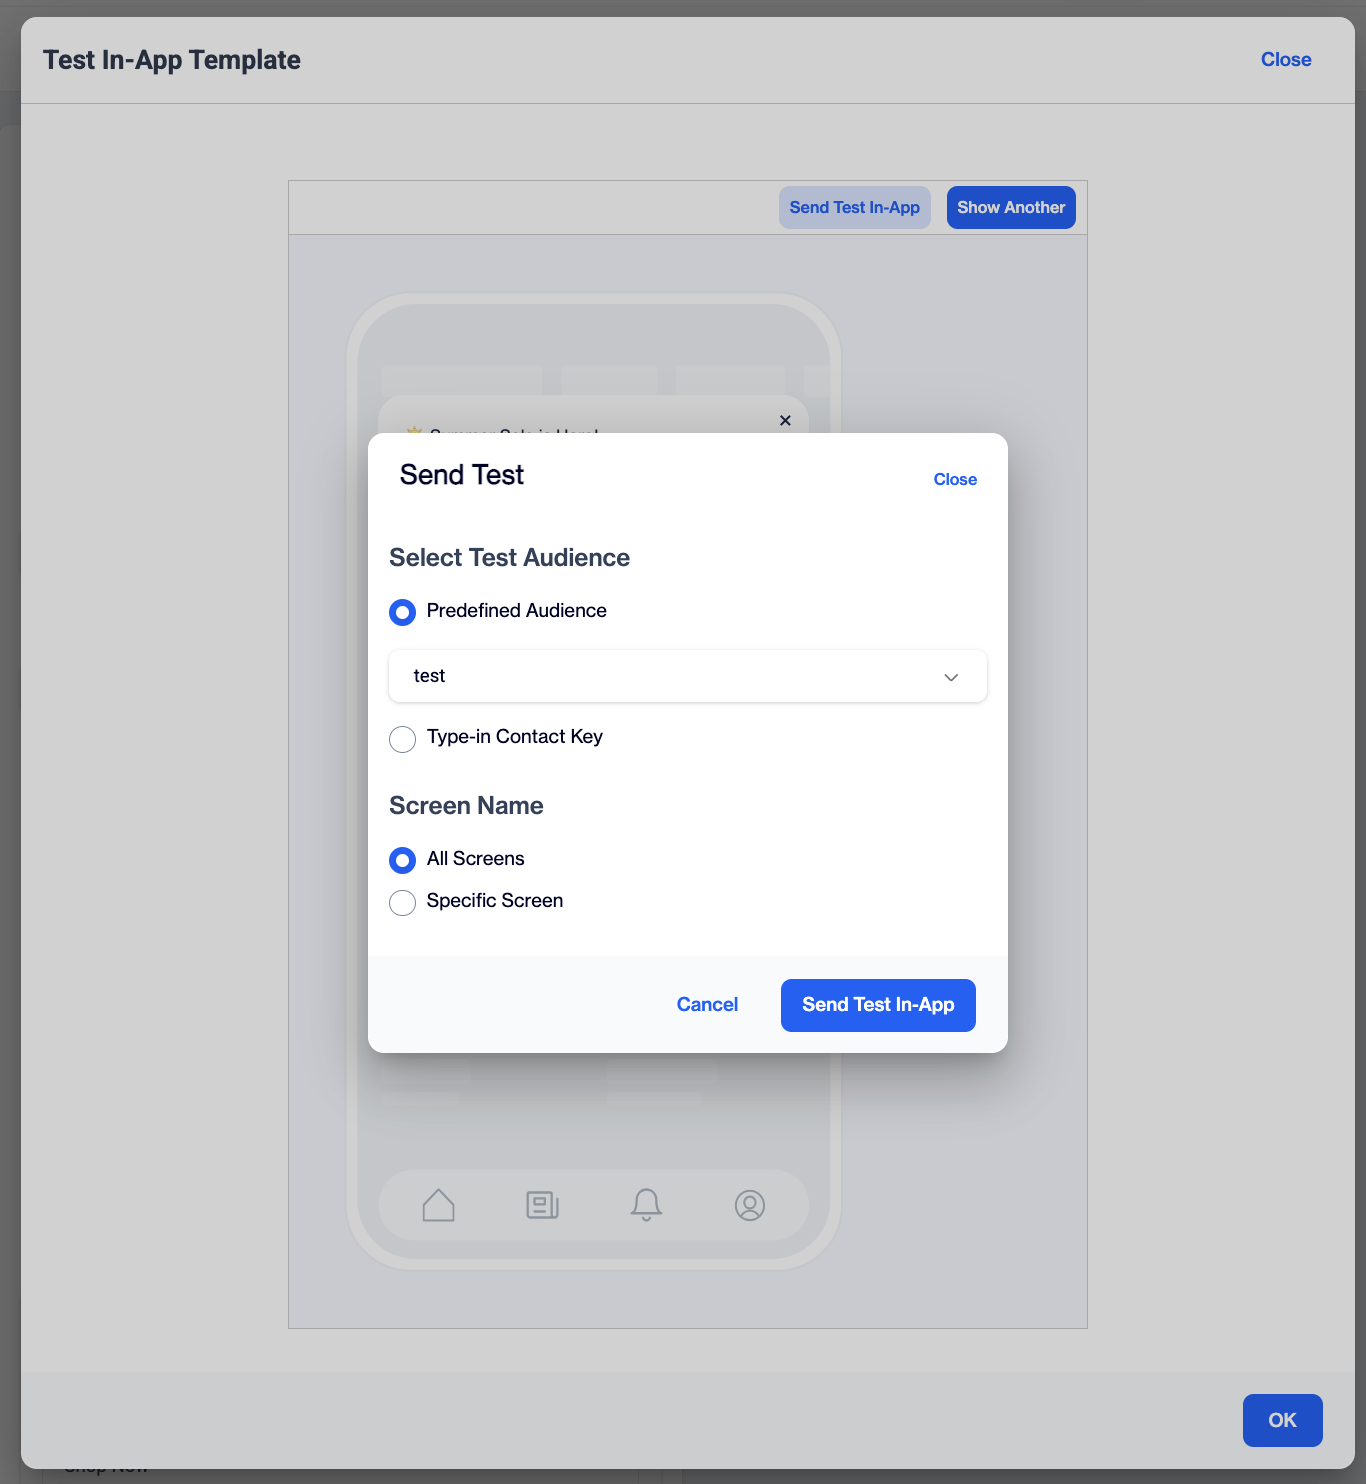
Test Audience & Screen
-
Set the target screen.
- All Screens: Sends the test in-app message without applying a screen filter, allowing it to appear on any screen where the campaign conditions are met.
- Specific Screen: Enter a screen name to test how the in-app message appears on a particular screen. The screen name you specify is applied to the test message as its screen filter.
-
Show Another. Use the Show Another tab to preview how your in-app content will display in a different format or on alternative screens.
How a Test Send Reaches the Device
When you use Send Test, the audience resolution step is skipped and the message is prepared immediately. The test message lands in the mailbox within seconds. When it appears on the device depends entirely on the fetch mechanism of the SDK.
To receive test messages reliably:
-
Use a development build. Install a build with development mode enabled on the test device. In development mode, the fetch interval and the wait between messages are disabled.
-
If the message does not arrive, restart the app. Fully close (force-quit) the app and open it again. The first fetch of every launch is unconditional, so this is the most reliable way to receive the test message.
-
Leave time between foregrounds. If you test by sending the app to the background and bringing it back, wait at least 10 seconds between two foregrounds. A transition made before this time has passed produces no fetch and creates the false impression that the message did not arrive. In development mode, and for devices on the panel debug list, there is no wait.
What a Test Send Validates and What It Does Not
A test send is a content preview, not a delivery simulation. The test payload is built from scratch, and the campaign's display settings are not carried into it. Default or fixed values are used instead.
| Validates ✅ | Does not validate ❌ |
|---|---|
| The content HTML, with personalization variables rendered | Display timing (displayTiming): delay, repeat interval, and postpone allowance all use default values |
| The screen name filter you type on the test screen | The campaign's display condition (displayCondition) rules: they are sent empty |
| The message reaching the device and the SDK integration | Validity: fixed at 1 hour, not the campaign's expire setting |
| The template rendering correctly on the device | Priority: fixed value, not the campaign's priority setting |
In practice, this means that display behavior cannot be tested with a test send. Delay, repetition, "remind me later", screen filters, and priority races all require a real send. Concluding that something does not work from a test send alone is the most common false alarm.
Updated 2 months ago