
On-site Recommendation Campaign
Recommendation campaigns place personalized product recommendation widgets inside your page — for example "Similar Items" on a product page or "Frequently Bought Together" in the cart. Like Inline Personalization, the widget is rendered inside an element of the page; the difference is that its content is filled automatically by the Recommendation Engine based on the rule you select.
Typical use cases: similar items on product pages, frequently bought together in the cart, best sellers or discounted products on the home and category pages.
Before You Start
Recommendation campaigns require the onsite prerequisites described in Recommendation Engine – Onsite: SDK integration, analytics events, and a product catalog, plus at least one recommendation rule and a recommendation content (widget). The widget's layout and styling options are also documented on that page — they are not repeated here.
Creating a Recommendation Campaign
Go to Marketing > On-Site Campaign and click New. In the Select a Type window, choose Recommendation.
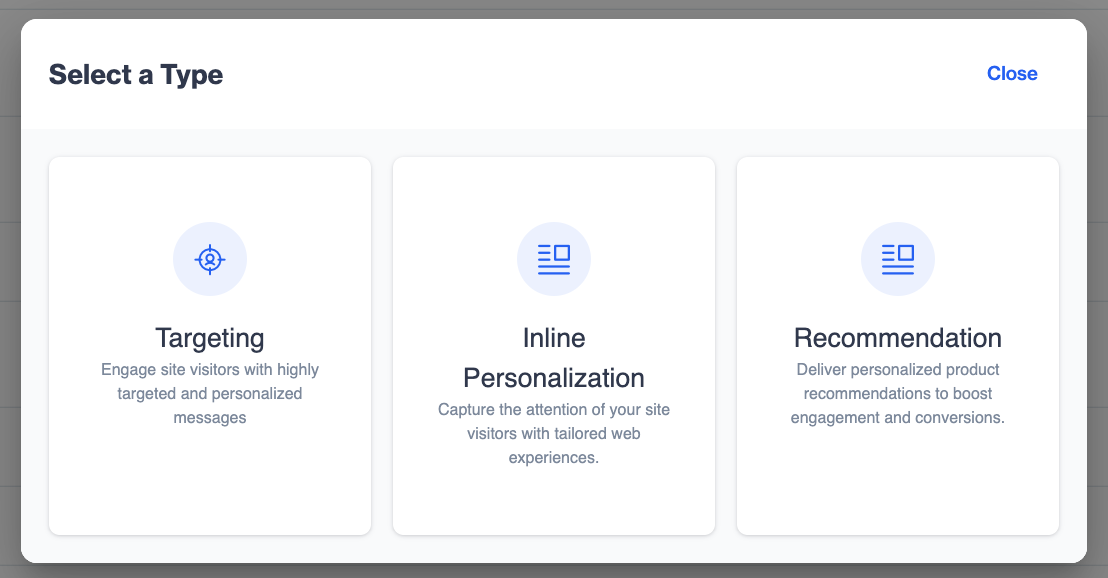
Select a Type — choose Recommendation to start a new recommendation campaign.
The campaign wizard has the same four steps for every onsite campaign type: 1 Content, 2 Targeting, 3 Audience & Delivery, and 4 Summary. Each step is explained in detail in Creating an Onsite Campaign. The sections below only cover the points that are specific to Recommendation campaigns.
Step 1: Content
Enter your campaign name and schedule as described in Campaign Info, and turn on A/B Testing if you want to compare multiple widgets — for example two different recommendation rules or layouts.
In the Content section, only recommendation contents are listed. Select an existing widget or click + New to create one as described in Recommendation Engine – Onsite.
Step 2: Targeting
Select your website and platforms (Web, Mobile Web), and choose All pages or Specific pages, as described in the Targeting step. Typically you will use Specific pages so that the widget appears on the right page type (for example, product detail pages for a "Similar Items" rule).
Like Inline Personalization, the widget needs a position on the page, defined in the Target Selector section:
- Enter a CSS selector for the element you want to use (e.g.
.dn-inline div), or - Click Open Website on Inspect Mode to open your website and pick the element visually.
Then choose the placement relative to the selected element: Replace (default), Start of, End of, Add before, or Add after.
Recommendation campaigns can be triggered On Page Load or On Custom Event (GTM data layer event); exit intent is not available for this type.
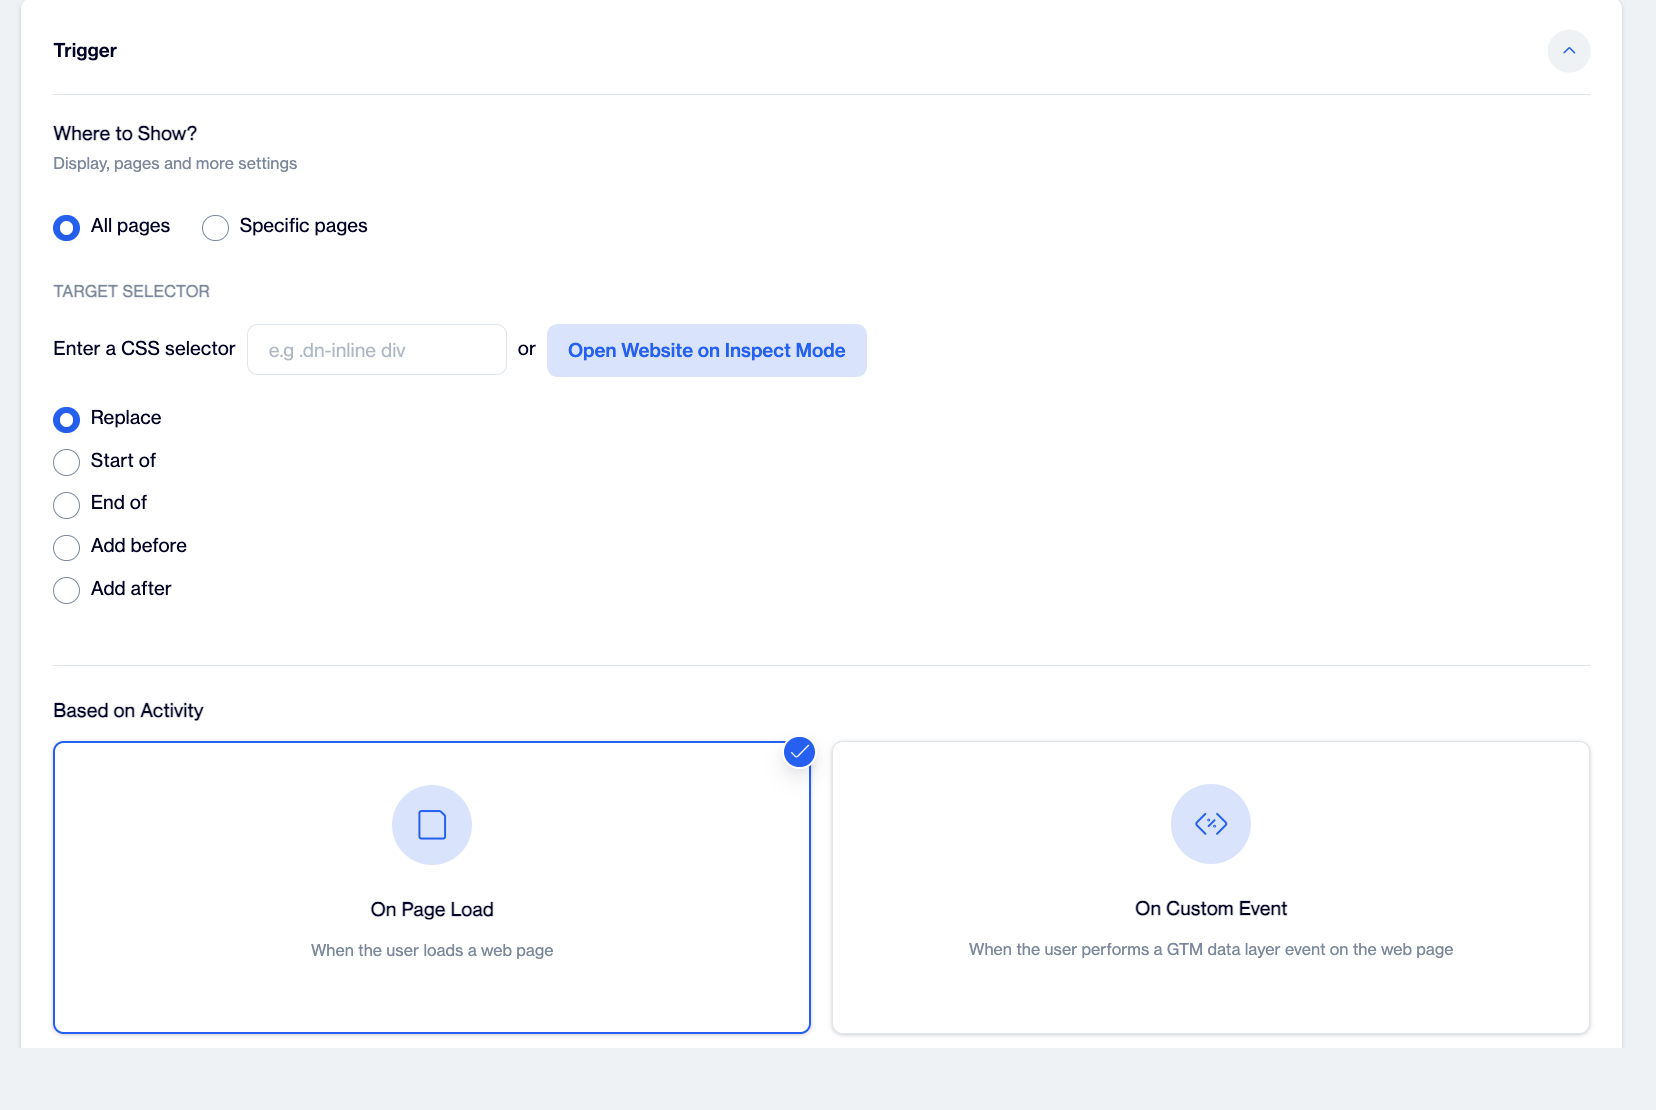
Target Selector — define where the widget appears with a CSS selector or Inspect Mode, choose its placement, and set the trigger.
Step 3: Audience & Delivery
Choose All User or narrow the audience with Advanced Filter (Filters for Onsite Targeting Campaigns).
The default delivery setting is Show without limits, so every matching visitor sees up-to-date recommendations on every page view. You can switch to Delivery Limits to cap views per visitor, and Stop after engagement (default on) hides the campaign once the visitor interacts with it. Campaign Priority works the same way as in other onsite campaigns (default Medium).
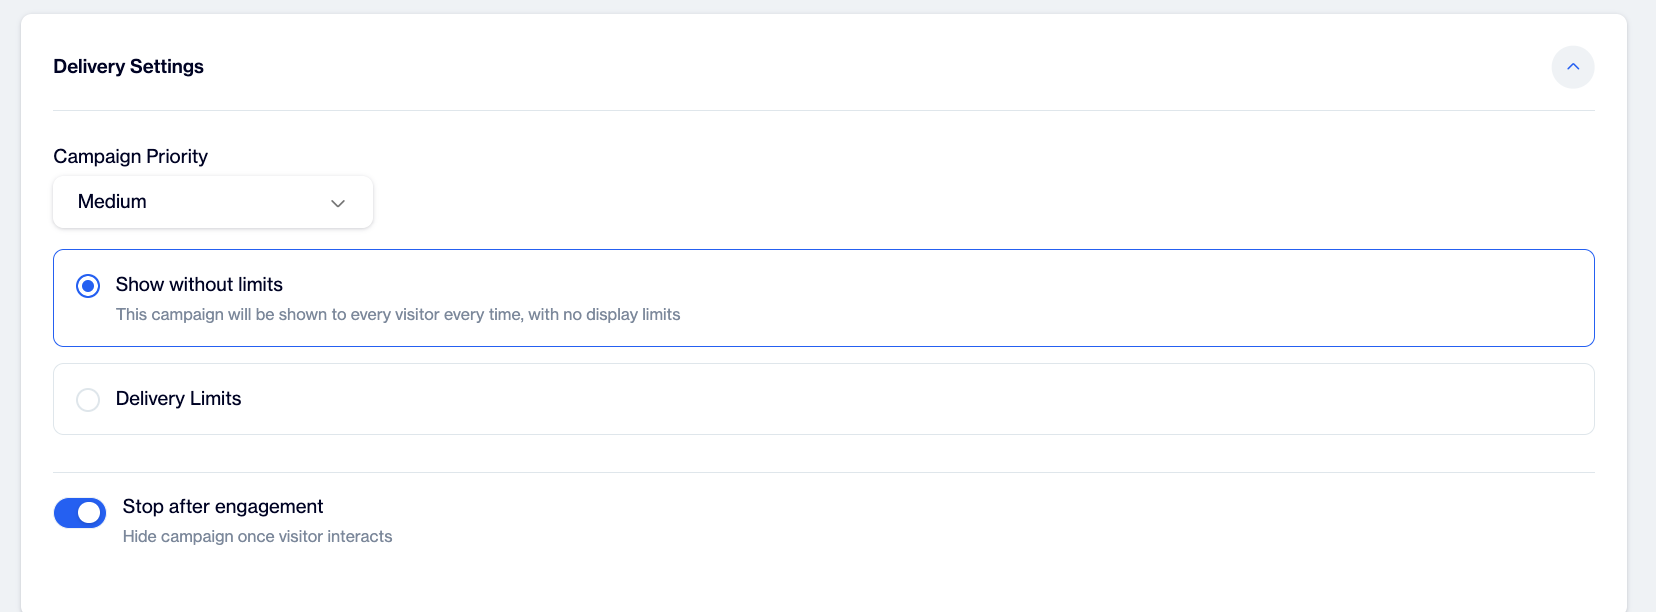
Delivery Settings — recommendation campaigns are shown without limits by default.
Step 4: Summary
Review your settings and click Save. To check the widget on your live pages before publishing, use Onsite Preview and Testing.
Updated about 2 months ago