
Creating Email Content
The Email Content section allows users to create email content using different tools based on their requirements. You can create email content using the Rich Text Editor, Code Editor, Email Builder, or by Uploading a pre-designed file. This flexibility ensures that users of all skill levels can efficiently create and manage email content. It also allows users to apply filters for sorting and searching, and perform various actions such as renaming, copying, moving, and deleting emails.
All created email content is stored in organized folders, making it easy to access and manage for future use.
How to Access
To begin creating an email:
- Navigate to Content > Marketing > Email.
- Click the New button to start creating a new email.
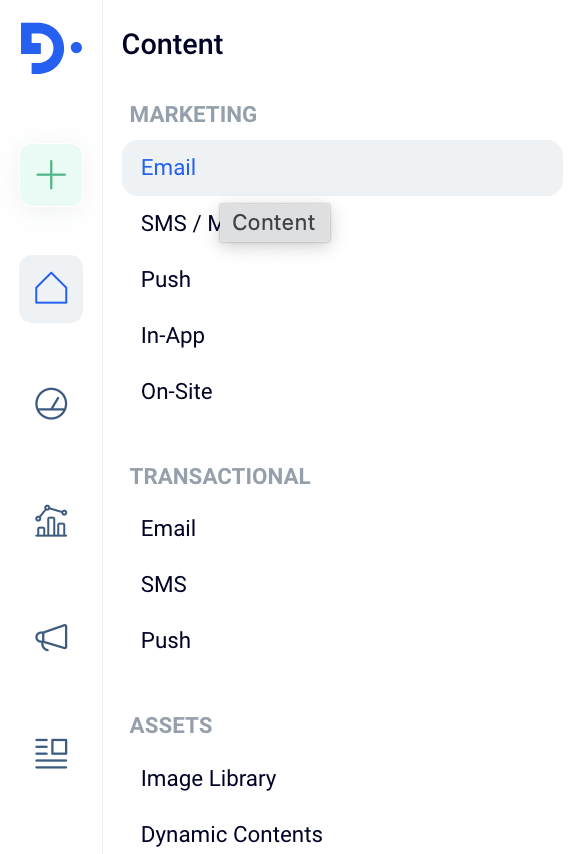
Content > Marketing > Email
When you choose the email type, you will be presented with a page containing two main sections: General and Content.
General
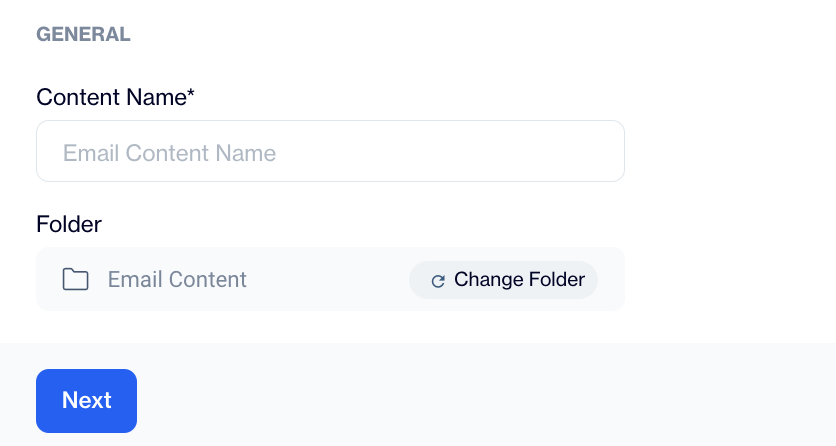
General
This section allows you to provide a Content Name and select a Folder for organizing your email.
Once a name is entered, the Content section will become available for editing.
Content
Add Languages
When preparing email content, you can provide different versions for multiple languages. This ensures that each user receives content in their preferred language based on their settings.
- How It Works:
- The appropriate content is selected for each user by referencing the "language" column in the contact’s record in the master_contact table.
- If no suitable content is found for a user’s language, the default content is sent.
- Language and Default Settings:
- You can configure available languages and set a default language under Settings > Content Languages.
Choose between two options:
Copy from Content: Use content from an existing email.
Create Blank Email Content: Start with a blank email template and add content from scratch.
Sender Profile
The Sender Profile defines how your emails will appear in the recipient's inbox. This includes:
- From Address/Email: Specifies the email address that will appear as the sender. Only domains previously registered for your account can be used. To add a new domain, contact the Dengage Support team.
- From Name: Determines the display name shown in the recipient’s inbox, such as your brand or company name.
You can save this information as a Sender Profile for reuse in future emails. Additionally, the From Name can be overridden for individual email content as needed.
Reply To
Define the email address that will receive replies from your recipients.
You can add customization options here to personalize the "Reply-To" field.
Subject
Enter an engaging subject line to capture your audience’s attention.
You can enhance your subject line with customization options and emojis.
Pre-header
Provide a short line of text that appears after the subject line in the recipient’s inbox.
You can also add customization and emojis here to make the pre-header more appealing.
Annotation
Enable email annotation, which allows you to highlight specific content in the email, making it stand out more in certain inboxes.
Updated about 13 hours ago