
Story
Story
The "Story" template allows you to create engaging, visually rich in-app messages designed to capture user attention and deliver content in a swipeable, story-style format. This feature is ideal for highlighting new features, promoting products, or sharing announcements in a more engaging way.
How to Access and Create In-App Story Content
Access In-App Content:
- Navigate to Content > Marketing > In-App.
Create New In-App Content:
- Click the New button located in the top-right corner.
Choose Content Type:
- After clicking New, select Visual Editor from the following options:
- Visual Editor: Choose this option to create pop-ups, banners, and more using a variety of templates, including layouts for subscriptions, feedback forms, and surveys.
- HTML Editor: Choose this option if you prefer to design the layout from scratch using custom HTML code.
Select the Story Template:
- After selecting the Visual Editor, choose the Story template to create engaging, swipeable story-style in-app messages.
Creating a "Story" Content
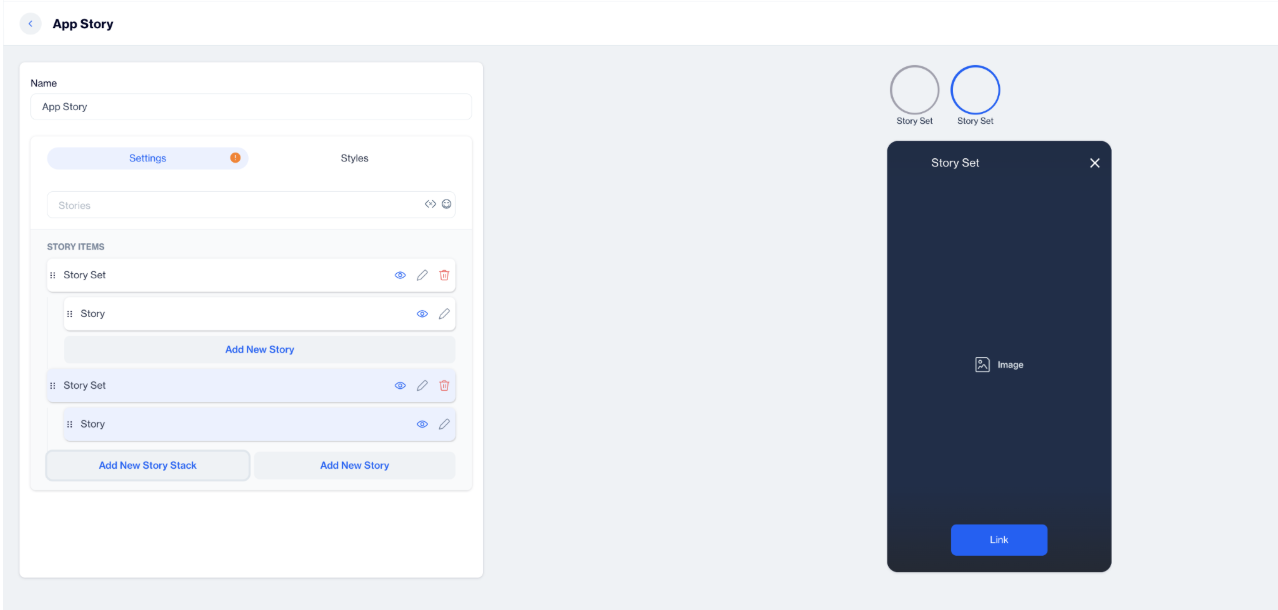
Name Your Story; At the top of the setup screen, enter the desired name for your story. This will help you identify it later.
Preview on Mobile: After selecting the Story template, you will see a preview on the right side of the screen. This preview shows how the story-style content will appear on mobile devices, allowing you to tailor the design and content for an optimal mobile experience.
In-App Story
Settings
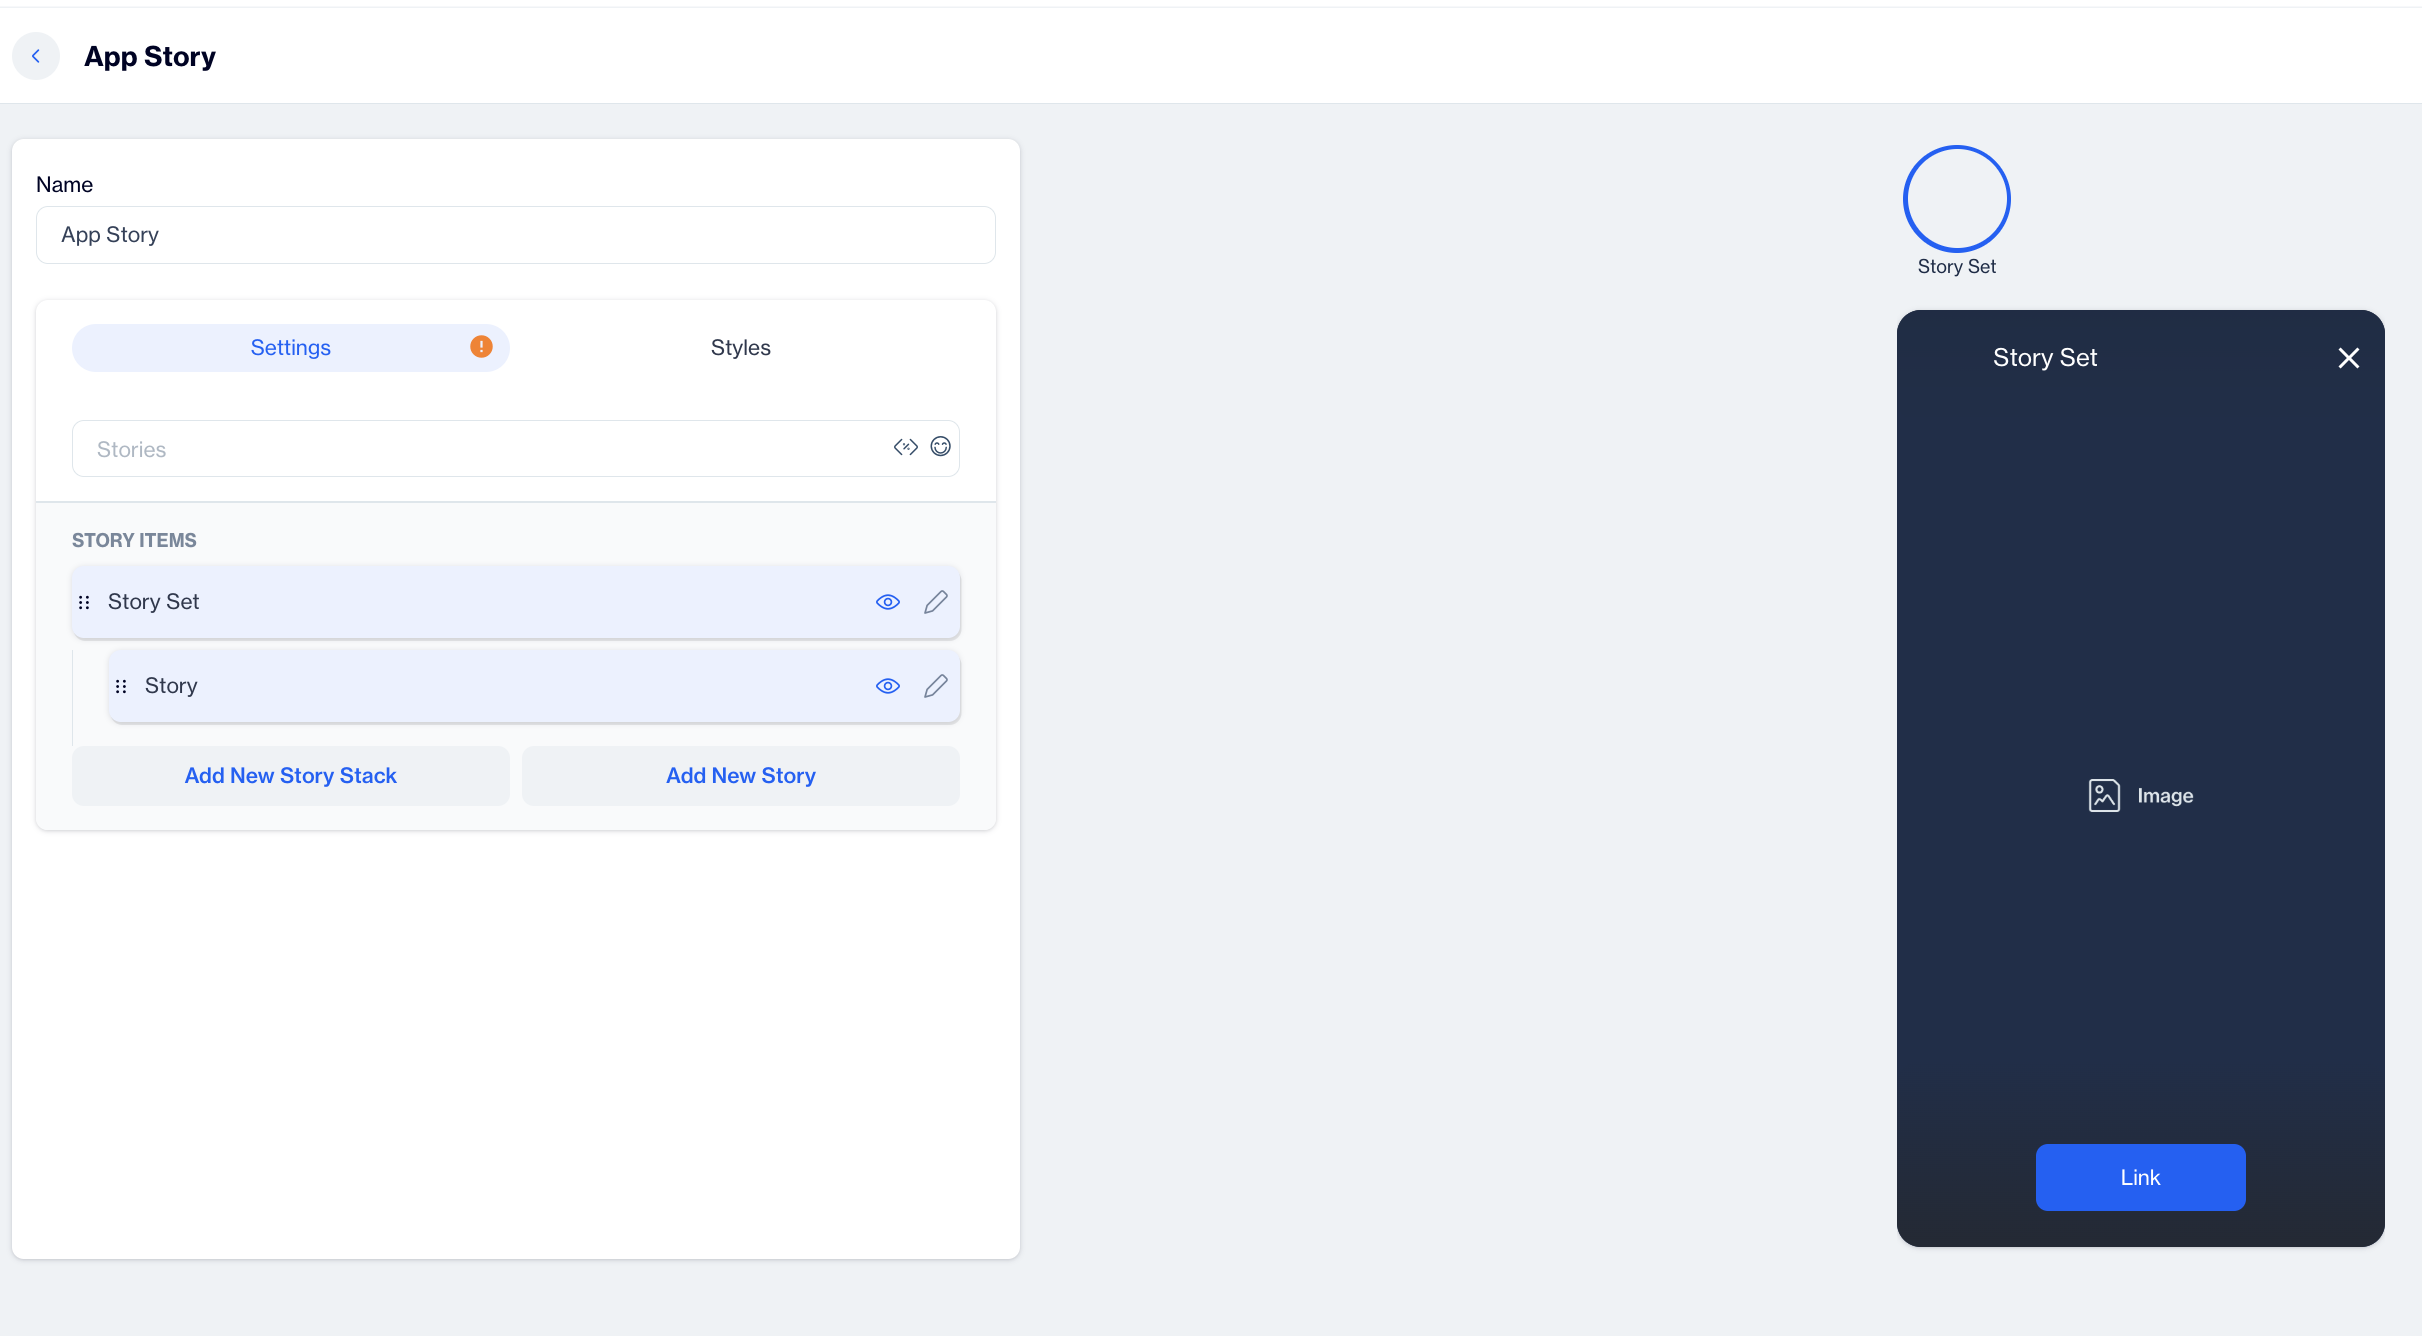
Below the name field, you will see a section labeled Settings. This is where you will configure the main details of your story.
Stories Title: In this field, input the title for your in-app story. This title will be displayed to users within the in-app message.
Story Set
Under the Stories Title, you'll find the Story Set section.
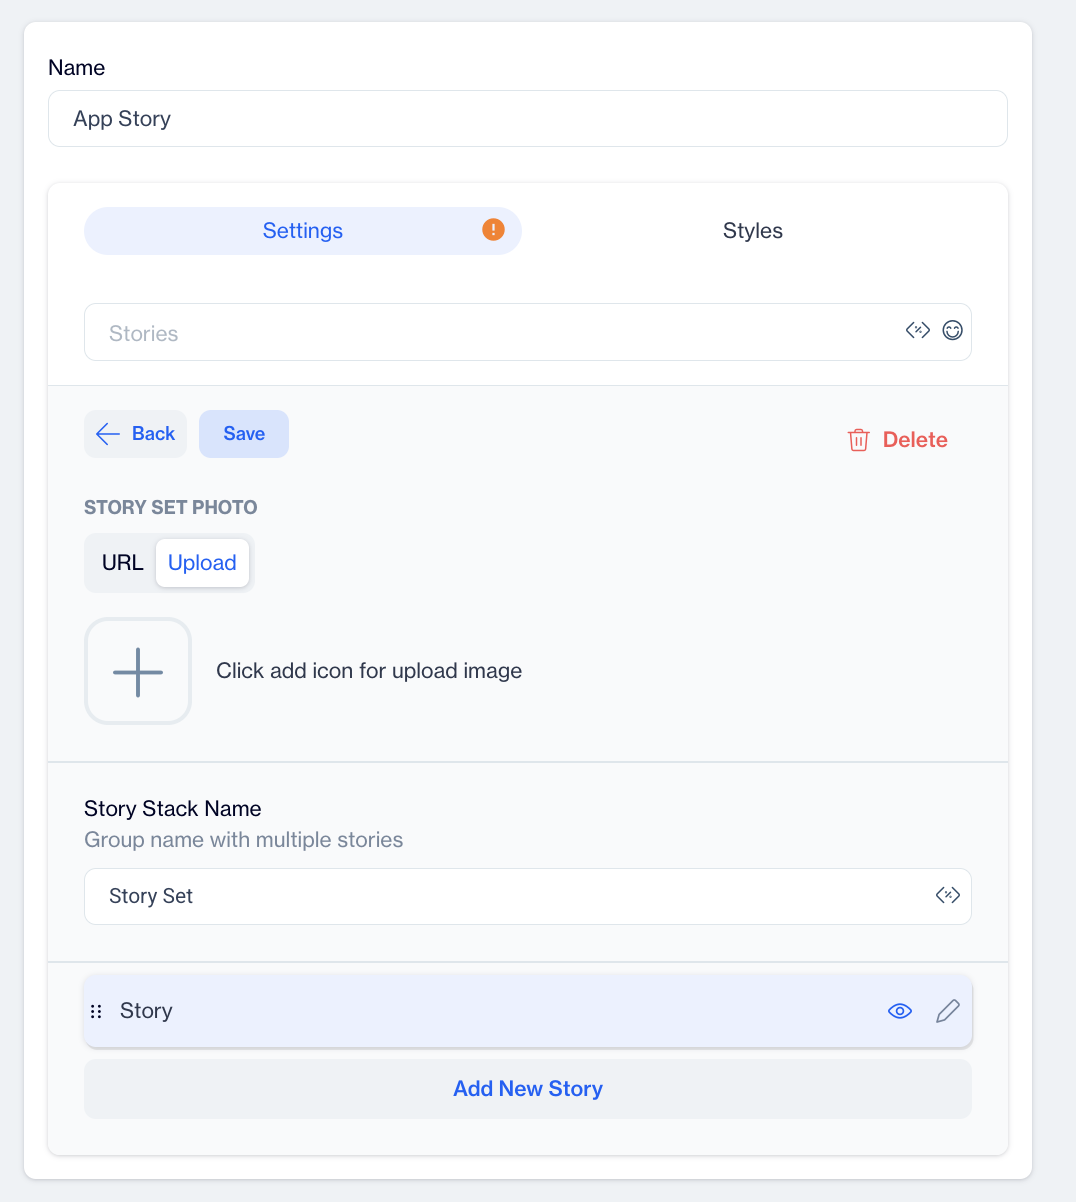
- Click on the pencil icon to edit the story set details.
- Story Stack Name: Enter the name of the story stack here.
- Story Stack Image: Use the Image Selector to choose an image for your story stack. This image will represent the entire stack of stories visually.
Story Set
Story
This section is dedicated to the content of your individual story. You will configure various settings related to the media, background, and call-to-action (CTA).
- Story Name: This is where you provide a unique name for each individual story within the story set. This will help in organizing and managing multiple stories.
- Media Type: You can choose between two media options for each story:
- Image; Upload an image that will serve as the visual for your story. Use high-quality visuals to capture the user's attention.
- Video; If you want to include a video, select this option. You can then input a video URL in the next step.
- Media URL: For both image and video media types, you need to provide a media URL. This is the source from which the media will be pulled. Ensure the URL is correct and accessible.
- Story Background Color: Customize the background color of the story to match your brand or the theme of the content. Choose a color that complements your media and text for visual appeal.
- Call To Action (CTA): You can add a CTA to each story to engage users and direct them to a specific action. The following options are available:
- Label; Enter the text for the CTA button (e.g., "Learn More," "Shop Now").
- Android Link; Provide a dedicated Android URL link for the CTA. This can be a URL that directs users to a web page or product.
- iOS Link; Provide the corresponding iOS link to direct iPhone or iPad users to the relevant page.
- Background Color and Text Color
- Background Color; Choose the background color for the CTA button to make it stand out.
- Text Color; Customize the text color within the button to ensure readability and align with the design.
Create an In-App Story Campaign
Once your In-App Story content is successfully generated, you can make any necessary changes and save it as a draft for future use. When you’re ready to launch the campaign, publish the content to prepare it for your in-app campaigns.
To create a campaign directly from the content, click on the Create Campaign button located at the top right corner of the screen.
There are two ways to create an In-App Story campaign:
- Directly from the content, as described above.
- Navigate to Campaign > Targeting > In-App. Then, click on New in the upper-right corner and select either Inline Personalization as the campaign type.
Step 1: Settings
-
Campaign Name:
- Start by providing a name for your campaign in the Campaign Name field.
-
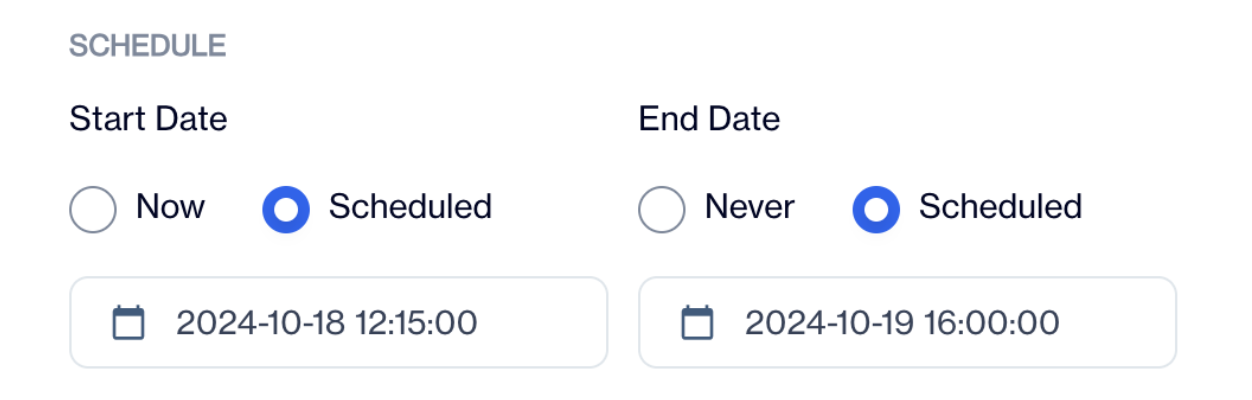
Schedule:
-
Start Date: You can either:
- Select Now to launch the campaign immediately.
- Or choose Scheduled to select a specific start date and time.
-
End Date: You can either:
- Select Never if you don’t want the campaign to end.
- Or choose Scheduled to select an end date for the campaign.
Schedule
-
-
Applications:
- Choose the app(s) for which you want to create the In-App Story campaign.
- Simply click on the app name(s) to select them.

Applications
-
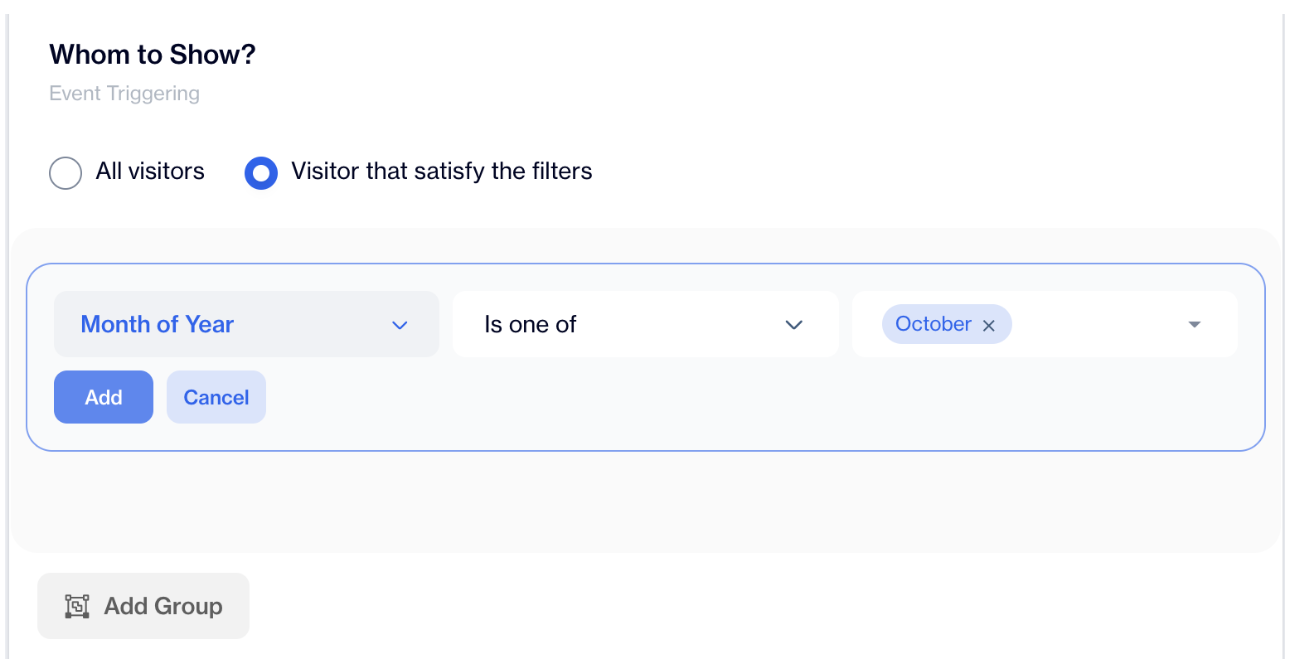
Whom to Show?
-
Choose the target audience for your campaign:
- All visitors: Show the campaign to all users.
- Visitor that satisfy the filters: Add specific filters to show the campaign to a targeted audience.
- Click Add Filter or Add Group to create or group conditions.
Whom to Show
-
-
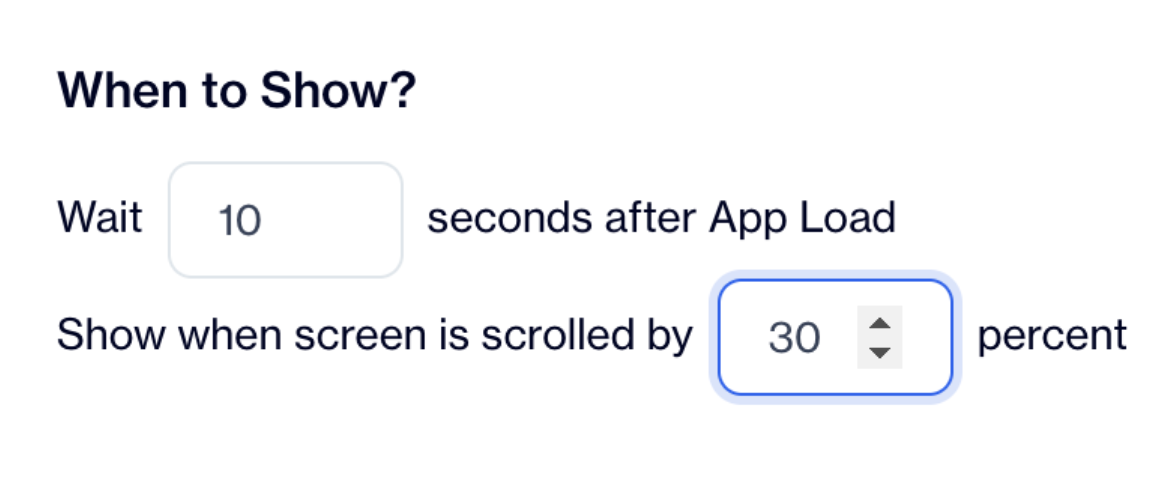
When to Show?
-
Configure when the story will be displayed:
- Set a delay by entering a value in the Wait X seconds after App Load field.
- Or show it after the screen is scrolled by a specified percentage in Show when screen is scrolled by X percent.
When to Show
-
-
Where to Show?
- You can target or exclude specific screens:
- Choose All Screens to show the story on all app screens.
- Or select Specific Screens and enter the screen name in the Screen Name is field.
- You can target or exclude specific screens:

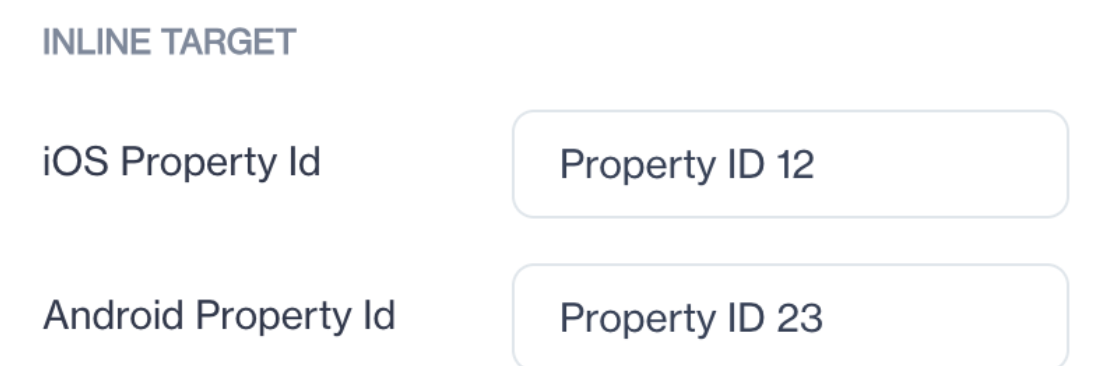
7.Inline Target:
To use inline content in your app, you need to define iOS Property Id and Android Property Id for each InAppInlineElement placed on the screen. These property IDs help distinguish different inline elements.
- iOS Property ID: Assign a unique ID for inline elements in iOS apps.
- Android Property ID: Assign a unique ID for inline elements in Android apps.
Property IDs
How to Use Inline Target
- Adding InAppInlineElement: In each mobile SDK, there is a predefined view component called InAppInlineElement. You can place one or more InAppInlineElement components on any screen of your app, depending on where you want to display the inline in-app content.
- Assigning Property IDs:
Each InAppInlineElement view component must be assigned a unique Property ID to distinguish it from others. For example, if a screen has two inline elements, you can assign:
- First element: Property ID 1
- Second element: Property ID 23
- Defining Custom Filters: When setting up the inline content in your campaign, you can define custom filters such as segment filters, cart information, or other conditions.
- Showing In-App Inline Content:
To display inline content, you need to call the function showInAppInline within the SDK. This function requires these parameters:
- Reference of the view component
- Property ID
- Custom filter
Step 2: Content
-
Choose or Create Main Content: On the left side of the screen under "Main Content," you have two options:
- Create New Content: Click on the "New" button to create new in-app content from scratch.
- Select Existing Content: Choose from the list of existing content displayed below the search and filter options.
-
Preview the Selected Content: On the right side of the screen, a preview of the content will appear as soon as you select any item from the list, allowing you to see how it will look before proceeding.
Step 3: Delivery
In this section, configure how and when your in-app content is displayed to users.
- Campaign Priority: Choose from three priority options to determine how prominently your campaign is shown:
- High: Ensure the campaign is shown with top priority.
- Medium: Default setting, showing the campaign with normal priority.
- Low: Show the campaign with lower priority compared to other campaigns.
- Show Without Limits: Select "Show without limits" if you want the campaign to be displayed without any restrictions on frequency.
- Show with Limits: If you prefer to limit how often the campaign appears, select "Show with limits" and configure the following settings:
- Show to each visitor up to X times: Define the maximum number of times each visitor will see the content (e.g., 5 times).
- Show to each visitor once every X minutes: Set the minimum interval between displays for each visitor (e.g., once every 5 minutes).\
Step 4: Summary
- Review Your Campaign Settings: In the Summary section, you will see an overview of all the options you selected in the previous steps, including:
- Settings: The campaign name, schedule, and targeting options.
- Content: The main content you selected or created.
- Delivery: The delivery control settings, including priority and frequency limits.
2.Edit Options (If Necessary):
- If you need to make any changes to your campaign, click the Edit button next to the respective section (Settings, Content, or Delivery) to update your selections.
Save and Activate Your Campaign
- Save the Campaign: After reviewing your campaign in the Summary step, click the Save button located at the upper right corner of the screen.
- Activation Pop-Up: Once you click Save, a pop-up will appear saying:
- "Campaign successfully saved. Do you want to activate the campaign?"
- Activate the Campaign:
- To launch the campaign, select Yes in the pop-up.
- If you prefer to activate it later, select No to keep it saved as a draft.
By following this final step, your In-App Story campaign will be saved and activated if you choose to proceed.
Prerequisites:
- Property ID must be defined.
- Here propertyID is the story property id that you will be placing while creating campaign.
- Custom params is the hashmap for custom params filter that you will be placing on the panel while creating a campaign.
- Screen name parameter is when the In-App inline is to be shown on the specific screen.
- Flag must be enabled.
- Works only in real-time campaigns, not supported in flows.
- Image Size: There are no pixel size limitations for images, but the file size must not exceed 100 MB.
- Video: No specific limitations for video files.
- The minimum SDK versions required to support in-app story are iOS 5.71.2 and Android 6.0.73.
In-App Story Review
The In-App Story Template UI has been redesigned for a more intuitive user experience. Below are the key updates:
Key UI Updates
- Improved Layout & Navigation
- Clearer sectioning of settings and story elements.
- Enhanced "Story Set" preview for better visualization.
- Enhanced Media Management
- Simplified image/video upload and replacement.
- Clearer "Media Type" selection and direct URL editing.
- Refined Story Set Display
- New rounded profile icon with a ring.
- Compact and aesthetically improved layout.
- Better Input Field Structure
- Clearer labeling for Android/iOS links.
- More intuitive data input fields.
Redesigned Story UI
The redesigned UI enhances usability with clearer navigation, improved customization options, and an upgraded preview section, making in-app story management more intuitive and efficient.
Updated 5 days ago