Test Lists
Test lists are pre-prepared collections that you can utilize for testing channel content.
The Test Listing feature provides users with an overview of all available test lists, displaying key details such as name, creation date, and edit history. Users can view the details of a specific test list, select the contact and audience, and delete the test list if needed. Additionally, users can create new test lists by entering a name and selecting a contact from a dropdown menu, streamlining the process of managing and organizing test lists.
You can create test lists to streamline your content testing efforts. This method saves time and increases efficiency by eliminating the need to repeatedly define test lists for each test.
- Click on the "Test Lists" under the "Audience".
Test Listing
When the user clicks on the Test Lists menu, the system will open a screen of all available test lists. The following columns will be shown for the test list.
- Name
- Last Edited On
- Last Edited By
- Created By
- Created On
Add a Test List
Within the Test Lists section, locate and select "New" button positioned at the top right corner of the screen.
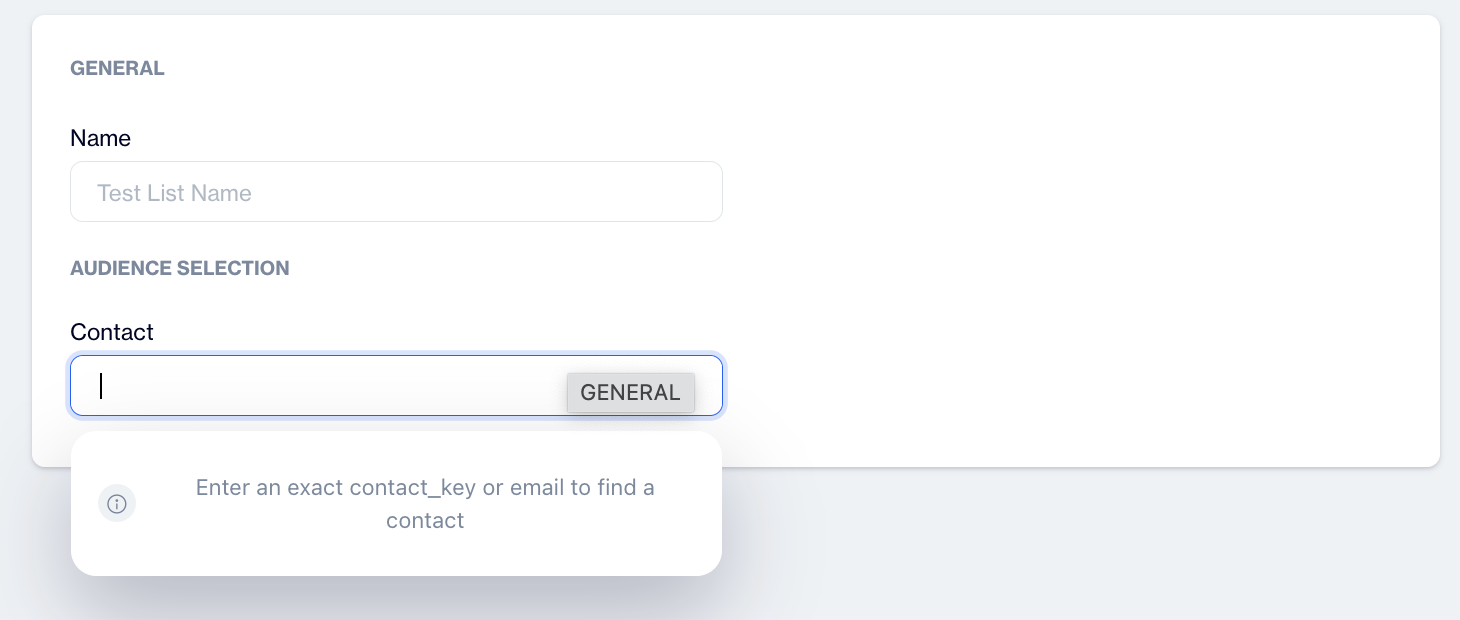
Upon clicking the "New" button, the system will prompt the user with a form to create a new test list.
Please assign a unique name to your list. The platform will prompt you to find contacts to add to this test list. Under the Audience Selection section, use the search combo to enter emails or contact_keys, and add these contacts to your test list.
Once a contact is added, it will be included in the list as shown below.
You can remote a contact from this list by simply using Remove button at the end of the row.

New Test List
Edit a Test List
In order to edit a test list, go to listing (homepage) of Test Lists page and simply click on a name of a test list. Edit a list interface will be displayed.
Using this interface;
(1) Delete: You can delete the list forever.
(2) Remove Member: Remove any member from the audience of the list
(3) Rename test list: Rename the test list
(4)Add new contact: Find and add new member to the list.
Do not Forget to use Update ButtonChanges will be only reflected to the database upon clicking 'Update' button.
Updated 20 days ago