
Email Builder
The Email Builder provides a versatile interface for creating and managing email templates. It includes a Template Gallery with categorized templates (Seasonal, Automated, Usage, Industry) and a Saved Templates section for easy access to custom or previously used designs. Users can search, view, or edit templates, and create new ones from scratch. Key sections like General and Content allow for adding sender details, languages, and subject lines, while the Code Text Editor supports HTML coding and dynamic content insertion, ensuring flexibility and personalization in email campaigns.
Email Builder
Choosing the Email Builder option will reveal the following interface.
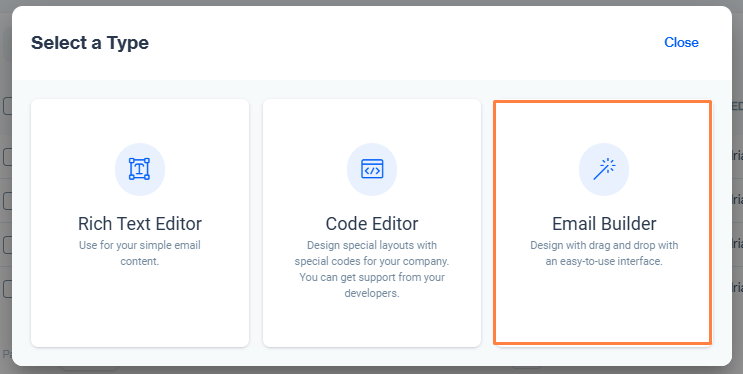
There are two major sections under the Emails Builder:
- Template Gallery
- Saved Templates
- Template Gallery
The Template Gallery contains a variety of templates to help end-users reuse them effectively. This section is categorized into different types of templates, including Seasonal, Automated, Usage, and Industry. Users can browse the gallery and view details of any template they choose. Additionally, for those who want to create a new template, there is an option labeled "Blank Content" that guides them through the process of creating and saving a new template.
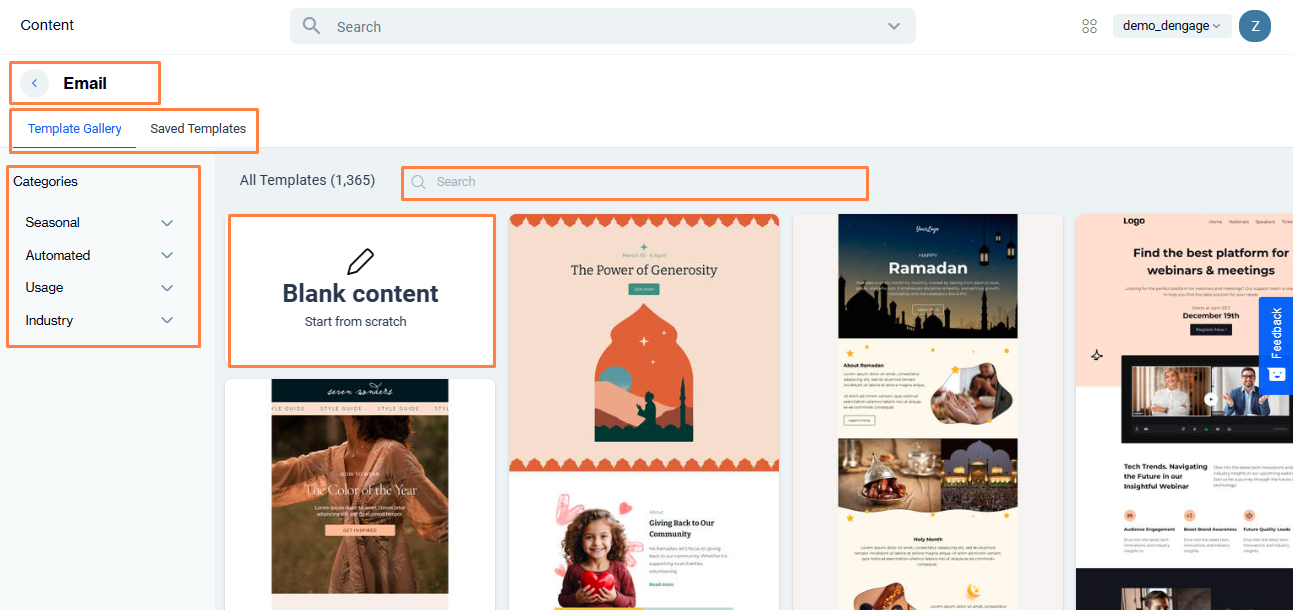
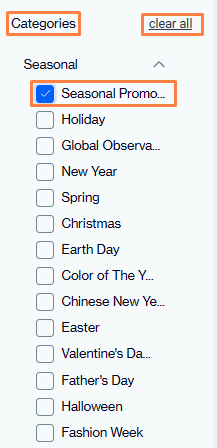
Categories
- Search: This search field enables you to locate any template within the gallery.

Search
- Blank content: This box allows you to create a new email template from scratch.

Create Blank Content
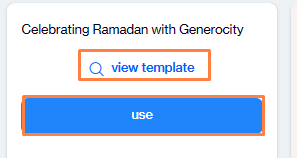
Hovering over any template will prompt the system to display two options: "View" and "Use."
View & Use Template
-
View Template: Clicking on "View" will open the details of the selected template, providing more information.
View Template
-
Use Template: On the other hand, selecting "Use" enables you to utilize the template for your work. This will open the detailed form including General and Content sections.
Use Template
- Saved Templates
Clicking on the "Saved Templates" section grants access to view all templates that have been saved. Here, users can also create a new blank template. The screen is divided into two main sections: "All Saved Templates" and "Created by Me." Users can search for specific templates within this section as well.
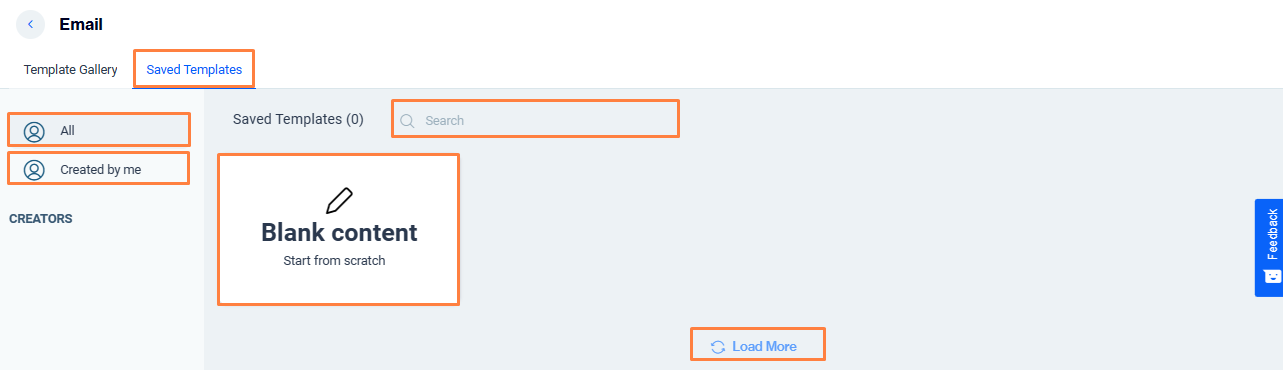
Create Blank Content
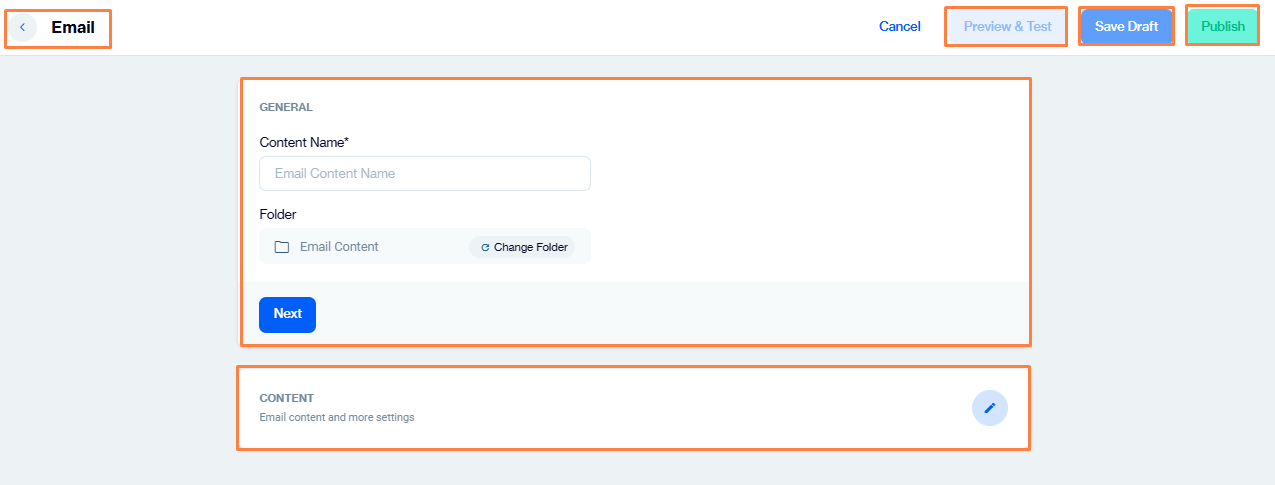
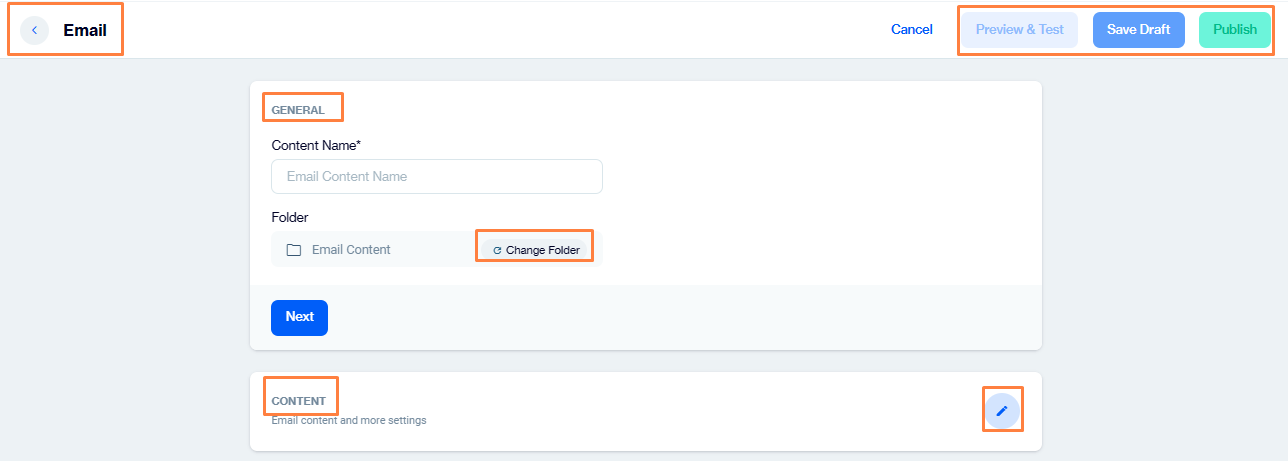
General Section
This section contains the following fields:
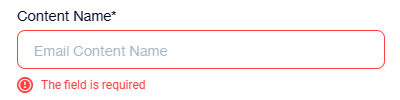
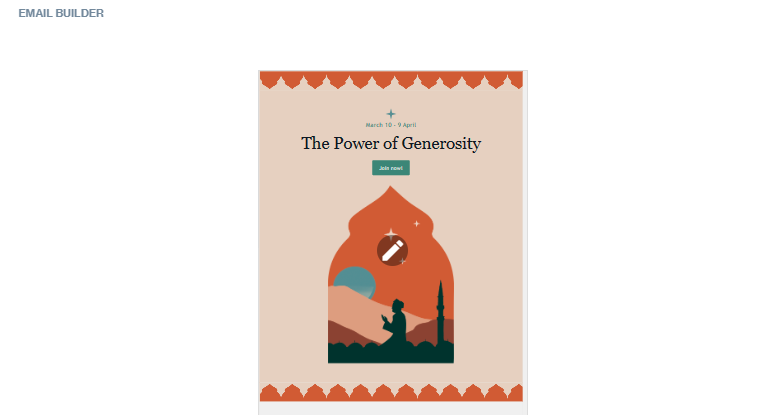
- Content Name: You must add a content name, which will be displayed in the main header of the email. Without adding a content name, you cannot proceed further.
- Folder: This feature allows you to configure the folder. You can change the folder by clicking the "Change Folder" button. When you click this button, a pop-up will appear for selecting a folder, as shown in the image below. Additionally, you can create a new folder during this process.


By default, Segment Root Folder has been selected to preserve its location to be saved. To change the location, you need to click on Change Folder.
If you need to create a new folder, you can use the button on the bottom right corner. Click Next to continue.
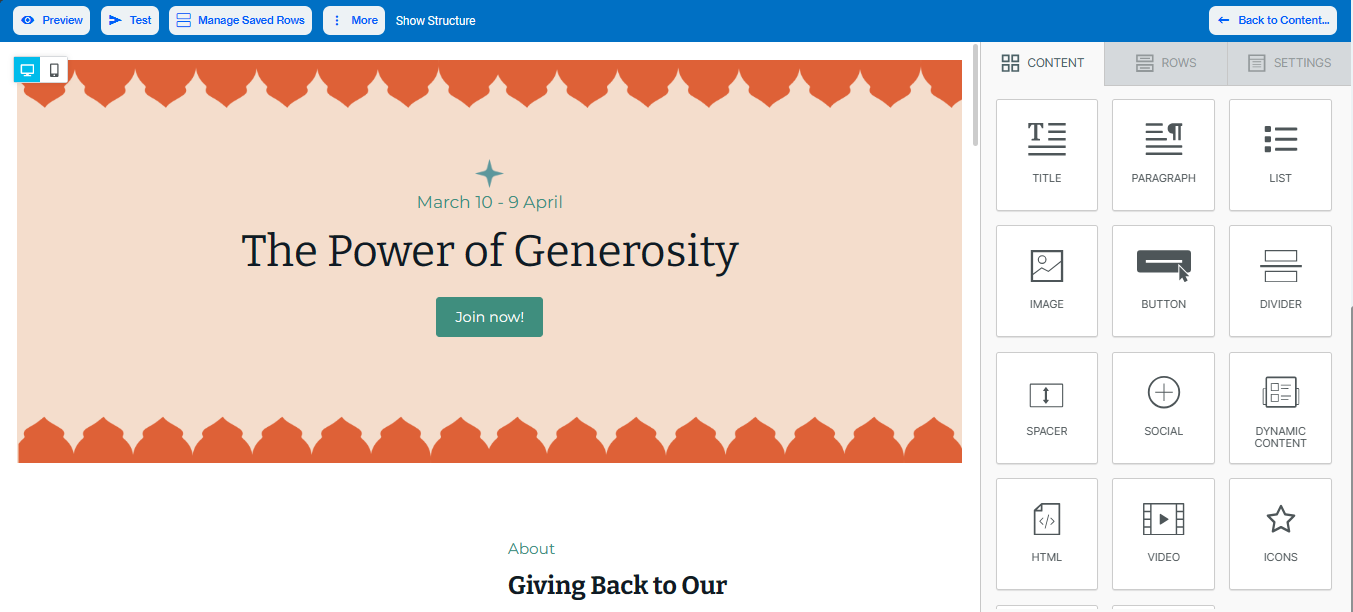
Content Section
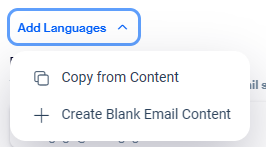
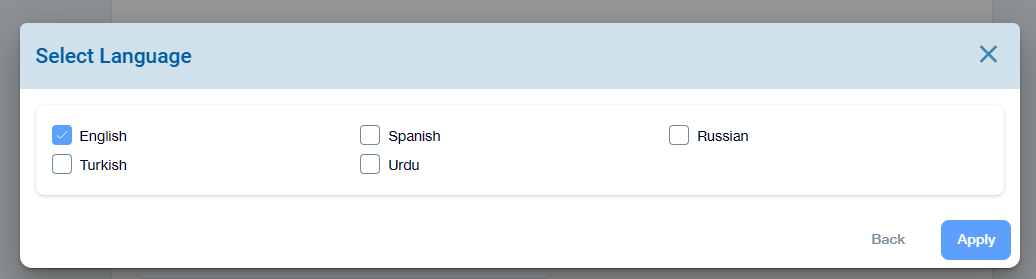
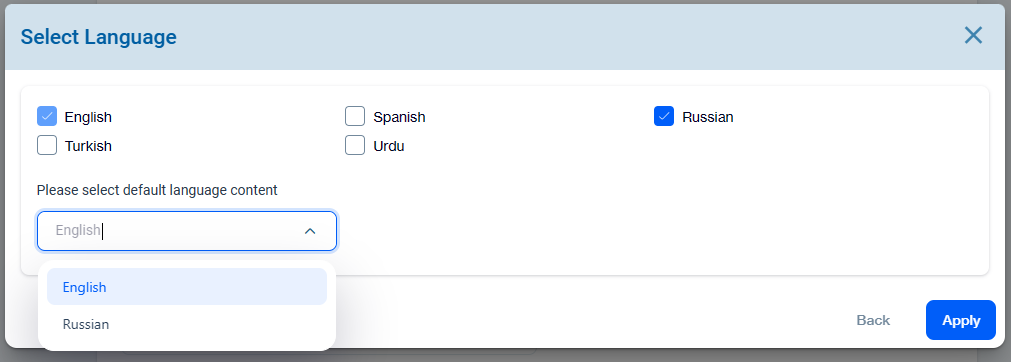
- Add Language: This dropdown allows you to add languages from the sections below. Clicking on "Copy from Content" or "Create Blank Email Content" will prompt the system to open a pop-up for selecting languages. If you select more than one language, you can also set the default language.
-
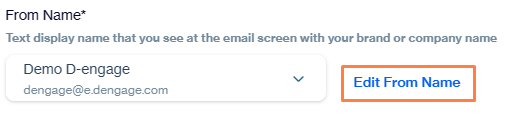
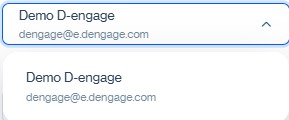
From Name: This email will display your company name on the email screen. Clicking on "Edit From Name" allows you to modify the sender's name and select customization tags and selectors. Once you click "Edit From Name," the text will change to "Remove Edit From Name."
- Reply To: In this section, you can add customization selectors for the "Reply To" field.


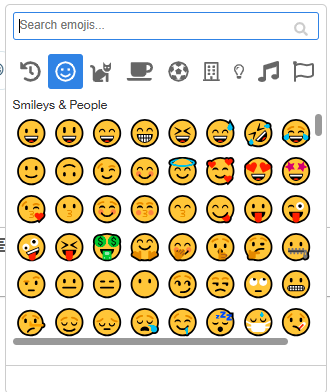
- Subject: This field enables you to add an email subject. You can also add Emojis within the subject.

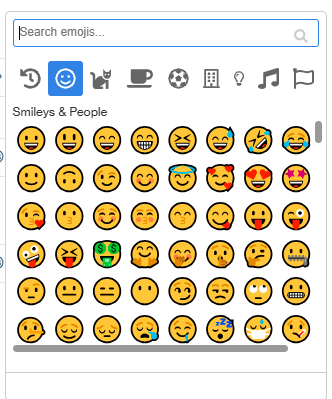
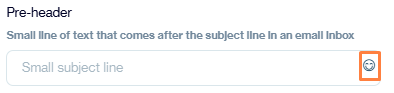
- Pre-header: This field allows you to add text below the subject line, and you can also include Emojis.
Edit Template

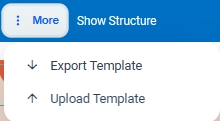
- Export & Upload Template: It enables you to export the updated template and upload the new template.
After the content is generated successfully
- Make any necessary changes and save it as a draft again for later use.
- Publish the content to make it ready for use in your email campaigns.
- Preview & Test provide facility to check what will be published.
Updated 8 months ago