
Configuring Contact Extensions for Enhanced Campaign Reach
This section is dedicated to helping you expand your communication strategy by managing multiple contact points for each customer. Whether it's ensuring your emails and SMS messages reach the right inbox or phone number, contact extensions are vital for personalized and effective communication. Here, we will walk you through the process of setting up contact extensions within our platform, providing you with the flexibility to connect with your audience across various channels.
You'll learn how to select and prioritize multiple contact addresses, ensuring that your messages are delivered according to your campaign's specific needs. Let's begin enhancing your campaign's reach by mastering the setup of contact extensions.
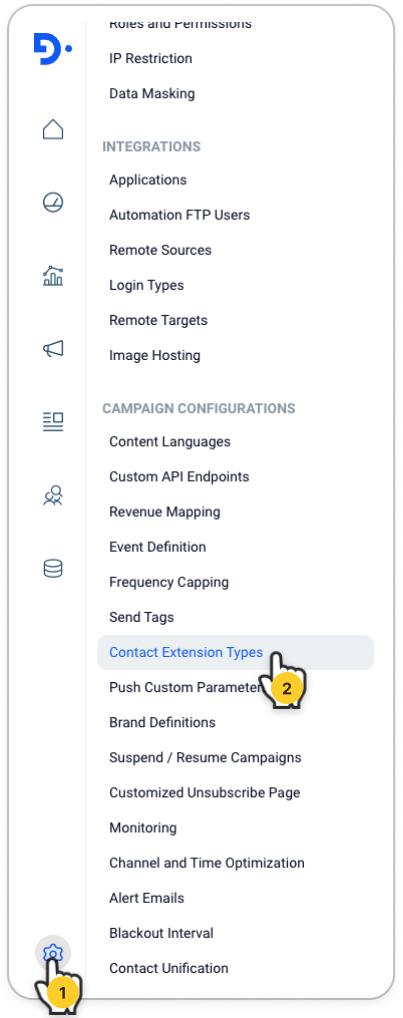
- Navigate to Settings > Contact Extension Types
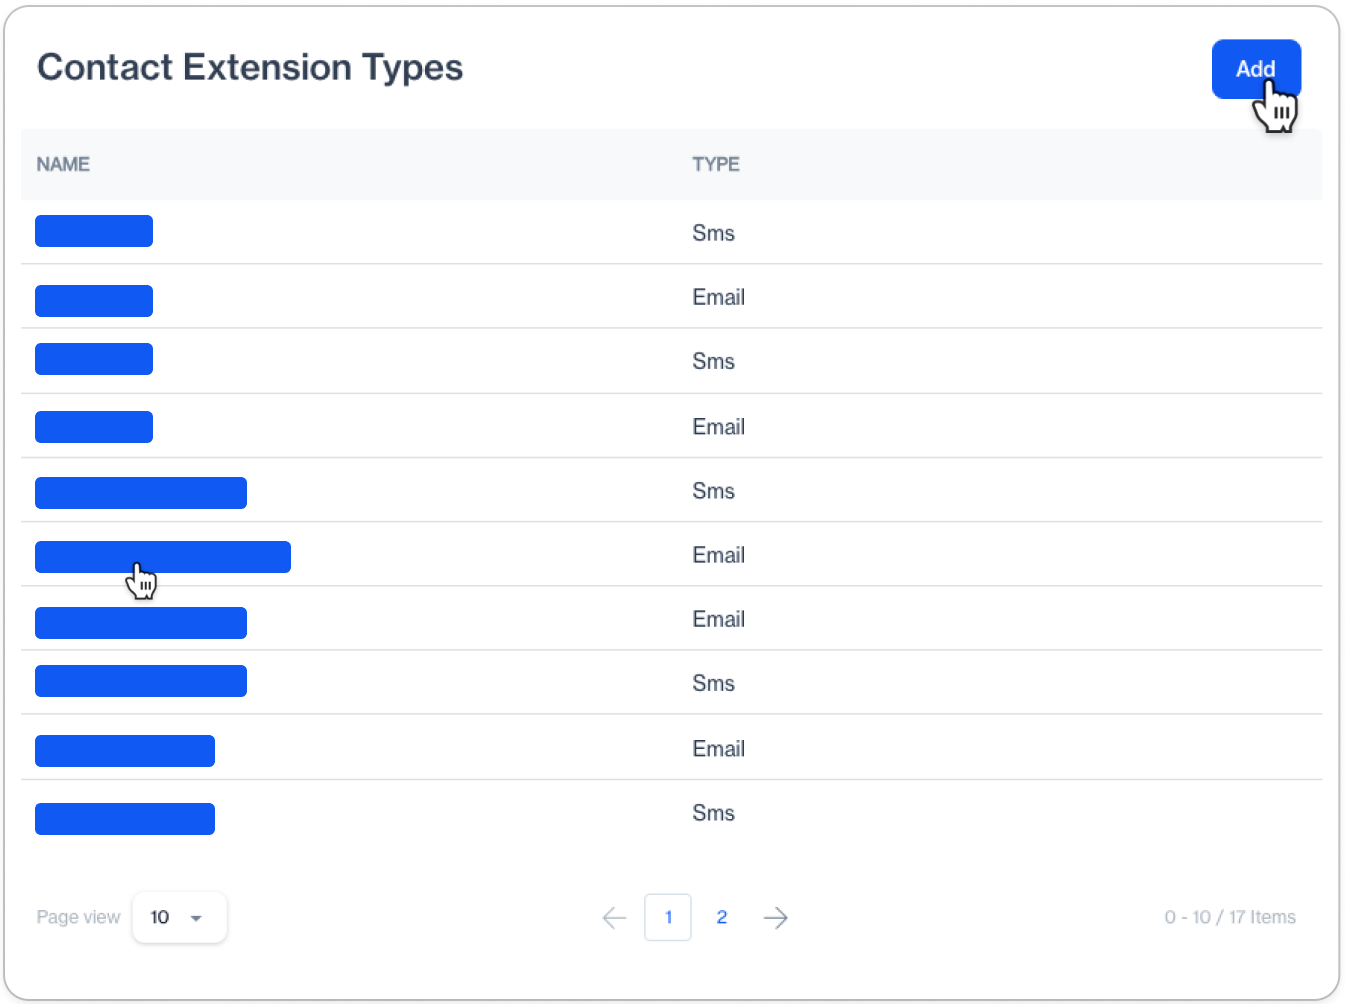
- To create a new contact extension, simply click the Add button.. ℹ️ If you need to modify an existing contact extension, just click on the contact's name to access the editing options.
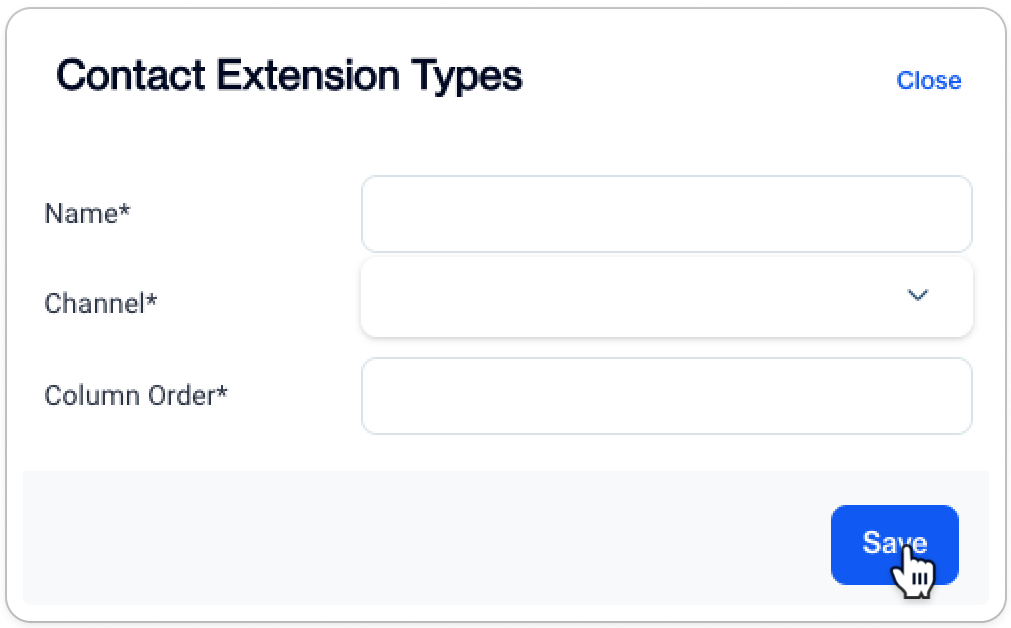
- Name: Assign a descriptive name to your new Contact Extension Type to easily identify it later.
- Channel: Choose whether this contact extension will apply to the Email or SMS channel.
- Column Order: Specify the sequence in which contact details should be arranged in the
master_contact_extensiontable. This order sets the priority of the channels when executing your campaign, determining which contact point to use first.
Critical Reminder for Importing Contact ExtensionsTo correctly link Contact Extensions, they must be imported into the
master_contact_extensiontable using the appropriate contact_id. This step ensures that each extension is properly associated with the corresponding entry in themaster_contacttable.As an alternative, consider using the BulkUpsertExtensions method, which allows for the creation or updating of contact extensions in bulk.
Updated 10 months ago