
API IP Restriction
This section enables you to specify IP addresses that are allowed to connect to our REST APIs and utilize the available API functions.
REST APIs are a method to integrate with our services. By default, access to REST APIs is blocked for API Users from any IP address on the internet to ensure optimal security.
Please add the IP addresses from which you will be calling our REST APIs.
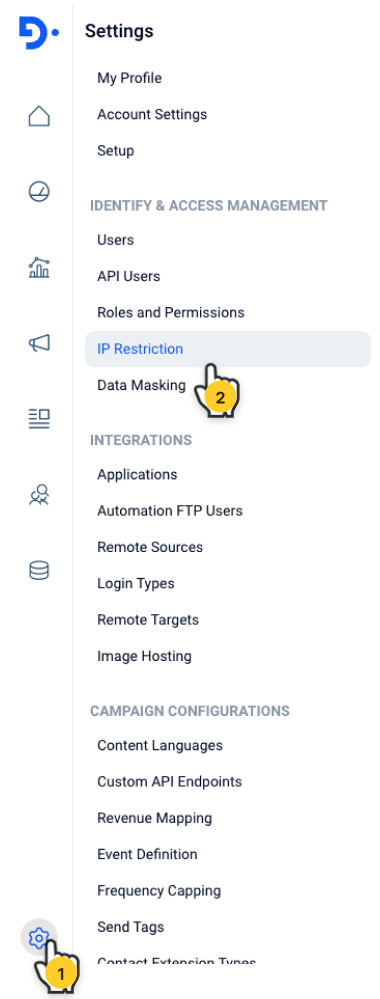
Navigate to Settings > Identify & Access Management | IP Restriction
When you click, you'll find a list of existing IP definitions. The number of IP addresses to add to the platform is limited.
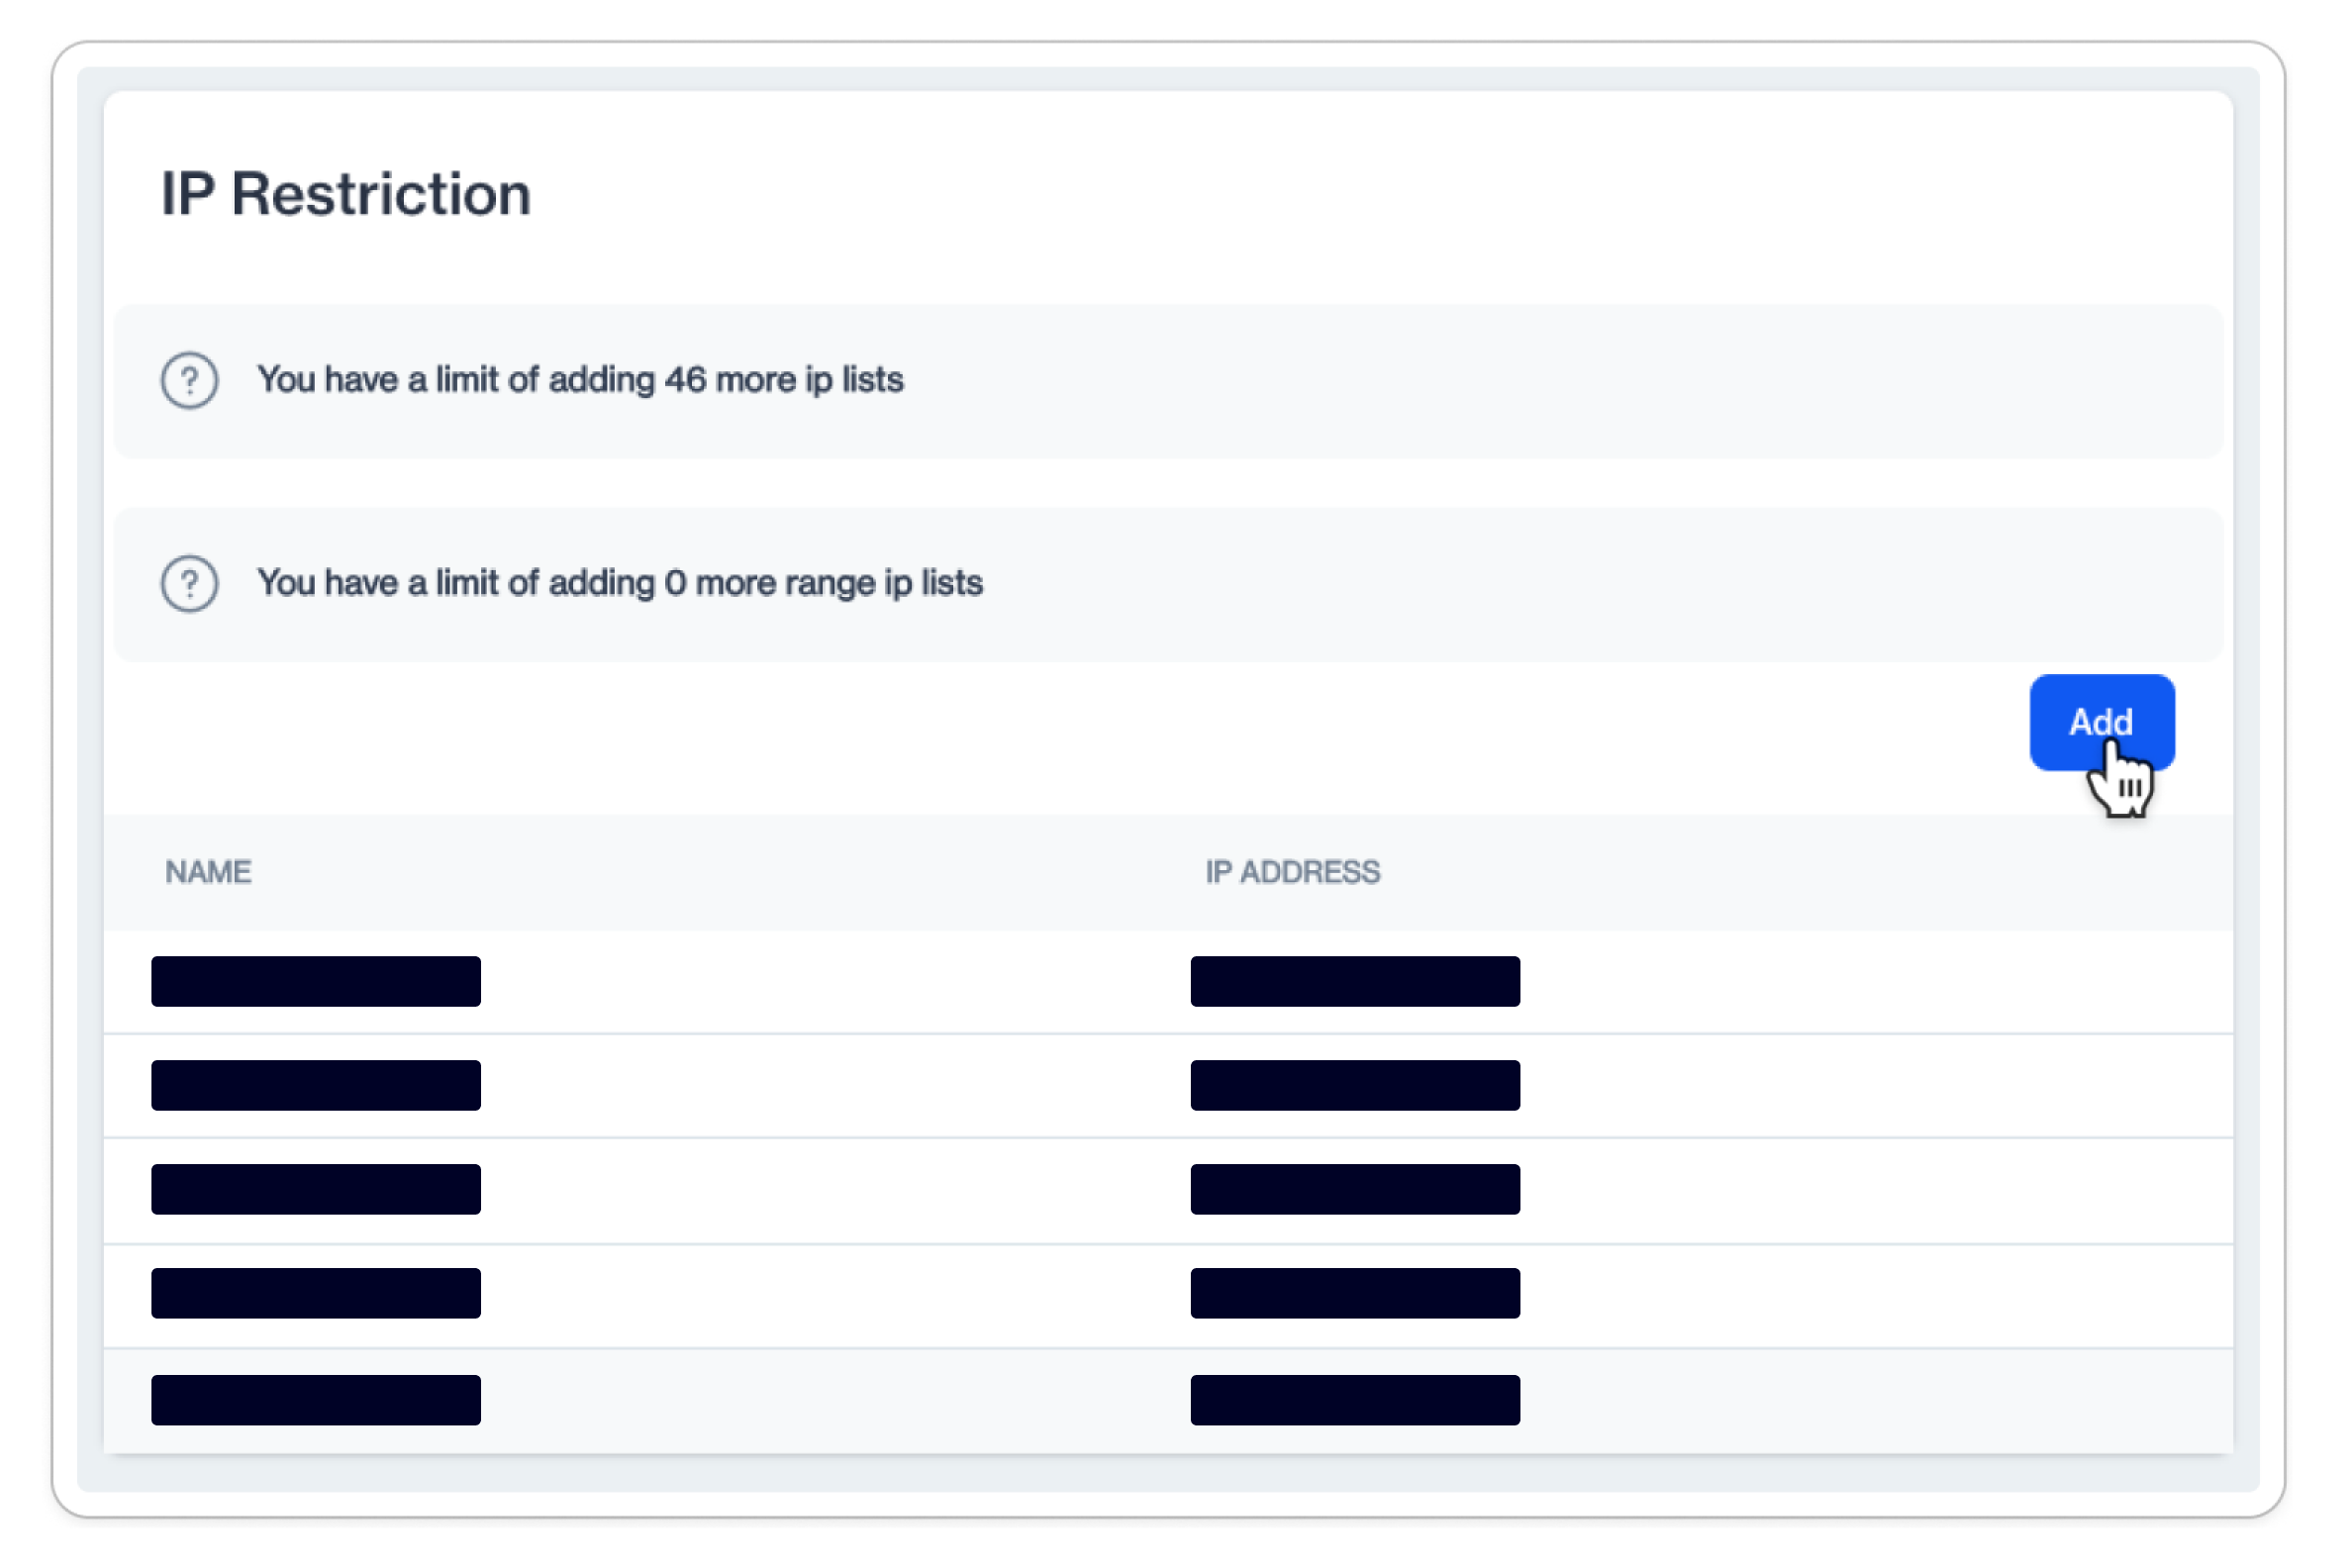
Add a new IP address or range
To add a new IP address or range, click on the Add button.

- To add an new IP Next, you'll encounter the IP List Configuration modal. Fill in the fields as described below.
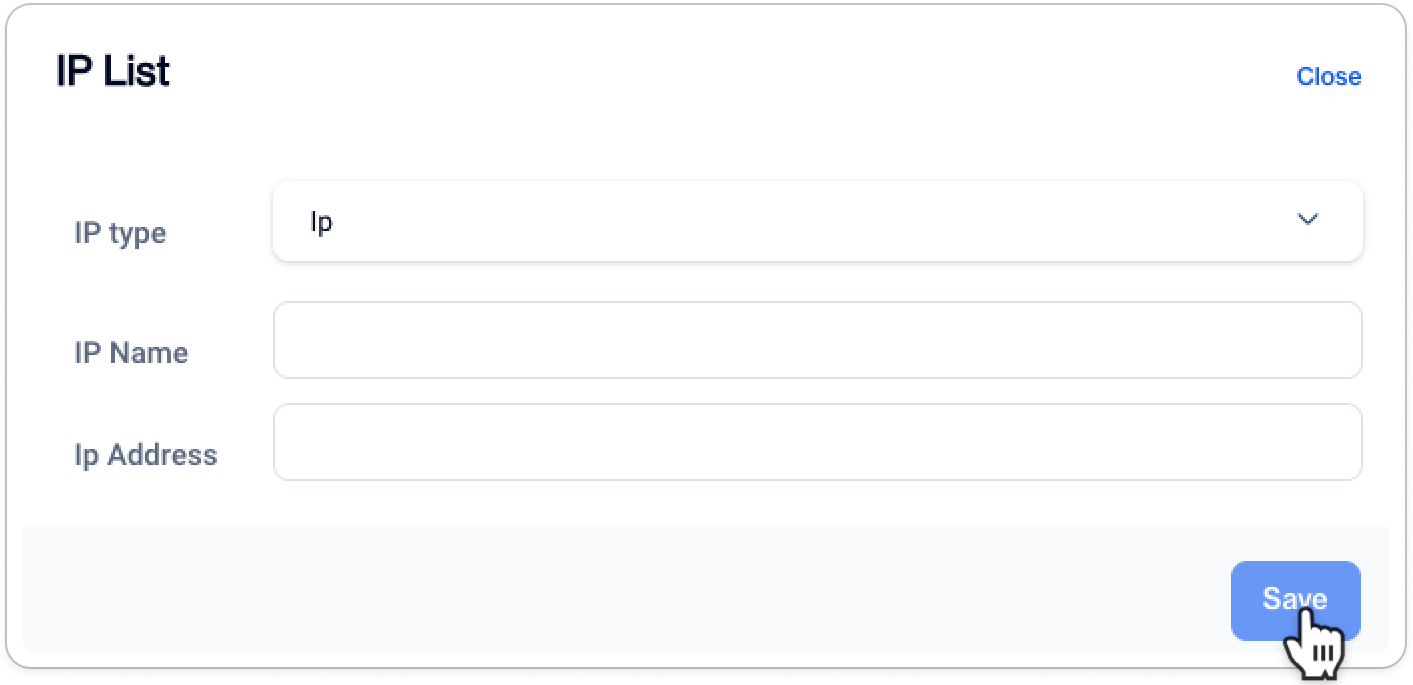
Add a new IP address to call REST APIs from
-
IP Type (IP or Range): This field determines whether you're configuring a single IP address or a range of IP addresses. Select IP if you want to specify a single, exact IP address. Choose Range if you want to define a broader set of IP addresses within a particular range.
Some examples for defining ranges- 192.168.0.0/255.255.255.0
- 192.168.0.10 - 192.168.10.20
- 192.168.10.10-20
- 192.168.0.0/16
-
IP Name (Configuration Name): This is where you provide a name for your IP configuration. It's for your reference and should be something easily recognizable, helping you identify the purpose of this restriction.
-
IP Address (IP Address or Range): In this field, enter the specific IP address (for single IP configurations) or a range of IP addresses (for IP range configurations) that you want to allow or restrict from connecting to your platform. This is where you define the actual IP information for your restriction.
You are all setAfter clicking Save, the IP restrictions will be ready to take effect automatically in 5 minutes.
Edit or Remote IP Addresses
If you need to make changes or remove an IP configuration, it's straightforward. Just click on the name of the configuration you want to modify. To delete it, click on the Trash Bin icon. Make any necessary alterations and hit Save to update the configuration.

Edit or Delete an existing IP configuration
Updated 8 months ago