
Web API Call Node
What is Web API?
A Web API (Application Programming Interface) allows different software systems to communicate with each other over the web. It defines a set of rules and protocols for building and interacting with software applications.
In this context, the Web Api Call feature enables you to transfer data from D-Engage to your own systems or third-party services via a defined API endpoint.
Step 1: Define Remote Target
Define a Remote Target
- Go to Settings > Remote Targets in the D-Engage interface.
- Click on Add New Remote Target. Enter a name for the remote target and choose Web API connection type from the dropdown list.
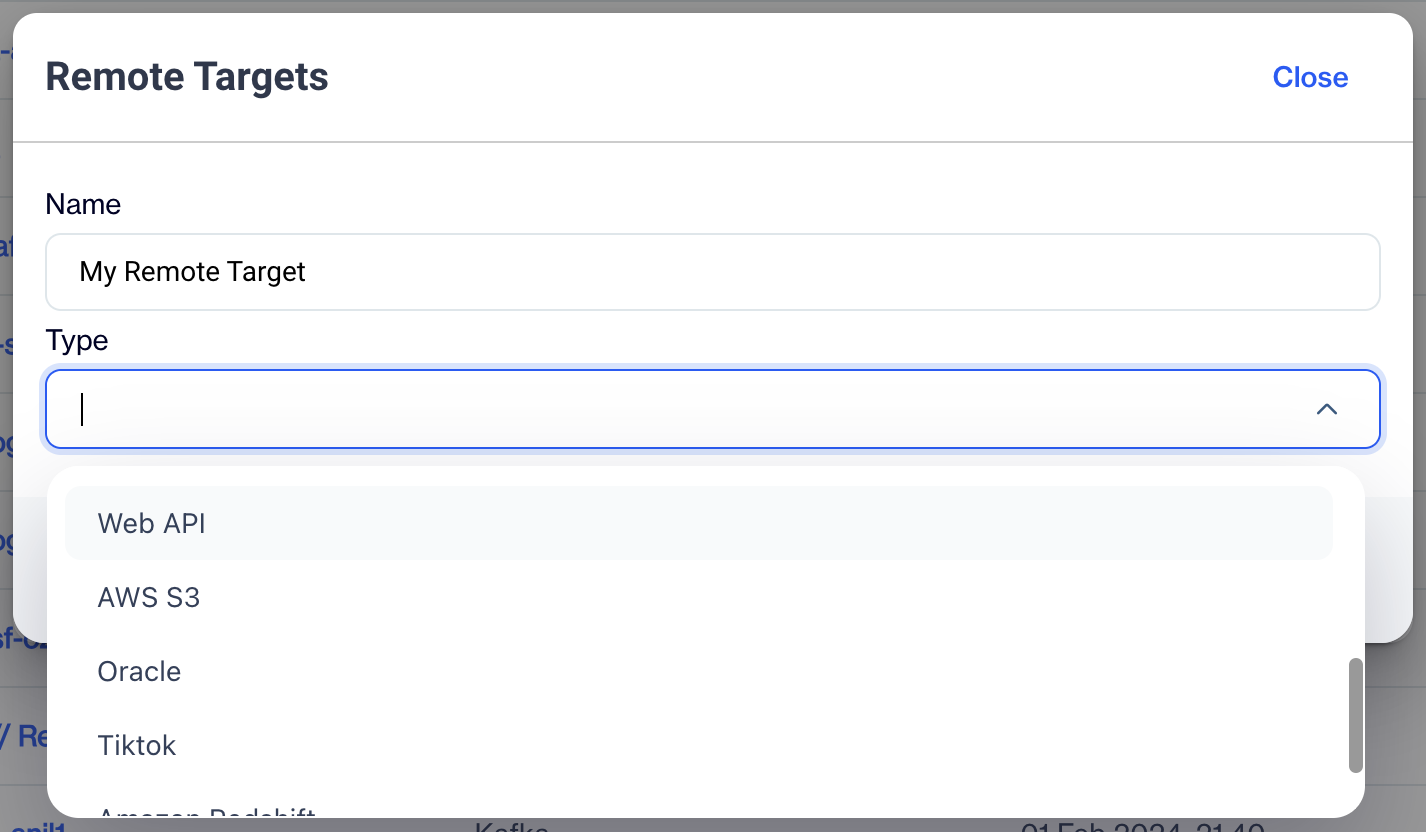
Please fill required fields like below:
- Name: When selecting the Web API, please assign a unique name to your Remote Target. This name will be used when calling your web API through Campaign Flow.
- Type: The type of your remote target must be set to 'Web API'.
- Base URL: Enter the full URL of your web API, such as https://api.mywebsite.com/apis
- Endpoint: Specify the endpoint address of your web API, e.g., /bulkupsert.
- Authentication Type: Choose your authentication type. By default, no authentication is used.
- Save your Remote Target to make it available for selection in the Web Api Call node.
Step 2: Configure the Campaign Flow
- Create a New Campaign Flow
- Go to Campaigns > Flow.
- Create a new one-time or recurring campaign.
- Add the Web API Node
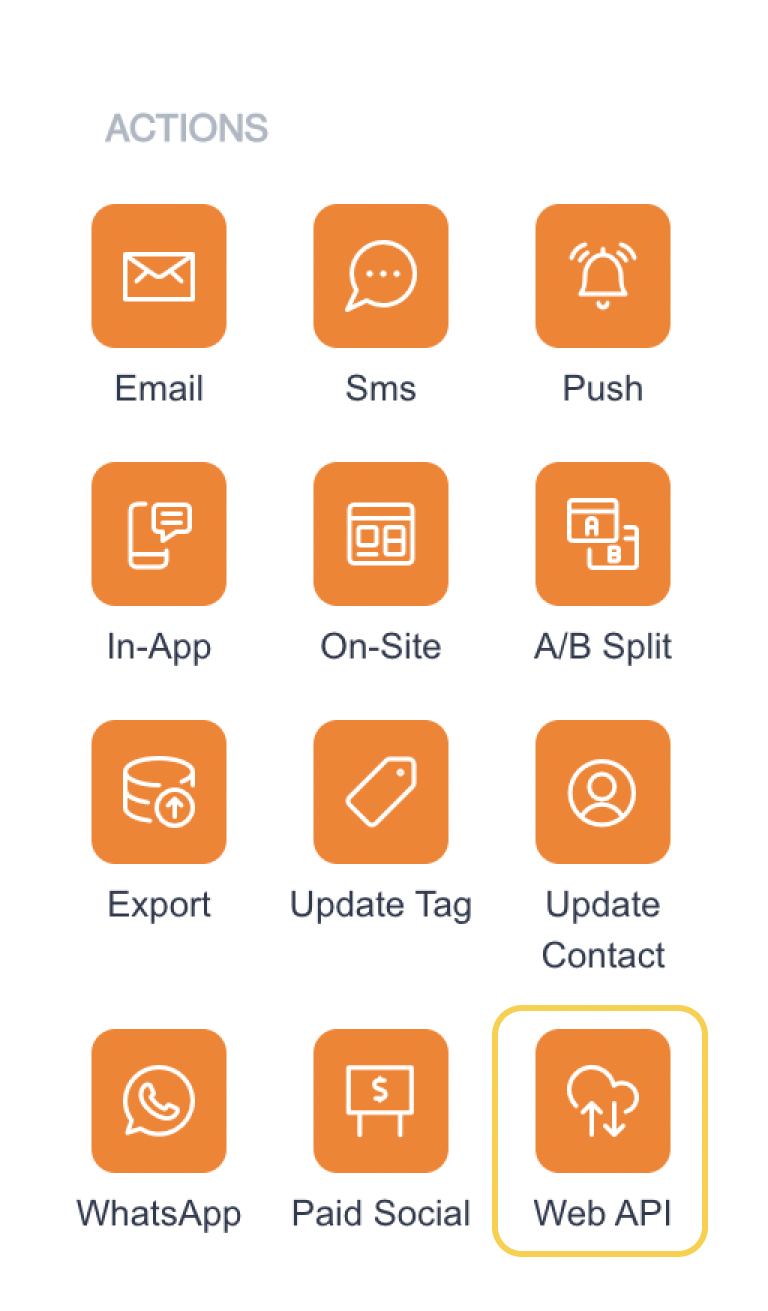
- In the Campaign Flow, locate and add the Web API node from the actions list on the left.
- Configure the Node
- Drag and drop the Wep API node to the flow.
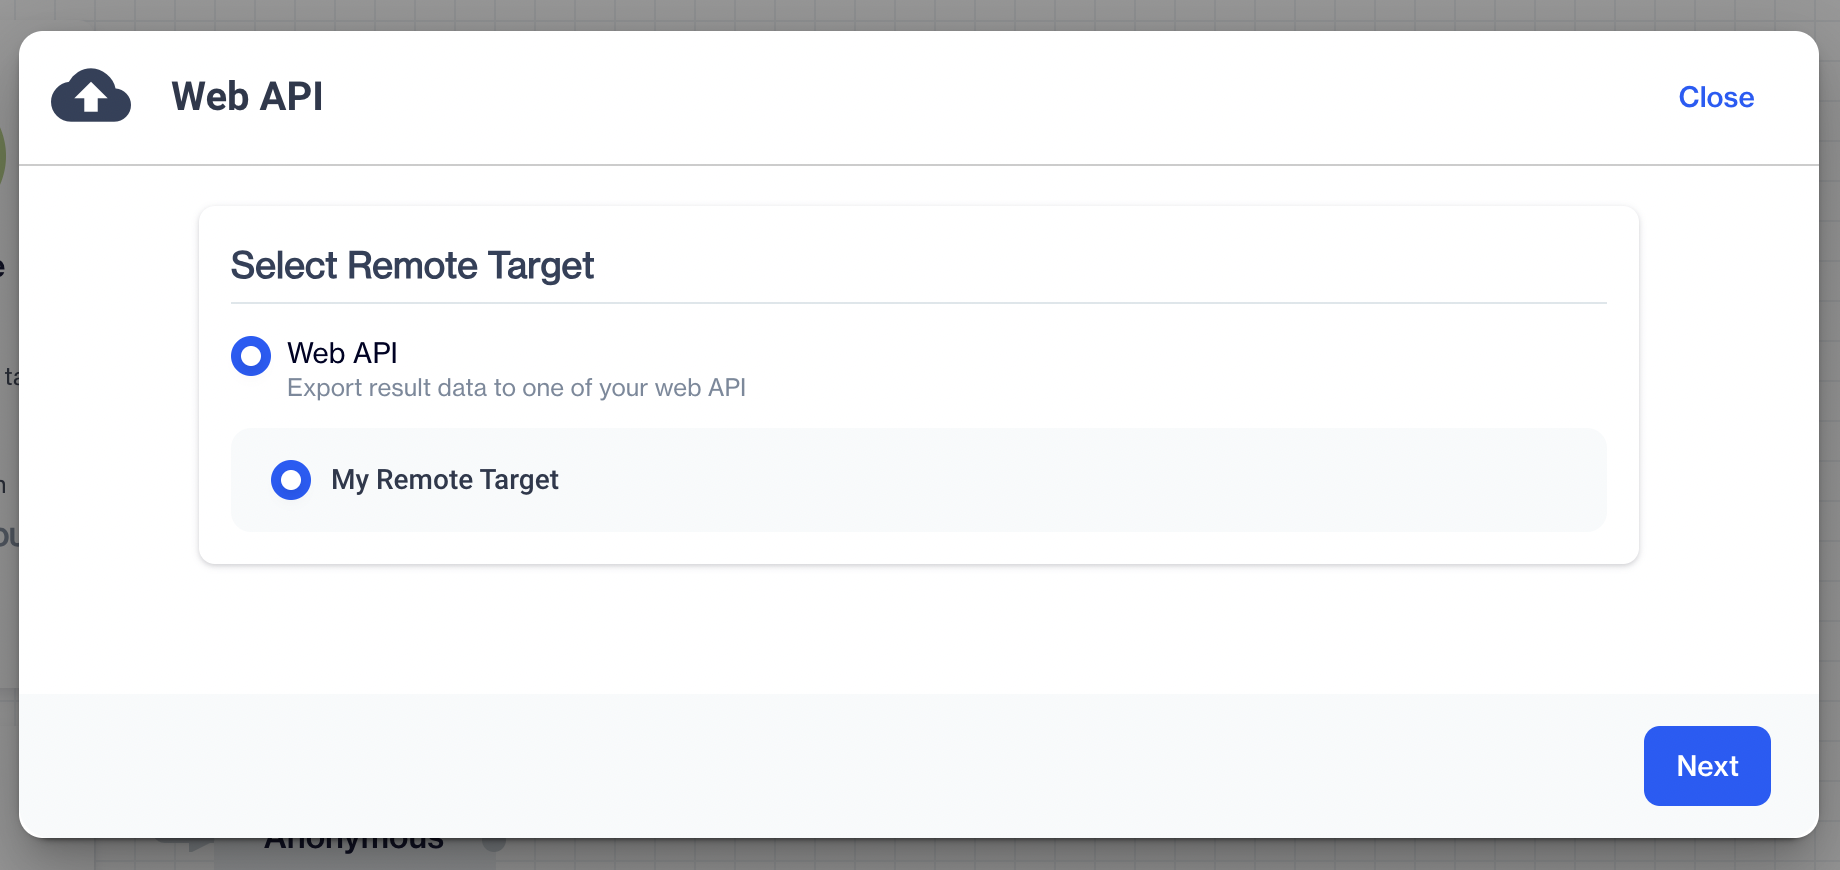
- Double-click on the node to open the configuration modal.
- Choose your remote target from the list.
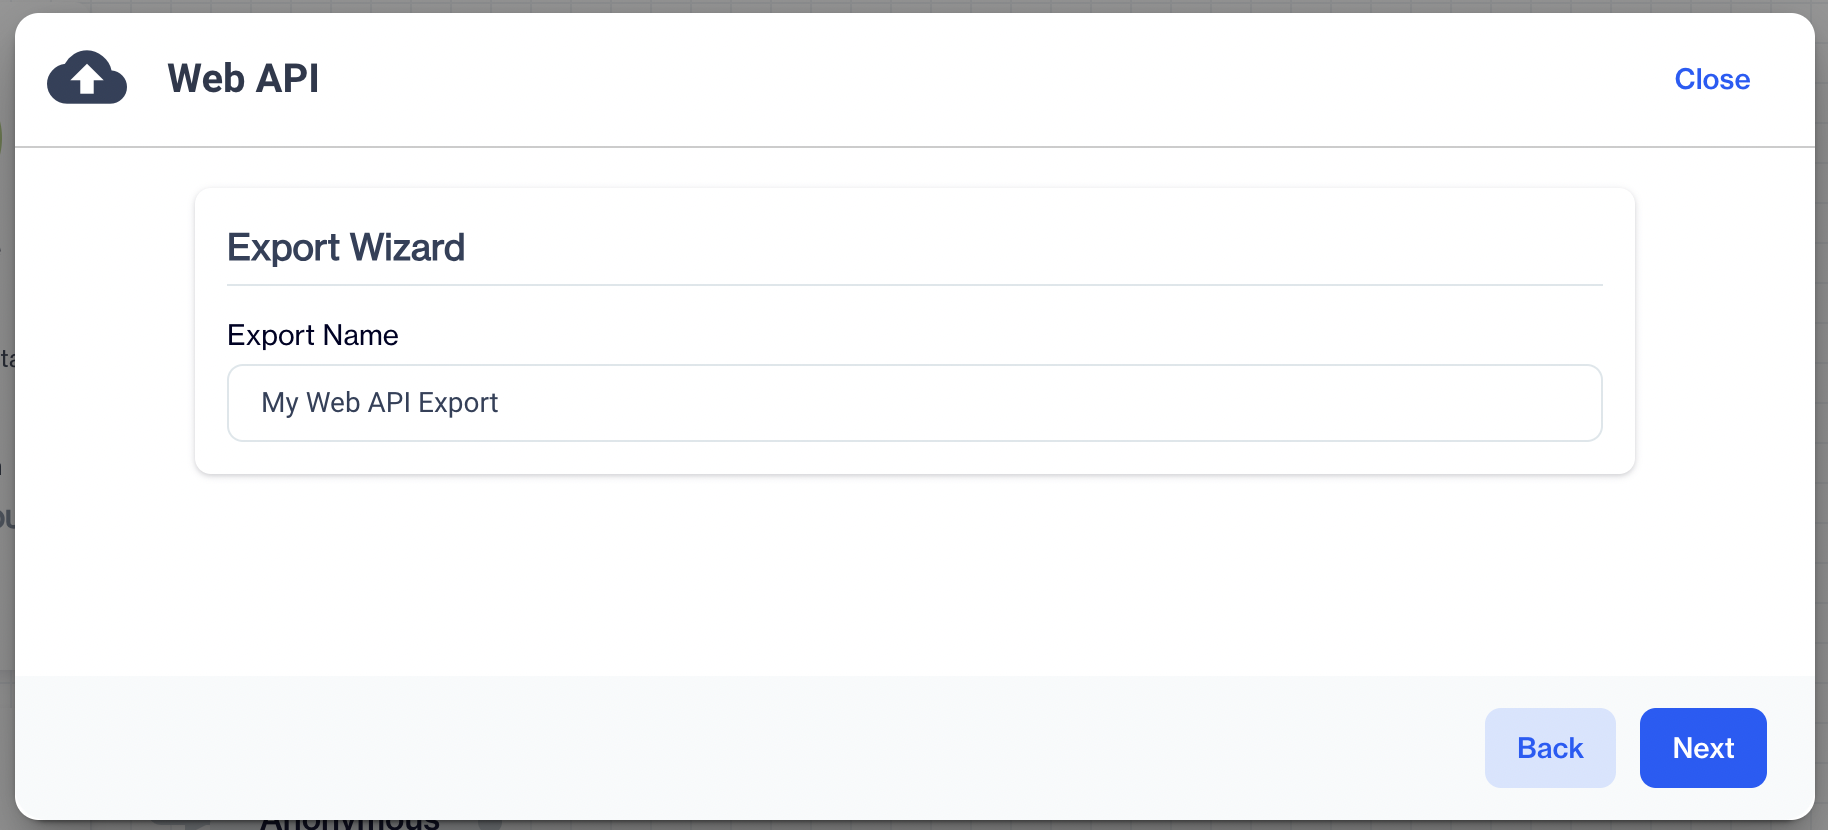
- Give your export any name you want.
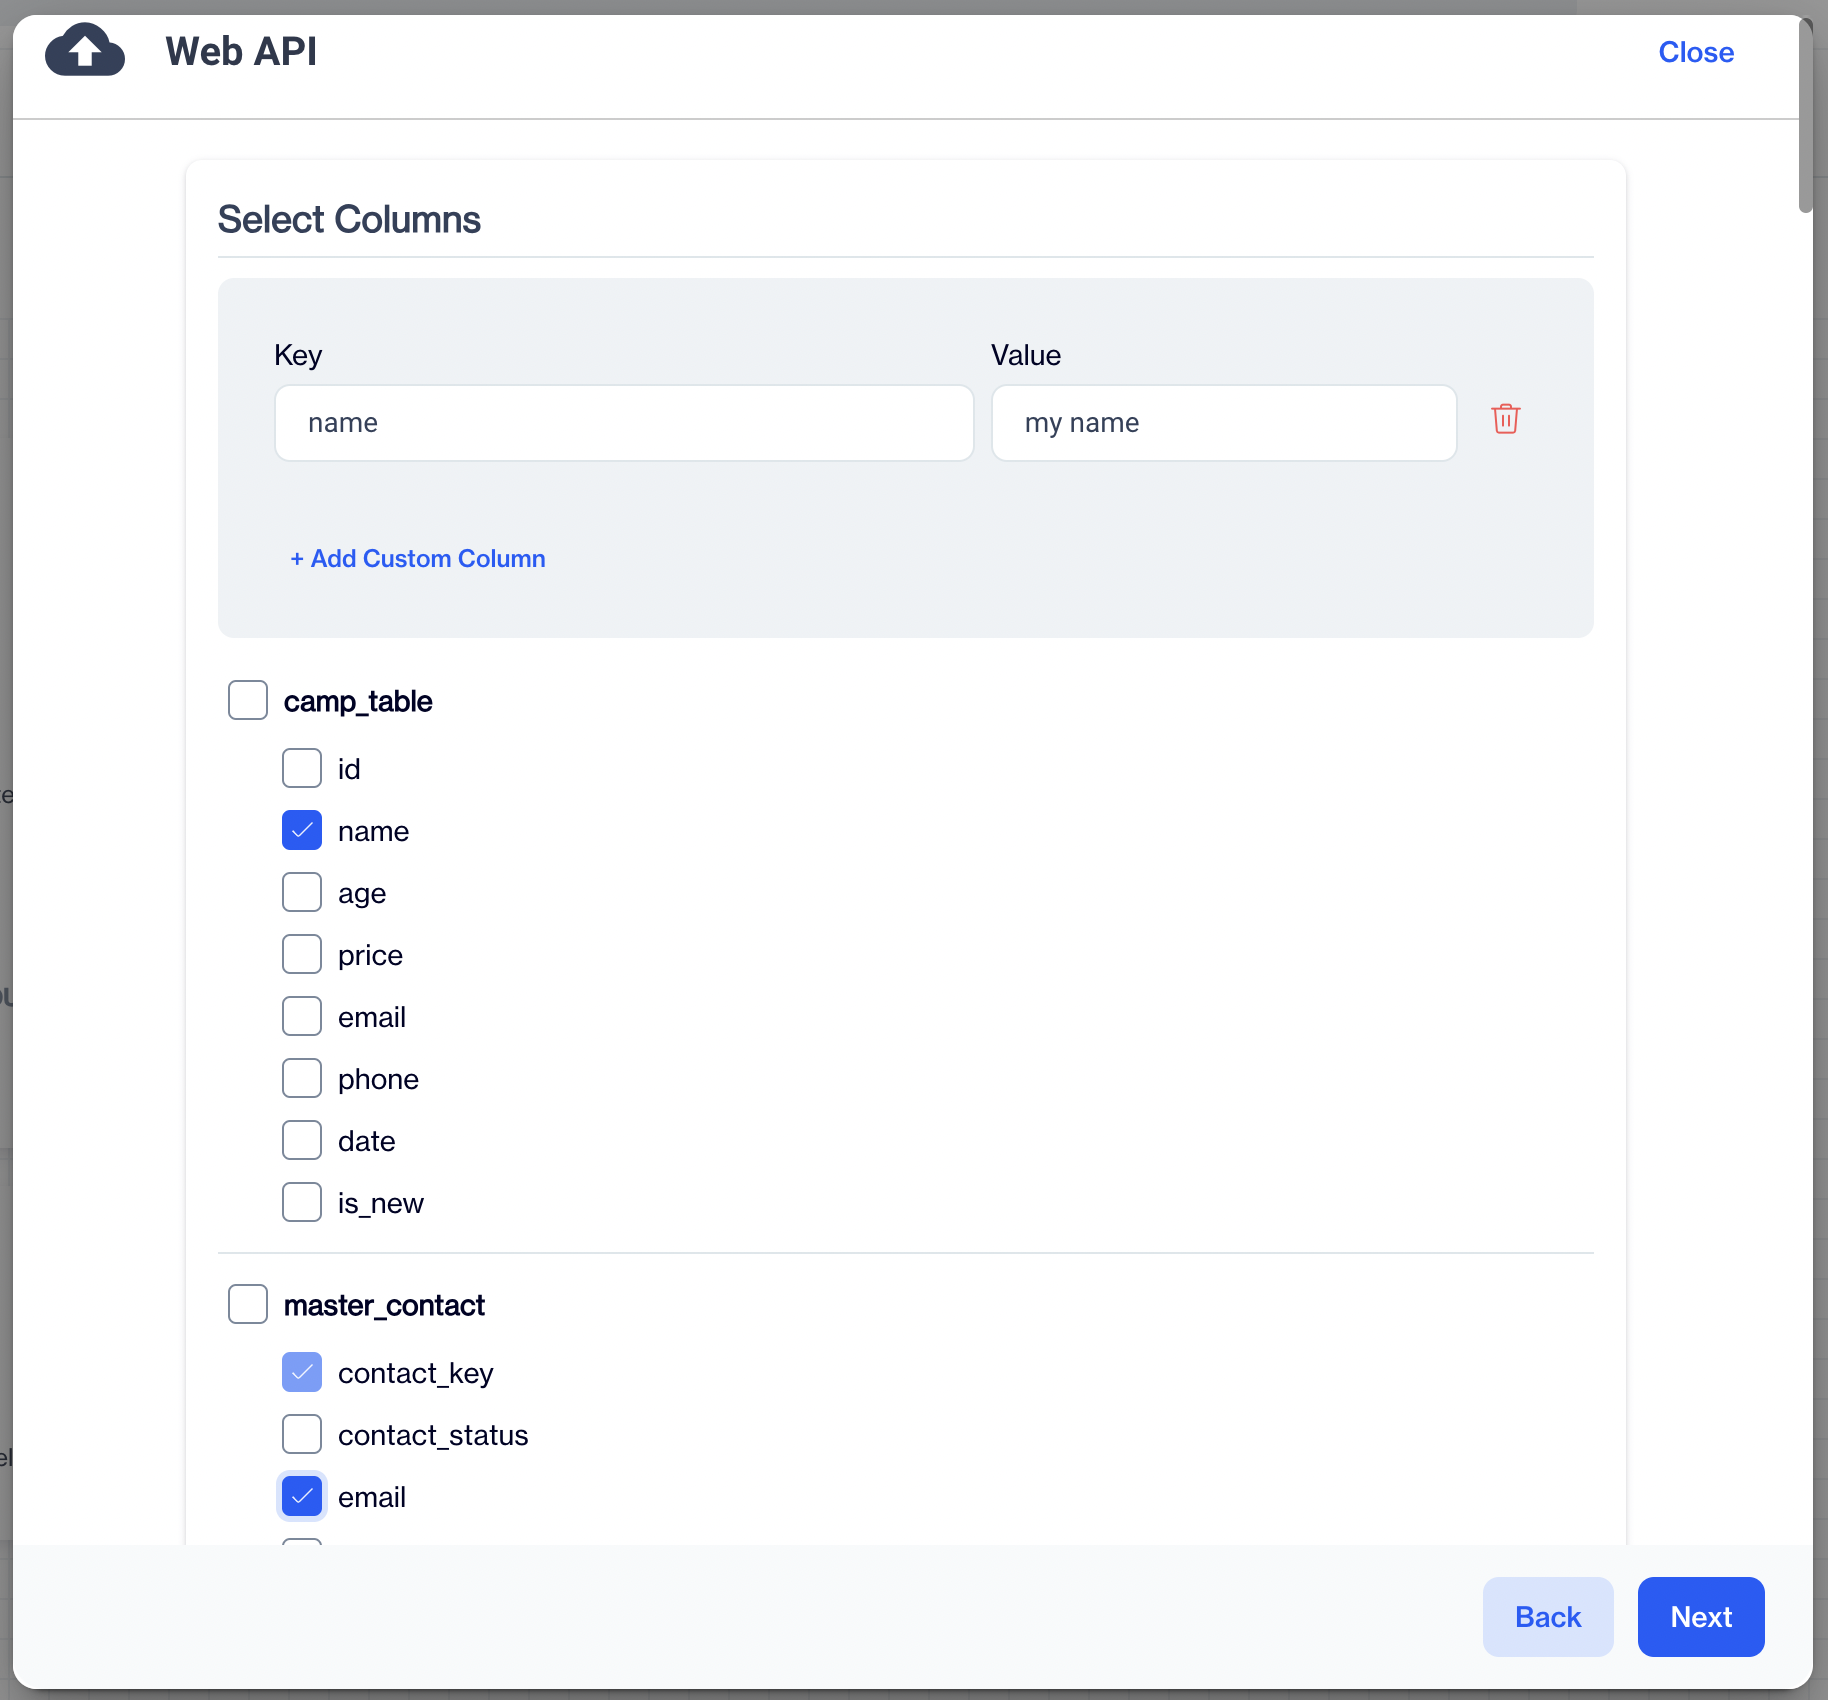
- On the next screen, choose the columns you want to send to your Remote Target.
- On the screen below, you can add Custom Columns, columns from the table you want to send, and columns from your master_contact or master_device table.
- contact_key for master_contacts table and device_id for master_device table are required and checked by default, and can not be unchecked.
- If your custom columns, camp_table columns have the same name as your master_contact or master_device tables the system will automatically change the name.
- After the selections are done, on the next screen there will be a summary and sample curl.
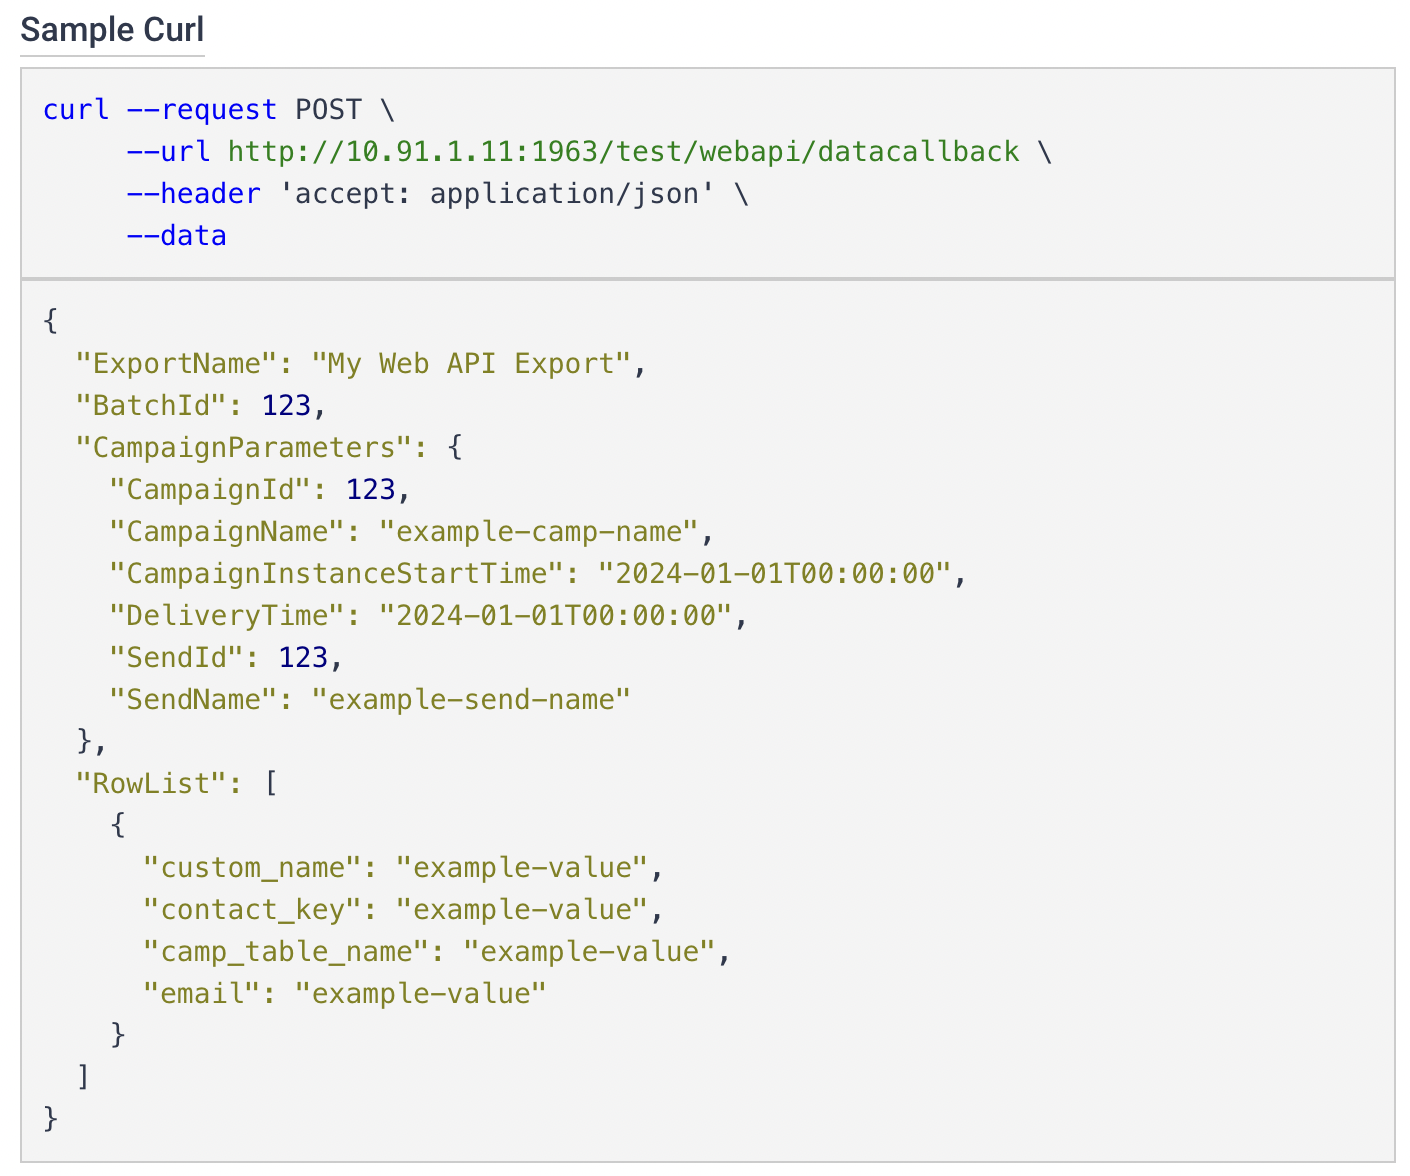
The JSON output will be generated in two parts:
i. CampaignParameters
- Mandatory Fields: Automatically included fields such CampaignId, CampaignName, CampaignInstanceStartTime, DeliveryTime, SendId, and SendName.
ii. RowList
- Custom Parameters: User-defined key-value pairs. Will be repetitive for every row.
- Campaign Table(if sendable table chosen as audience)
- Master Contact or Mater Device Data: Selected data from the master_contact table, including the contact_key which is mandatory and unchangeable.
- Save and Finalize
- Save your configuration. The node in the workflow will update to regarding the configured Web API.
Tips and Best Practices
- Ensure your endpoint is properly configured to receive data in the specified JSON format.
- Regularly update your API endpoint to accommodate any changes in data structure or requirements.
- Use descriptive names for your custom parameters to maintain clarity and ease of use.
How we will call your web api
- You will receive one request at a time in your web API. In other words, you won't receive concurrent requests on your end.
- Each request can contain up to 1000 messages in the body.
Updated 6 months ago