
Requirements
- D·engage Integration Key
- iOS Push Certificate
- iOS Device (you need to test on a real device for notifications)
- A Mac with the latest Xcode
- iOS version 10 or later (supported by D·engage Mobile SDK)
Integration Methods
1. CocoaPods Integration
Dengage is available through CocoaPods.
To install it, simply add the following line to your Podfile:
// 5.99 Sdk without  geofence module

pod 'Dengage', '~> 5.99'

// 5.99 Sdk with geofence module

pod 'Dengage', '~> 5.99'
Run
pod installvia terminal
2. SPM Integration
Using SPM automates most of the installation steps. Make sure you’re using Xcode 12 or later.(Note:Applies to new SDK.)
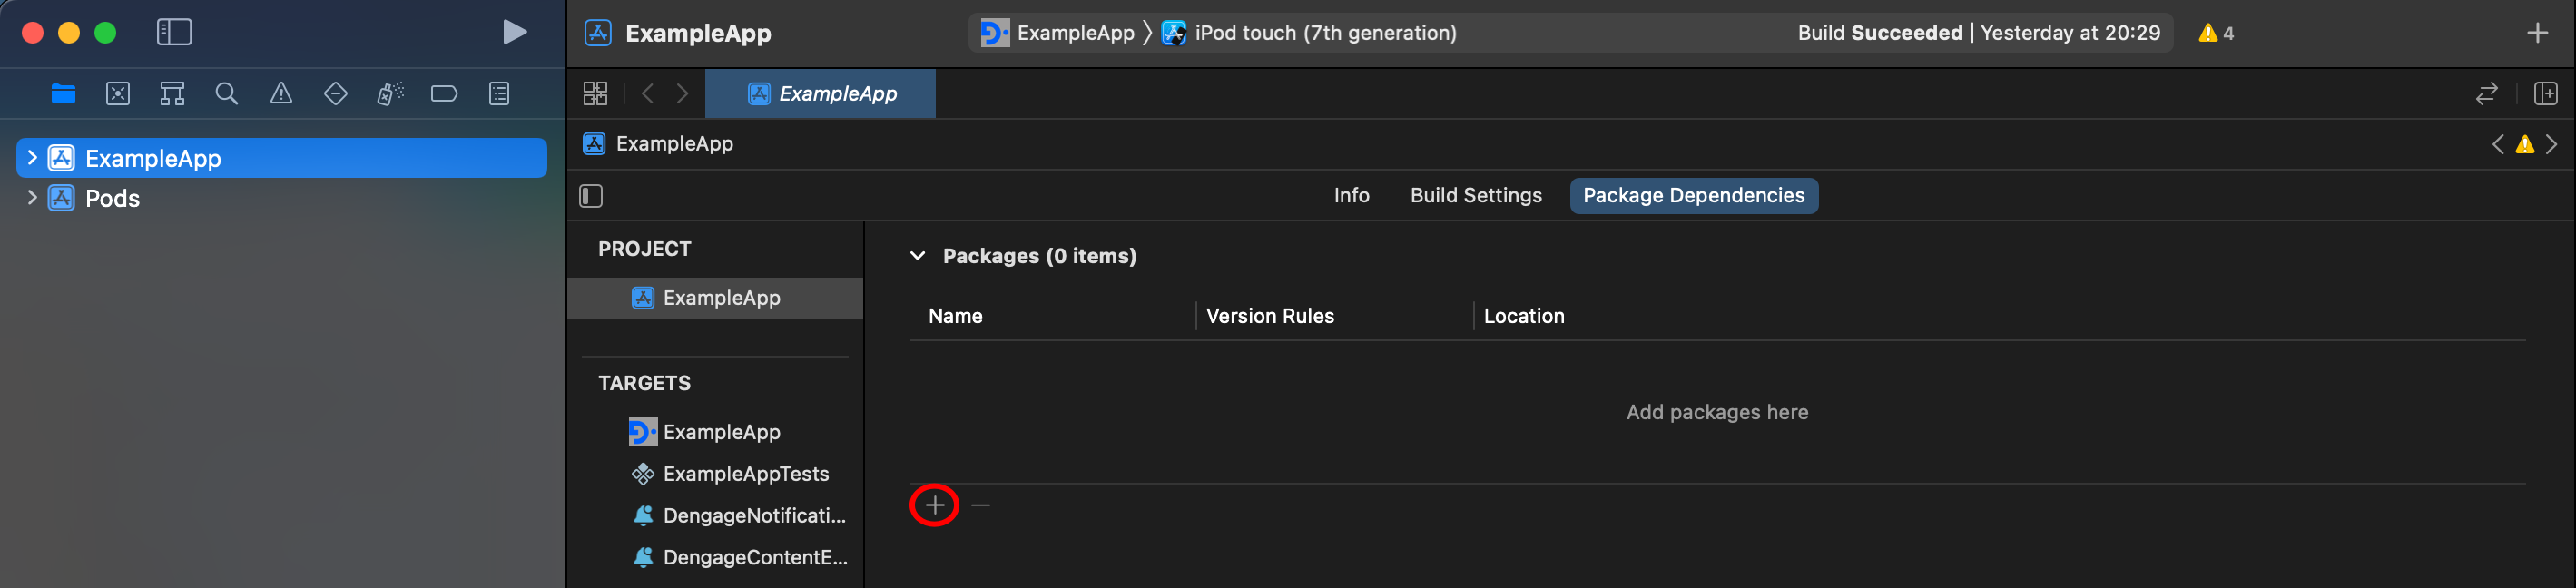
Open your project in Xcode and go to Project Settings > Swift Packages. Click the + button to add a new package.
Enter the URL of our iOS SDK repository in the text field and click Add Package. Paste the SDK repository URL: https://github.com/dengage-tech/dengage-ios-sdk.git Select the latest branch and you can find the latest released branch here https://github.com/dengage-tech/dengage-ios-sdk/tags
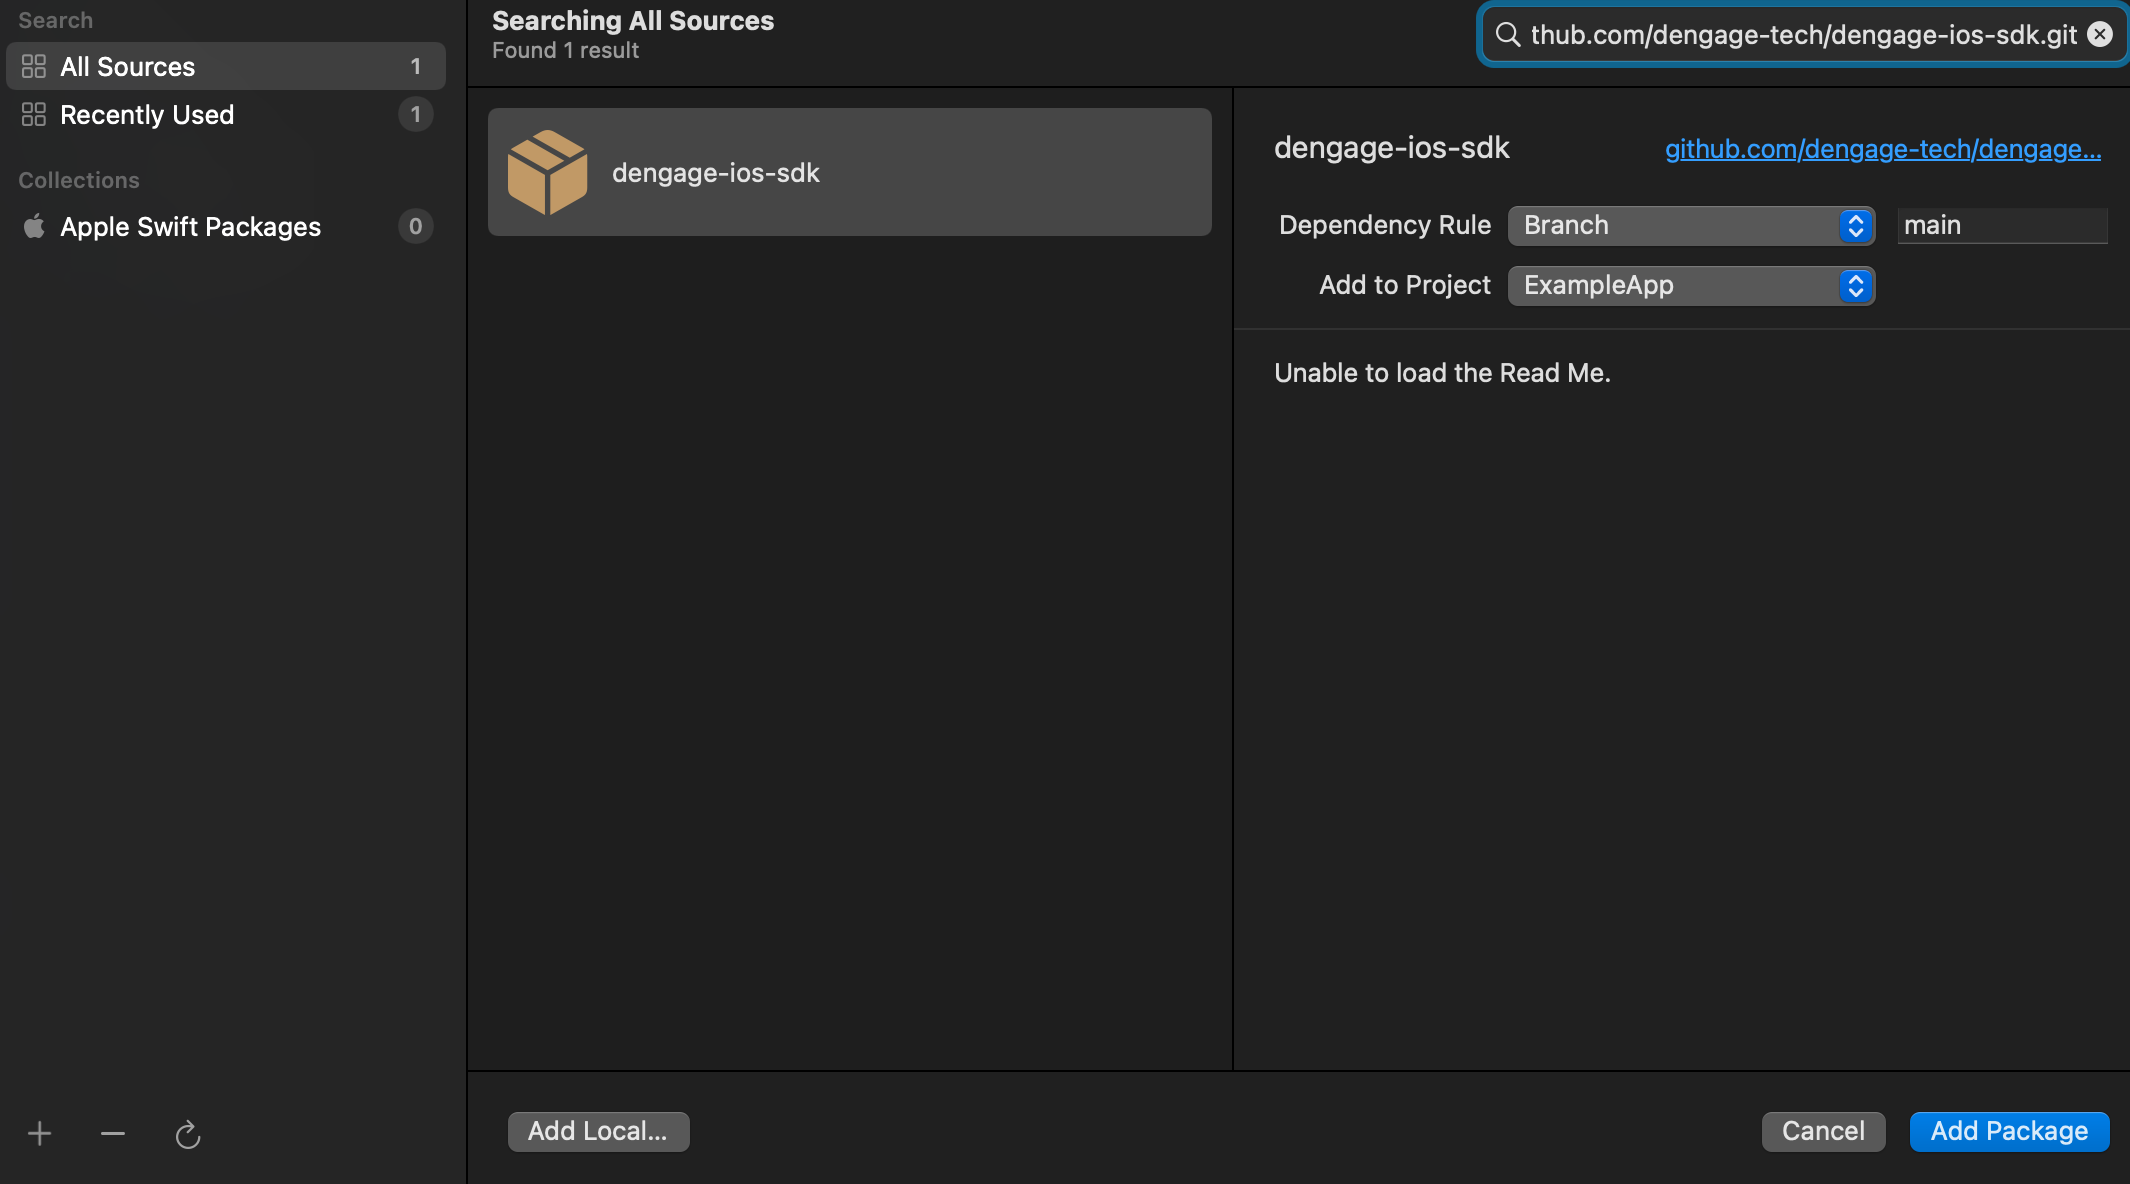
Then choose the SDK version and click Add Package.
3. End Point Configuration
For initial setup, if you have been given URL addresses by D·engage Support Team, you need to set up URL addresses by using Info.Plist file.

Please see API Endpoints By Datacenter to set your subscription end point.
4. Completing the integration
If you are integrating our iOS SDK with CocoaPods, Carthage or SPM add the following line of code to your AppDelegate.swift
import DengageAfter installation, you can access SDK's methods by importing Add the line at the beginning of your code file.
5. Creating an Apple iOS Certificate
Open your Apple Developer account and go to Certificates, Identifiers & Profiles > Certificates.

Switch to the Keys section and create a new key.

Give the key a name and enable Apple Push Notifications service (APNs). Click Continue, Register, then Download to get the .p8 file.
Save the downloaded
.p8file securely — it can only be downloaded once, and you can generate maximum two keys.

6. Defining iOS Application
In your Apple Developer account, go to Certificates, Identifiers & Profiles > Identifiers and open your app. Copy your Team ID and the app’s Bundle ID.

Then go to Keys, open the key you created, and copy the Key ID.

In App Store Connect > App Information, navigate to Your Apps > General > App Information then copy your app’s Apple ID(For alias area).

Log into the Dengage Panel, navigate to Settings > Push Applications, and choose Add > iOS Application. Paste the Key ID, Team ID, Bundle ID, and Apple ID, then upload the .p8 file you downloaded.
Use Sandbox for Xcode testing and Production for TestFlight or App Store builds, and update the integration keys accordingly.

After upload, Dengage will generate an Integration Key ,copy and save it for later.
