
Requirements
- Google Firebase App Configuration
- Android Studio
- Android Device or Emulator
- D·engage Mobil SDK for Android supports version 4.4 (API Level 19) and later.
- D·engage Mobil SDK for Huawei supports all new versions.
1. Create Firebase App
1.1 Create an Android app on Firebase Console.


1.2 Download your configuration file (google-services.json) and copy the file on your app directory.


1.3 Add the following dependencies to project >build.gradle file and project > settings.gradle which is located in your project root directory and sync.
buildscript {
        repositories {
        google()
        mavenCentral()
        maven { url 'https://jitpack.io' } // ANDROID Maven repository (Add this line)
        maven { url 'https://developer.huawei.com/repo/'} // HUAWEI Maven repository (Add this line)
    }
        dependencies {
          classpath 'com.android.tools.build:gradle:7.0.2'
          classpath 'com.google.gms:google-services:4.3.10'// Add this line

          // huawei
          classpath 'com.huawei.agconnect:agcp:1.5.2.300'// Add this line
          classpath 'com.huawei.hms:push:6.3.0.304'
					}
}

// Valid in old android studio app.
allprojects {
   repositories {
      mavenCentral()
        maven { url 'https://jitpack.io' } // add this line
        maven { url 'https://developer.huawei.com/repo/' } // HUAWEI Maven repository
    }
}

// Valid in old android studio app.
  apply plugin: 'com.google.gms.google-services' // Add this line, Please apply              google-services plugin at the bottom of the build file.
    repositories {
        google()
        mavenCentral()
        maven { url 'https://jitpack.io' } // ANDROID Maven repository (Add this line)
        maven { url 'https://developer.huawei.com/repo/'} // HUAWEI Maven repository (Add this line)
    }
1.4 Add the following dependencies to app > build.gradle file which is located in your project app directory and sync.
// Valid in new android studio app.
plugins {
    id 'com.android.application'
    id 'com.google.gms.google-services'
    id 'com.huawei.agconnect'
}

// Valid in old android studio app.
apply plugin: 'com.android.application'

dependencies {

  // dengage
  implementation 'com.github.dengage-tech:dengage-android-sdk:x.y.z' //Add this line

  // huawei
  implementation 'com.huawei.hms:push:6.1.0.304' //Add this line
  implementation 'com.huawei.hms:ads-identifier:3.4.30.307' //Add this line
  implementation 'com.huawei.agconnect:agconnect-core:1.5.2.300' //Add this line

  // gson
  implementation 'com.google.code.gson:gson:2.8.7'//Add this line
1.5 For android sdk minSdkVersion should be 19. (app > build.gradle)
android {
    compileSdkVersion 34
    defaultConfig {
        minSdkVersion 19
        targetSdkVersion 34
        versionCode 1
        versionName "1"
        testInstrumentationRunner "androidx.test.runner.AndroidJUnitRunner"
        //applicationId "com.dengage.sdk" // Update this line
    }
1.6 Run your app and verify your configuration.

2. Configuration
2.1 If you prefer to handle messages by D·engage, paste the following config values into your AndroidManifest.xml file. Thus all incoming push messages that received from D·engage Platform will be generated by the SDK.
<application ...>
...
<!-- Fcm Messaging Service for handling push messages comes from firebase -->
<service
    android:name="com.dengage.sdk.push.FcmMessagingService"
    android:exported="false">
    <intent-filter>
        <action android:name="com.google.firebase.MESSAGING_EVENT" />
    </intent-filter>
</service>
<!-- Hms Messaging Service for handling push messages comes from huawei messaging service -->
<service
    android:name="com.dengage.hms.HmsMessagingService"
    android:exported="false">
    <intent-filter>
        <action android:name="com.huawei.push.action.MESSAGING_EVENT" />
    </intent-filter>
</service>
<!-- For handling push notifications comes to messaging service classes -->
<receiver android:name="com.dengage.sdk.push.NotificationReceiver"
    android:exported="false">
    <intent-filter>
      <action android:name="com.dengage.push.intent.RECEIVE" />
      <action android:name="com.dengage.push.intent.OPEN" />
      <action android:name="com.dengage.push.intent.DELETE" />
      <action android:name="com.dengage.push.intent.ACTION_CLICK" />
      <action android:name="com.dengage.push.intent.ITEM_CLICK" />
      <action android:name="com.dengage.push.intent.CAROUSEL_ITEM_CLICK" />
    </intent-filter>
</receiver>
...
</application>
2.2 Make sure that your app has the following permissions.
<manifest ...>
...
<uses-permission android:name="android.permission.INTERNET" />
<uses-permission android:name="android.permission.ACCESS_NETWORK_STATE" />
<uses-permission android:name="android.permission.POST_NOTIFICATIONS"/>
...
</manifest>
3. Defining Push Application
3.1 Access Your Dengage Panel
Log in to your Dengage Panel.
Navigate to Settings > Integrations > Applications and click the New > Android button.
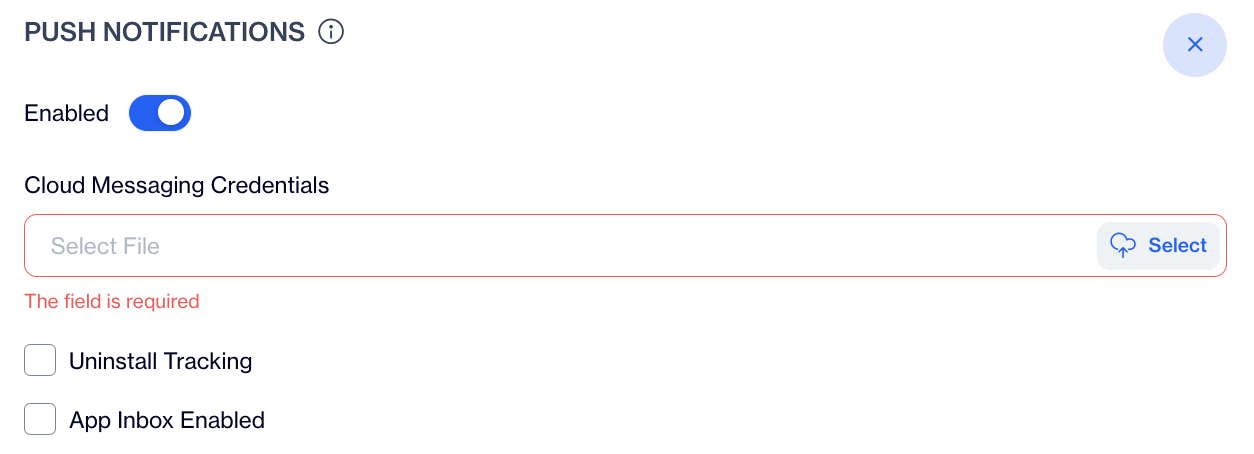
On this page, enable the Push Notification option.
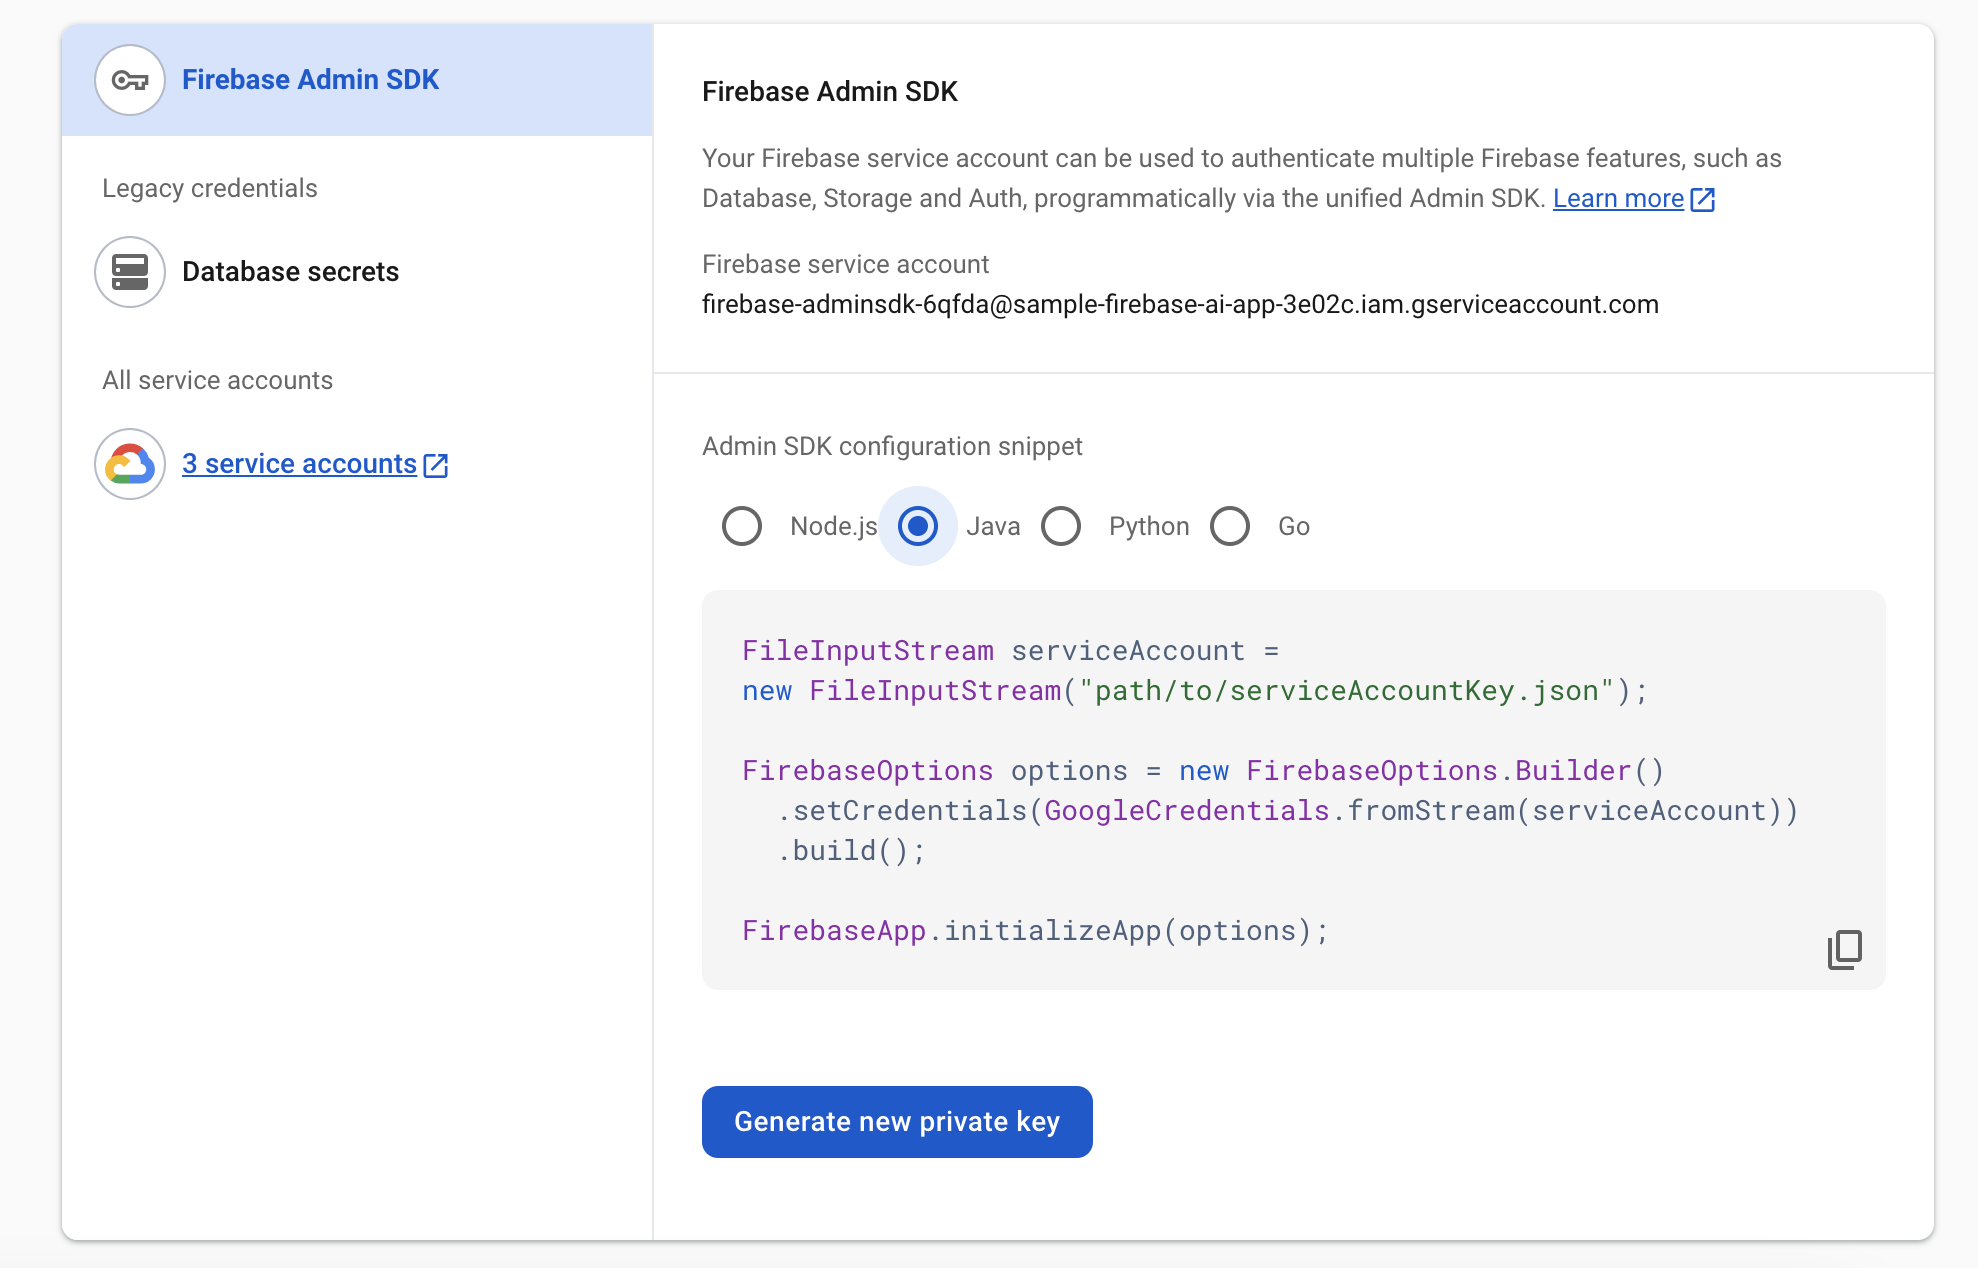
3.2 Generate a Private Key in Firebase
Open your Firebase Console and go to Settings > Service Accounts.
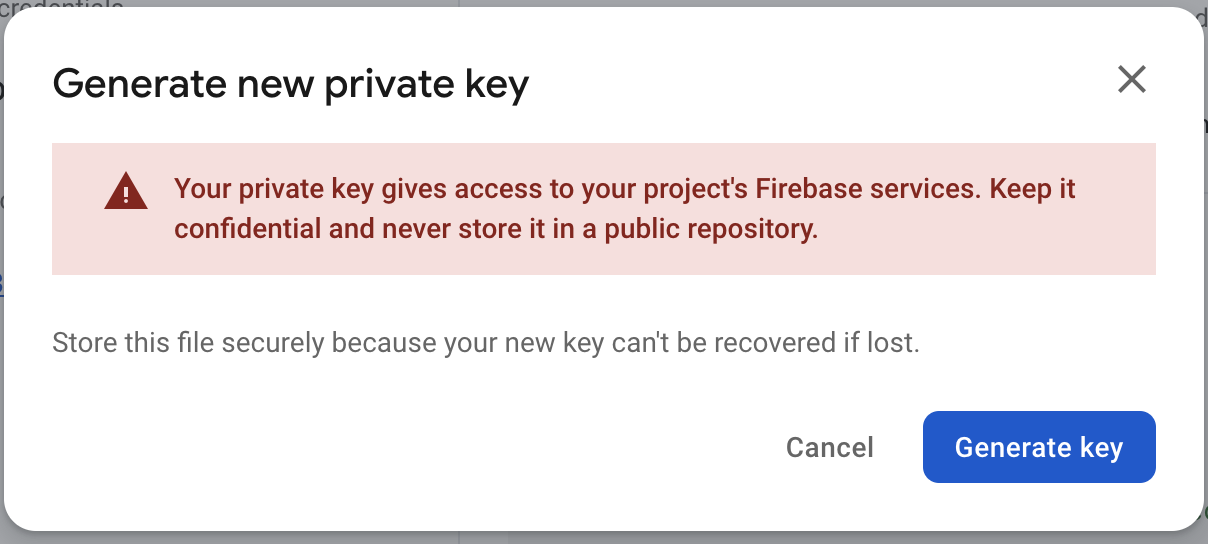
Click Generate New Private Key, then confirm by selecting Generate Key.
3.3 Securely store the downloaded JSON file containing the private key, as it will be required for integration.

3.4 Upload the Private Key File to Dengage
Return to the Dengage Android Settings page.
In the Cloud Messaging Credentials section, click Select File and upload the JSON file you downloaded from Firebase.
Once the file is uploaded, click the Save button to finalize the setup.