
🎉 Release Notes | July '23
Discover details on the most recent updates and releases
1️⃣ Revamped Menu: Tailored For Efficiency!
We're excited to announce a significant update to our platform’s menu structure, designed with you, our users, in mind! In our continuous effort to streamline your workflow and enhance your experience, we've made a few key changes to our menu items. Check key factors below 👇
- Analytics has been prioritized, now appearing right after Dashboard.
- Audience is a new menu item, designed specifically for segment creation and management.
- Data Space is streamlined, now focusing solely on data import/export, schema creations, and table management

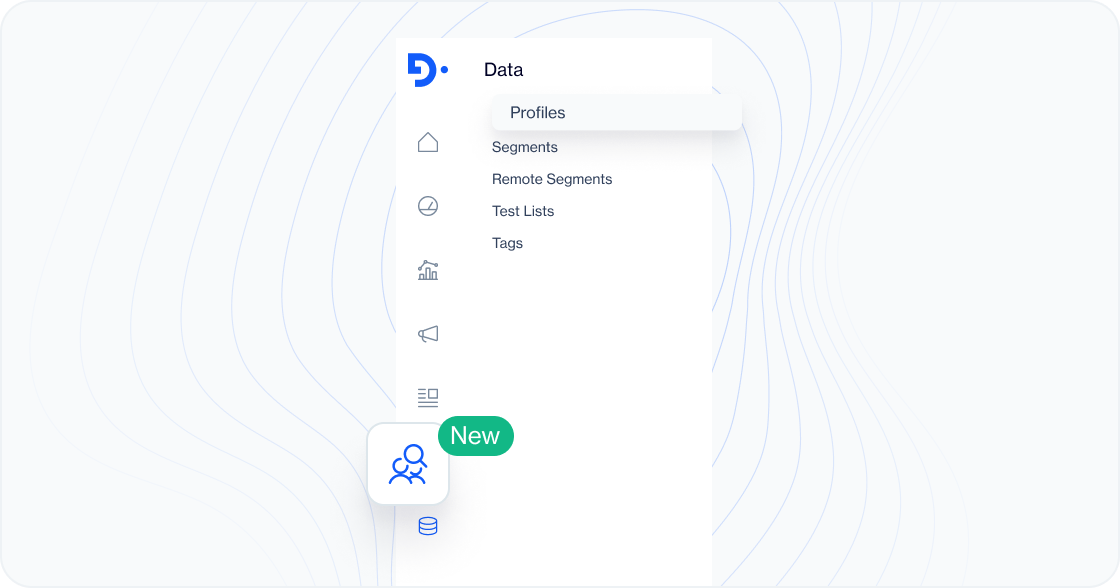
2️⃣ Introducing Audience and Profiles
Say hello to our brand new menu item—Audience!
Within the Audience section, you'll find a comprehensive set of tools to create and manage your target audiences for campaigns. And that's not all!
We're thrilled to introduce Profiles—a new menu item within Audience that serves as a one-stop hub for managing your Contacts and Devices. Audience includes Profiles , Segments, Remote Segments, Test Lists and Tags; providing a streamlined experience without the need to navigate through different sections.
To learn more about this feature, visit the Profiles section
3️⃣ Redesigned Contact and Device Cards
We've given our contact and device cards a fresh makeover. Enjoy a visually enhanced experience as you interact with your contacts and devices. It's now even easier to view and manage essential details such as behavioral activities, affinities, engagement scores and more..
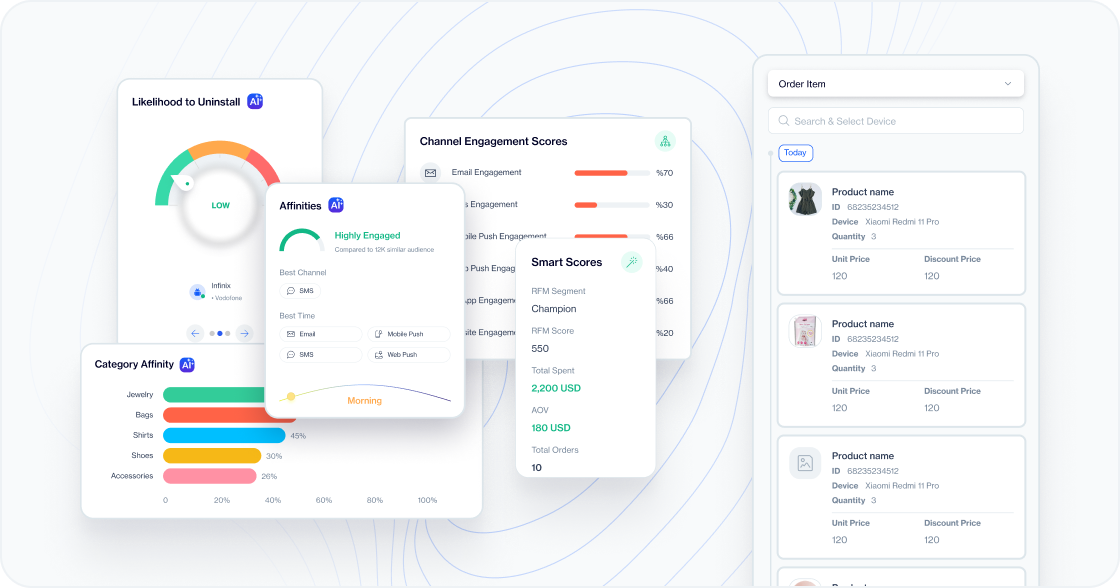
Explore the Contact Card and Device Card sections to learn how to effectively utilize these features.
4️⃣ Importing Sendable Tables?
We've got you covered! Now, you can effortlessly create new tables right from the import feature, saving you time and effort. Say goodbye 👋 to creating tables beforehand!
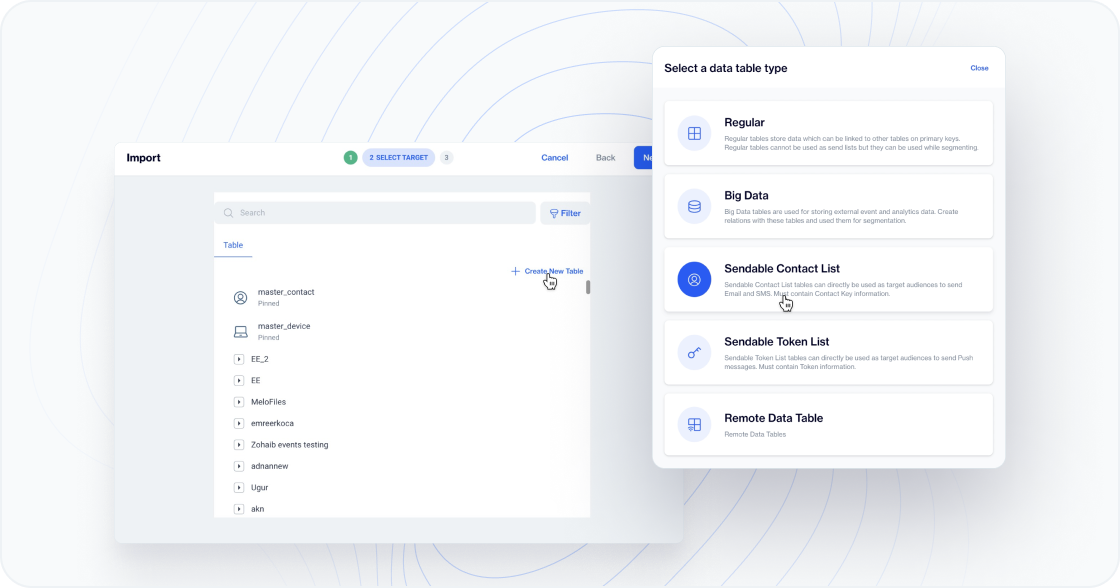
Instructions
- Go to Data Space > Import in the navigation menu.
- Click on New, then choose Tables from the options.
- Select the File you want to import.
- Once you have reviewed the Import Details, click on Next.
- Click on Create New Table.
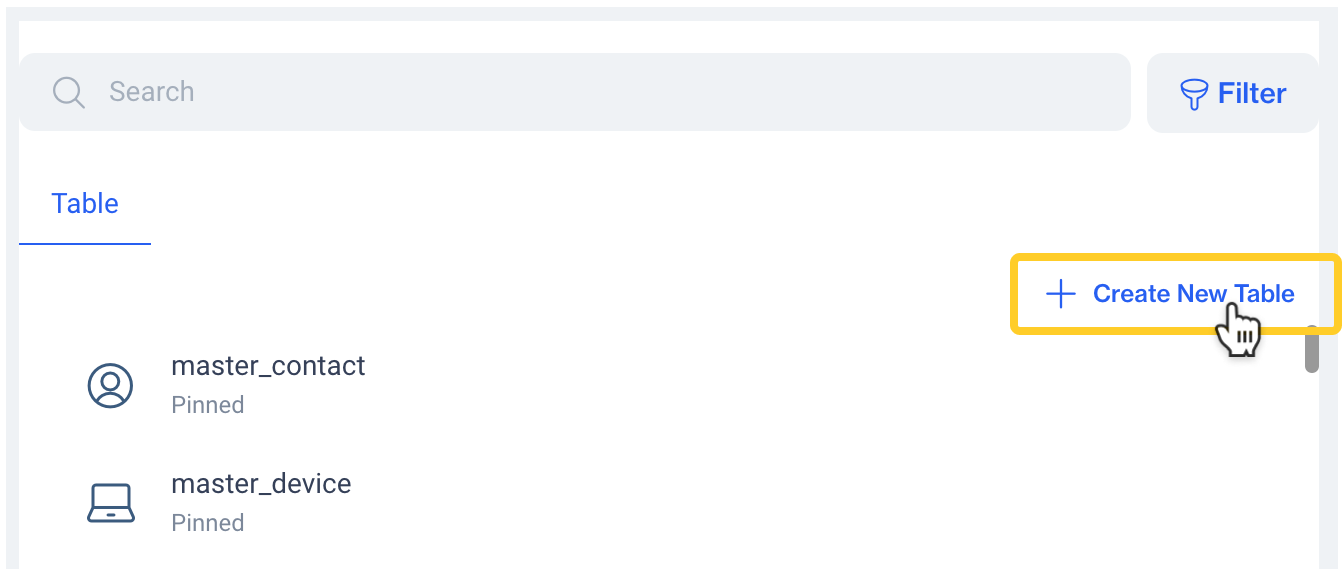
Step 5
Once you have completed the instructions, you can proceed with the default table creation steps.